Infosheets
05. Gathering Settings Created with Logs
Gathering settings made from partially buried, vertical logs, will last for years if best practices are followed. Gaps between the logs afford playful interactions and ease of movement through the setting. This type of cost-effective installation can transform an unused, outdoor corner into a place where children can socialize, play games, or gather for story time. Installation offers an excellent activity for volunteers using hand-tools. A shared sense of accomplishment can motivate assistance for other installation projects.
Recommended timbers
Black locust (Robinia) and cedar species are a good choice because they are naturally rot-resistant. However, they may be challenging to source with sufficient diameter. Other hardwoods are a viable alternative, provided best practices are followed to protect against rot.
LAYOUT
Setting size. Depending on purpose, as defined above, setting size is variable.
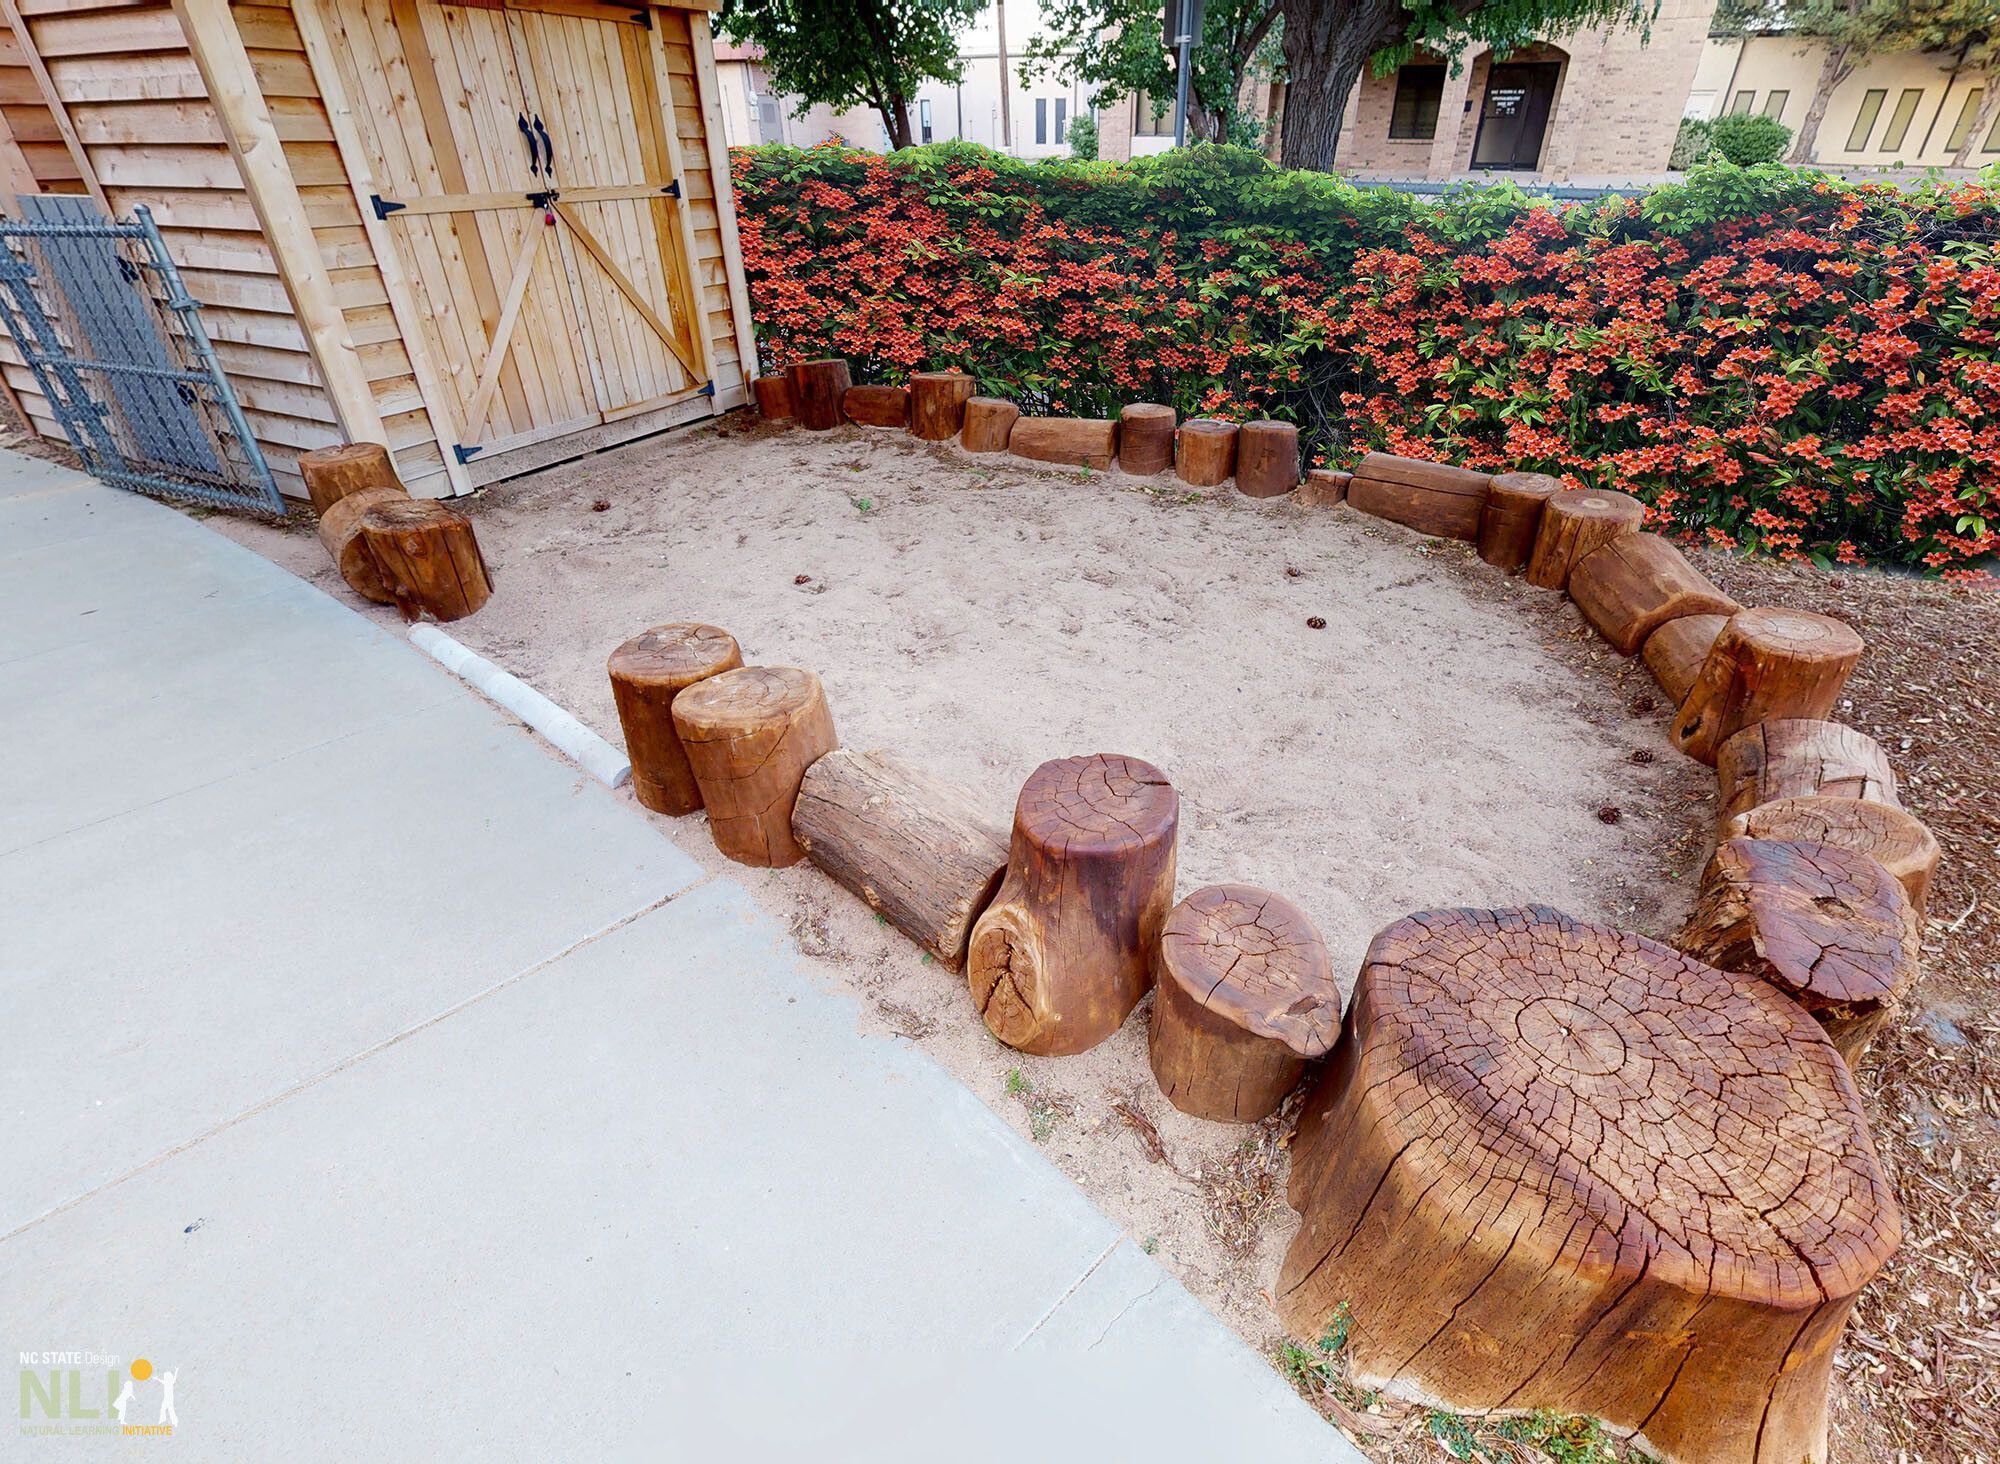
Locating the setting. Choose a quiet spot away from active play (under an existing shade tree for example). If shade is unavailable, add a shade sail and/or shade tree. Logs installed adjacent to a stage setting in a semi-circular form offer an audience space and extend possibilities for dramatic play (see lower photo this page).
Preparing logs
- Use seasoned logs (at least 12 months since felling). Logs harvested from dead trees may be used, but seek advice from a certified arborist. Use logs 10 in. or larger in diameter and around 24 in. long.
- Debark logs (easier with seasoned timber). Remove all branch stubs and other protrusions. Use a power sander to smooth logs, including rounding the upper edges. Sand top surfaces.
- Protect the logs from rot by using waterborne copper naphthenate (nontoxic). Apply several coats, allowing to dry between applications (about 1 hour).
- Apply coats until no more liquid is absorbed, especially on the top and bottom ends (to be buried). Further protect the logs with Thompson’s WaterSeal.
- Finish with two coats of polyurethane varnish. DO NOT varnish the upper end of the log, as that will make it slippery and hazardous when wet.
INSTALLING LOGS
Position logs. Place logs 1.5 ft. apart (safe stepping distance) in a circular or semi-circular shape to fit the space. Allow for circulation around the outer edge of the setting. Consider placing an extra-large log in the circle, or facing a semicircle, as the teacher’s designated seat for circle/story-time.
Dig log holes. Make holes 4 in. wider than the log diameter (to allow for 2 in. side lining of gravel). Make hole depth approximately 1/3 of the log height above ground, plus 2 in. (to allow for bottom lining of gravel). Measurements may be adjusted according to soil conditions. Undisturbed, heavy clay soils require less depth. Light sandy/loam or disturbed soils may need more depth. Ensure log will be no more than 18 in. above the ground when set in place.
Add drainage. Fill the bottom of the hole with approximately 2 in. of pea gravel, adjusting to the required height of the log above ground. Tamp the gravel.¹
Place treated log upright in center of hole. Gradually fill the 2 in. gap around the log with pea gravel, tamping continuously² until gravel is flush with the surrounding ground.
Ensure child safety by rounding sharp upper edges with an electric sander.
Plant shade trees and shrubs around the gathering setting to add a sense of privacy and enclosure. Distribute excess soil elsewhere on the site.
HEALTH AND SAFETY
- Before digging, call 811 ahead of time to check for underground utilities. The service is free but can take several days.
- Wear sturdy boots and gloves during installation.
- Regularly inspect logs for signs of decay. If unstable, replace before they become a possible hazard.
¹ To tamp the bottom, use a regular 8”x8” steel-headed tamper.
² To tamp the sides, use a length of capped steel pipe.
Materials & Tools
- 10 inch min. diameter hardwood logs,18-24 inches long
- Shovels
- Power, disc sander
- Level
- Pea gravel
- Protective treatments: waterborne copper naphthenate, Thompson’s WaterSeal, and polyurethane varnish
- Tamping tools

Log settings encourage gathering and social/emotional development

A double semicircle of logs, with appropriate spacing and height, provides seating for the stage (left of image), and a place for active, imaginative play (note, these logs were not debarked prior to installation)
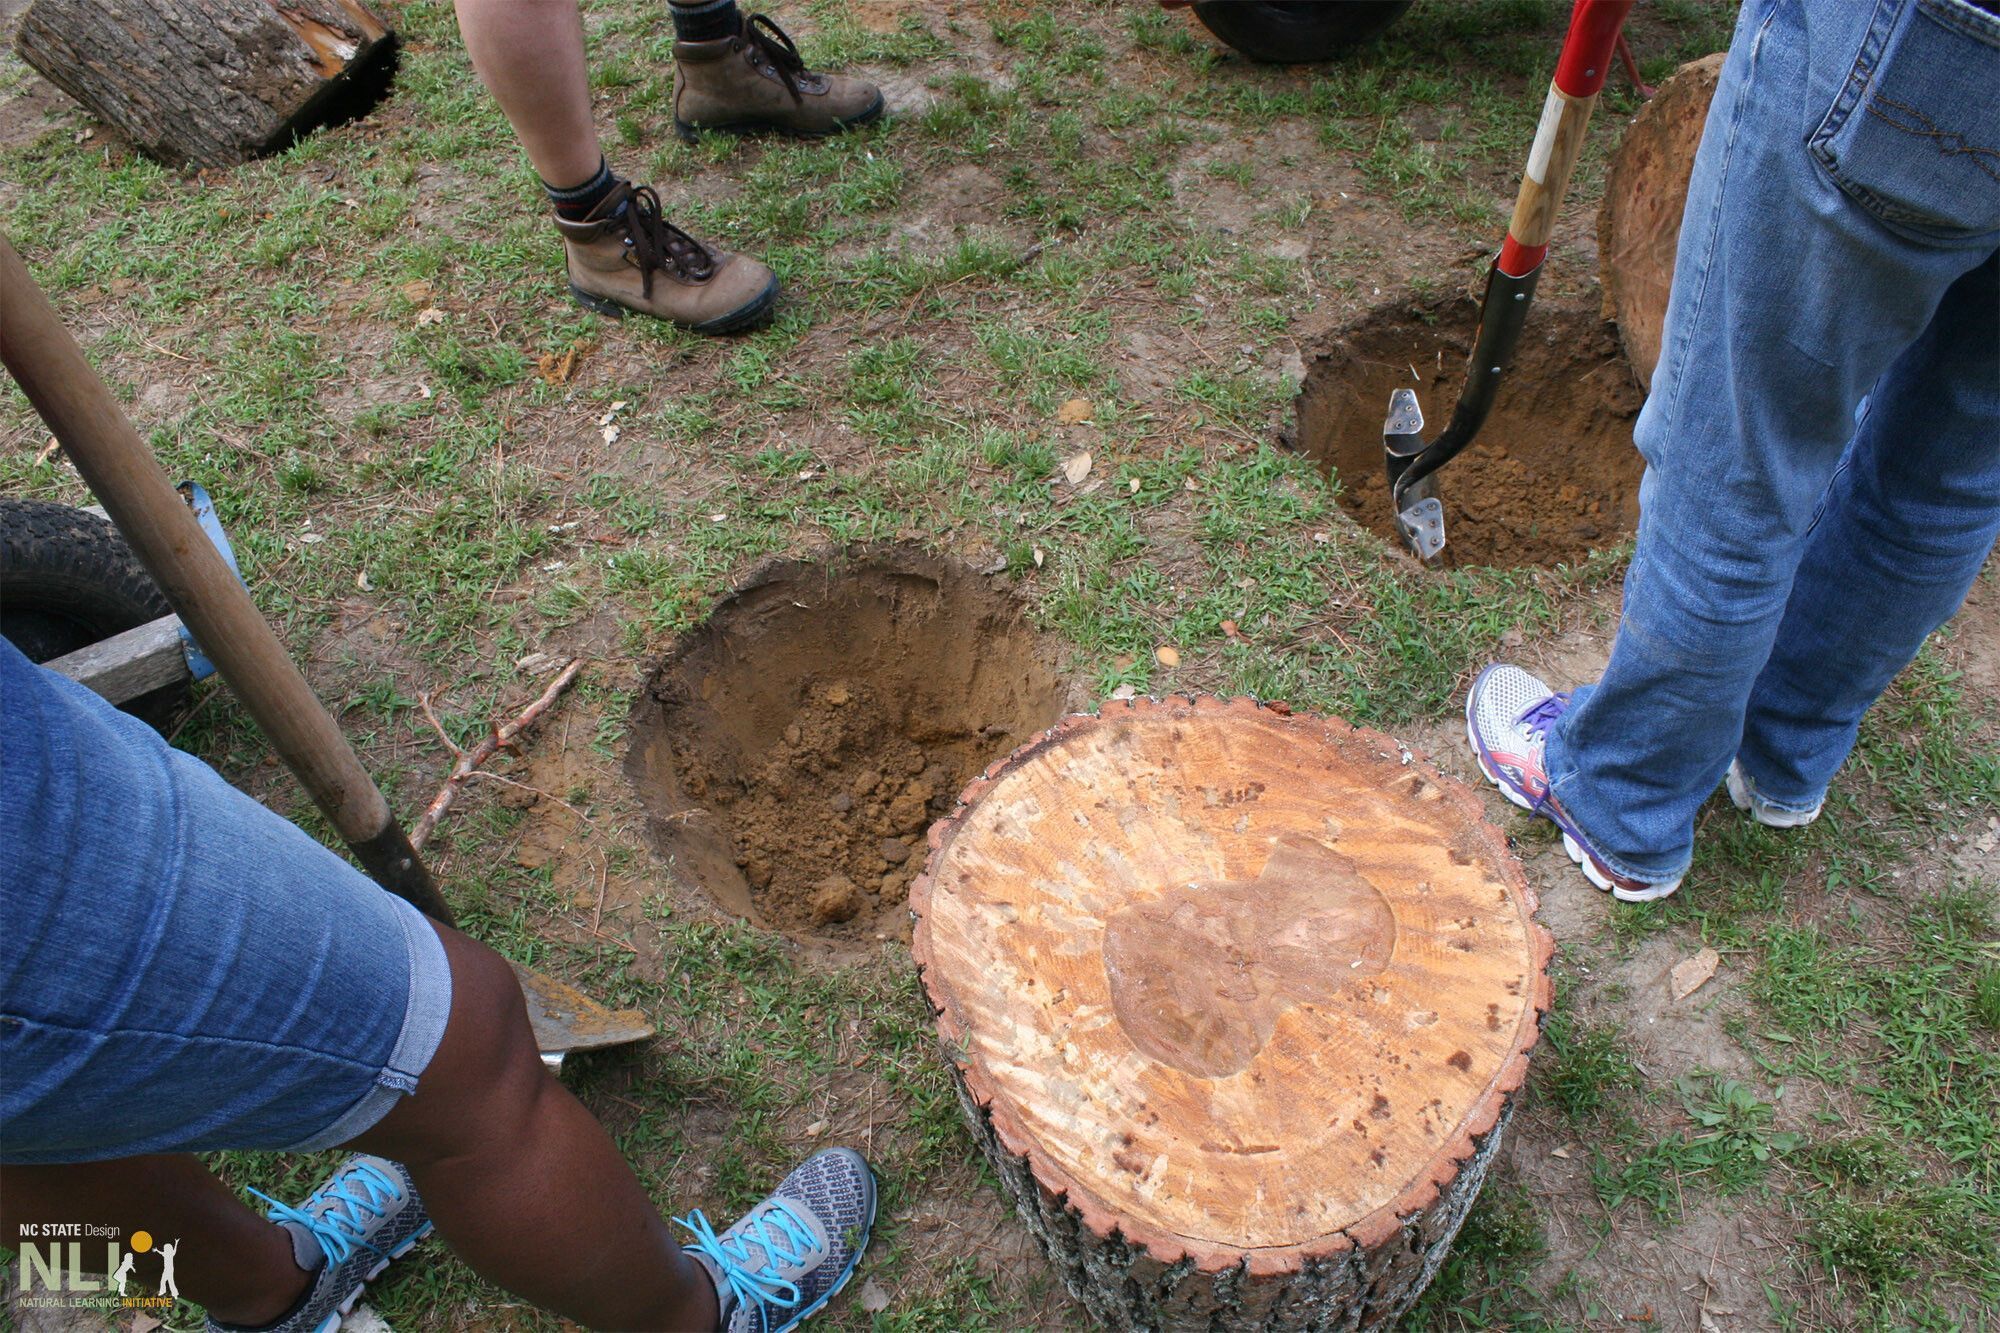
Hole depth should be approx.1/3 log height plus 2″ deep. Hole width should be log diameter plus 4″
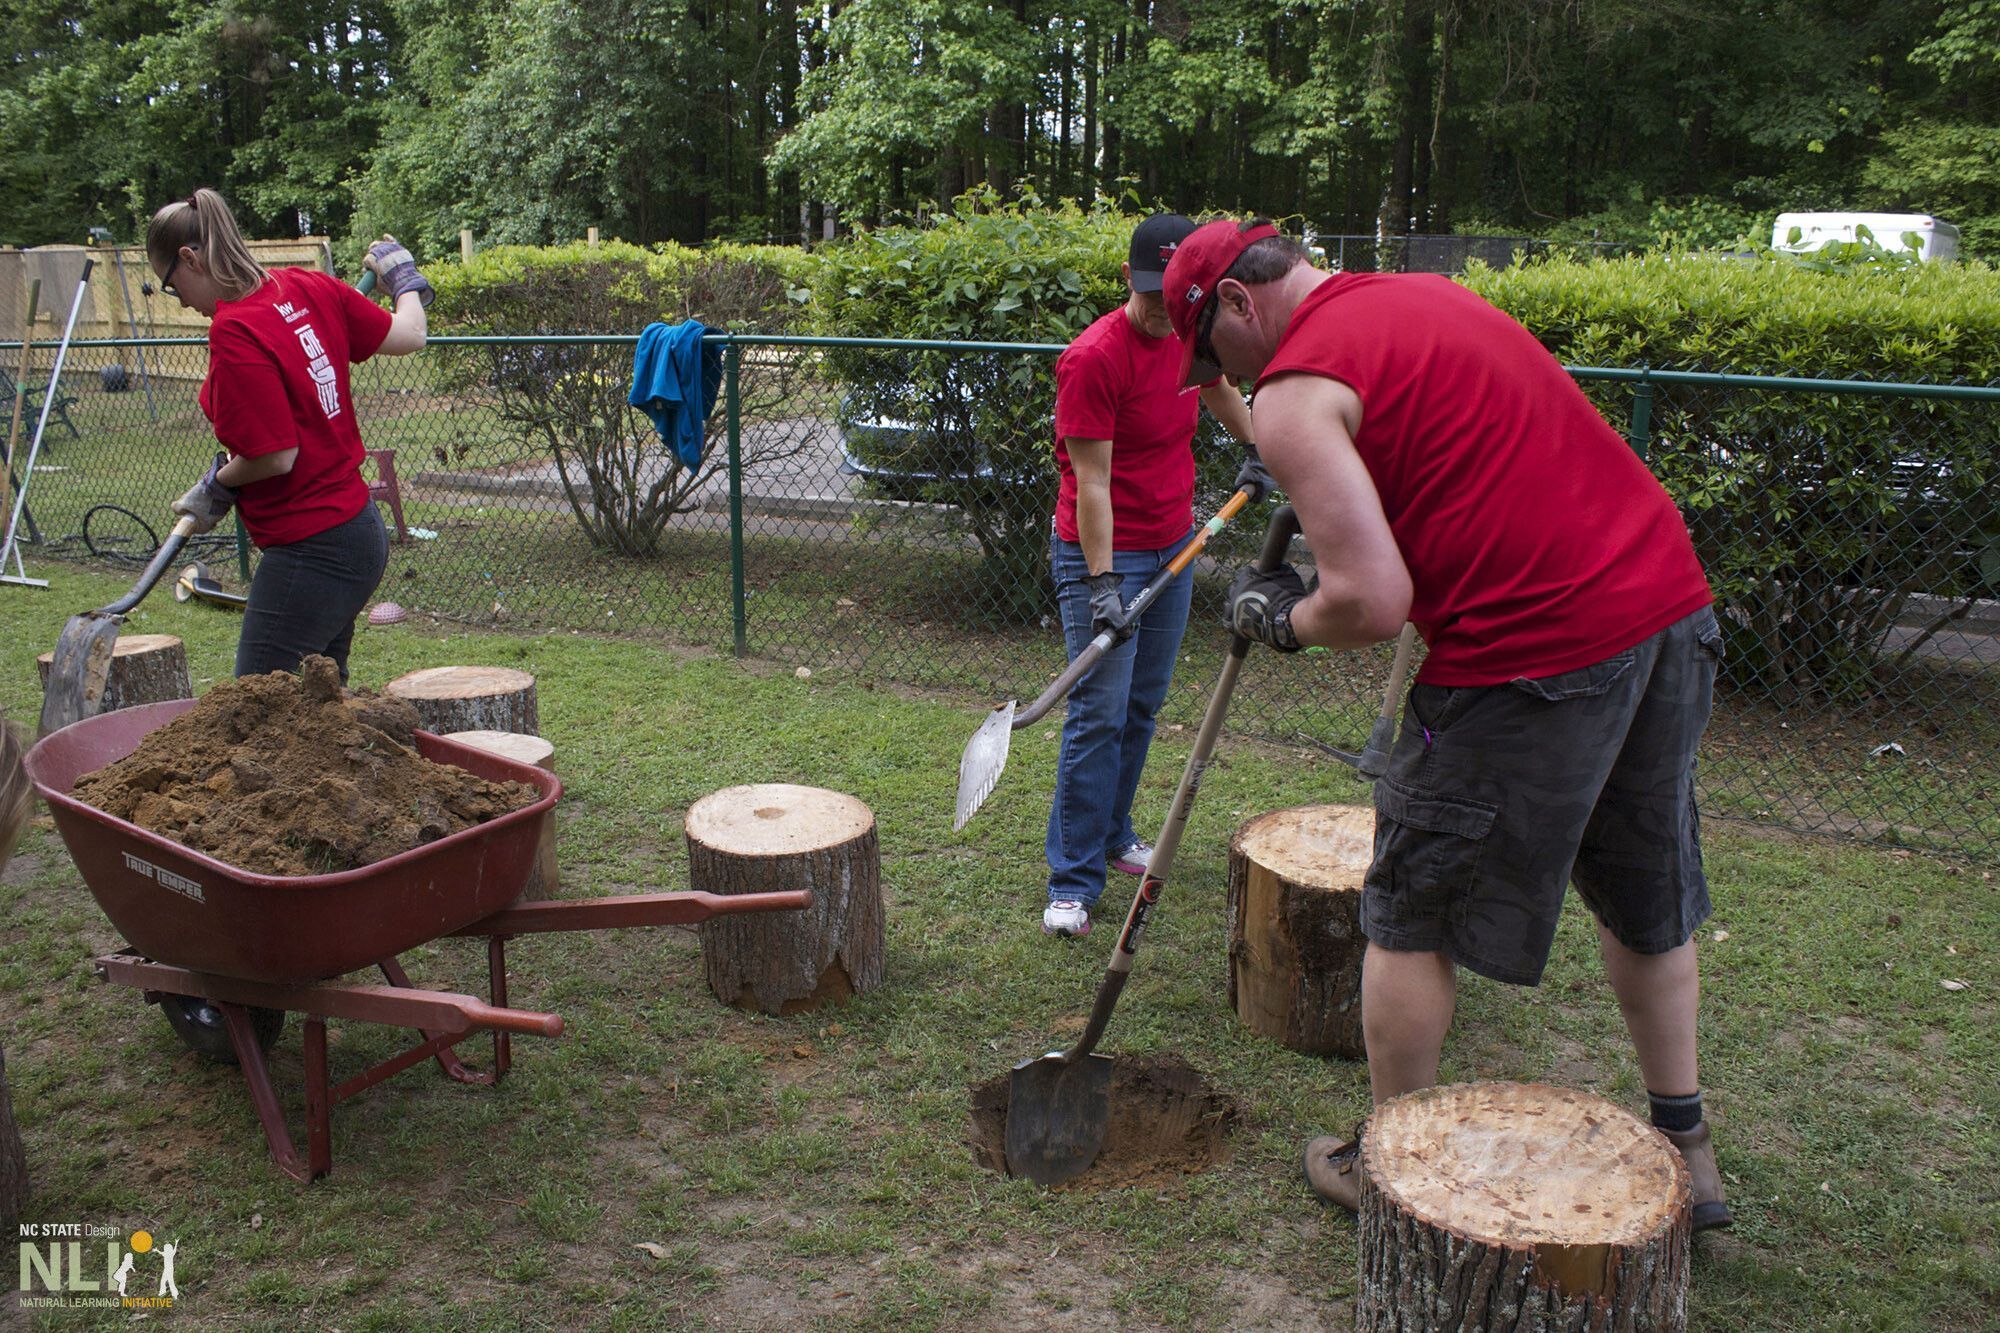
Log circle installation with volunteers
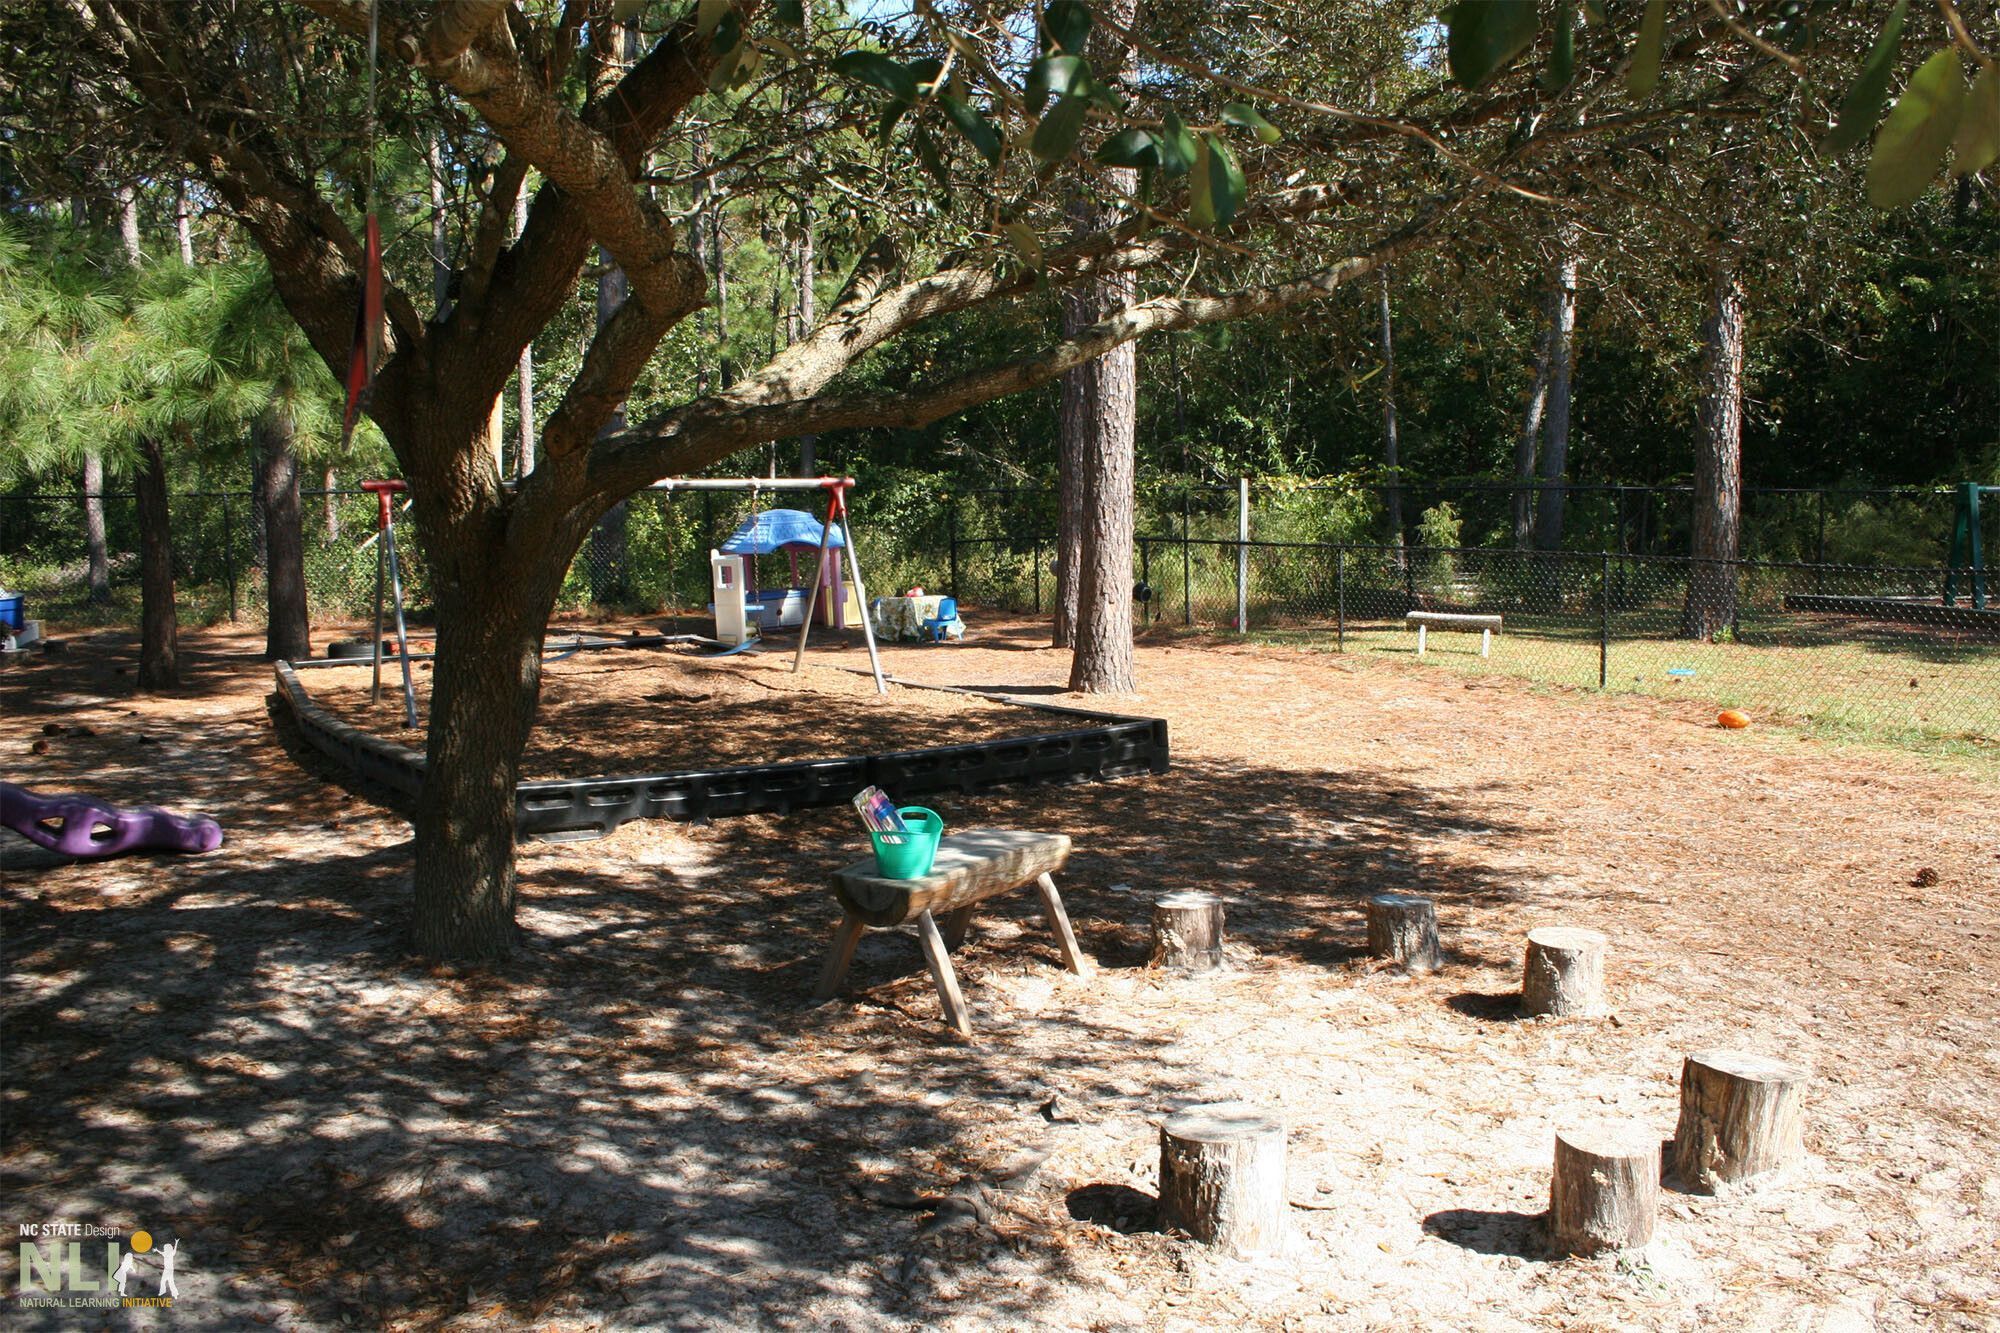
Log circle in the shade of a tree
Leave a Reply