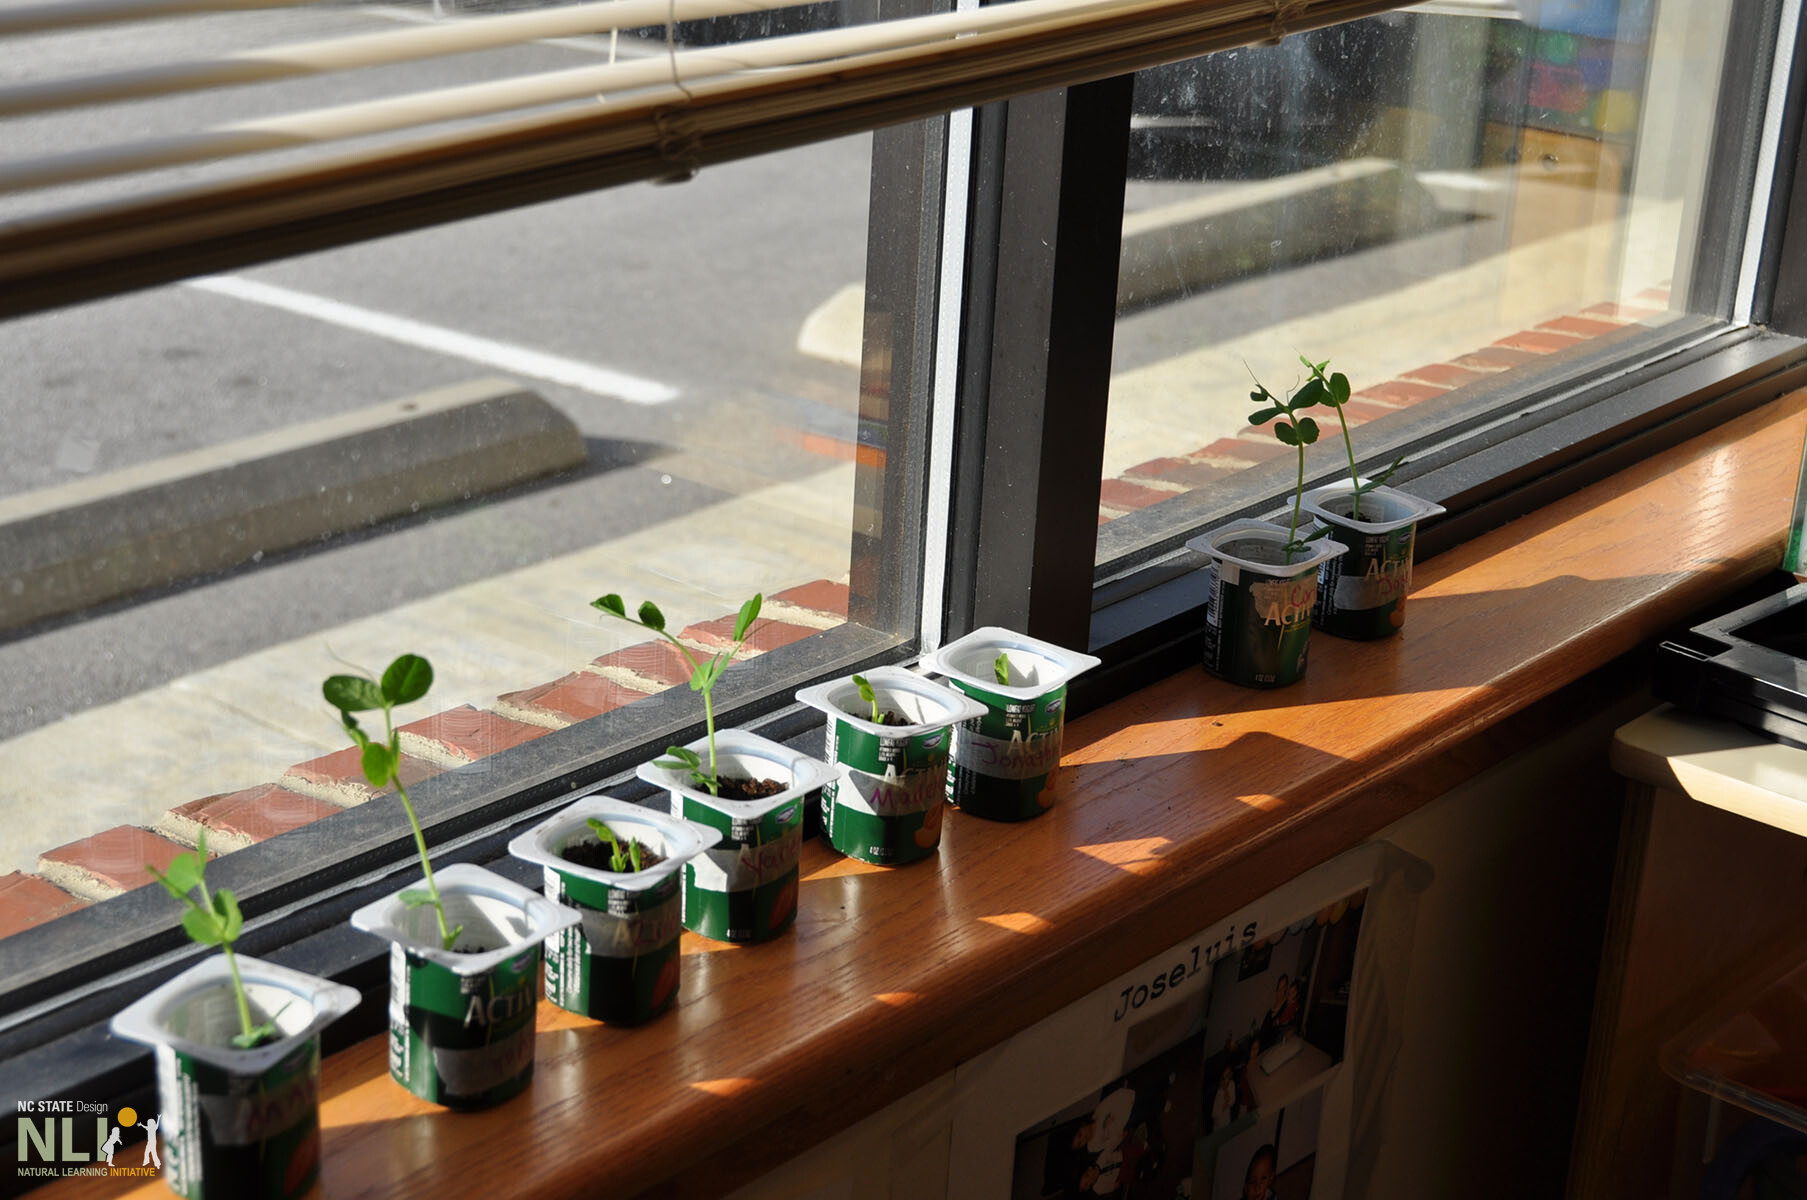
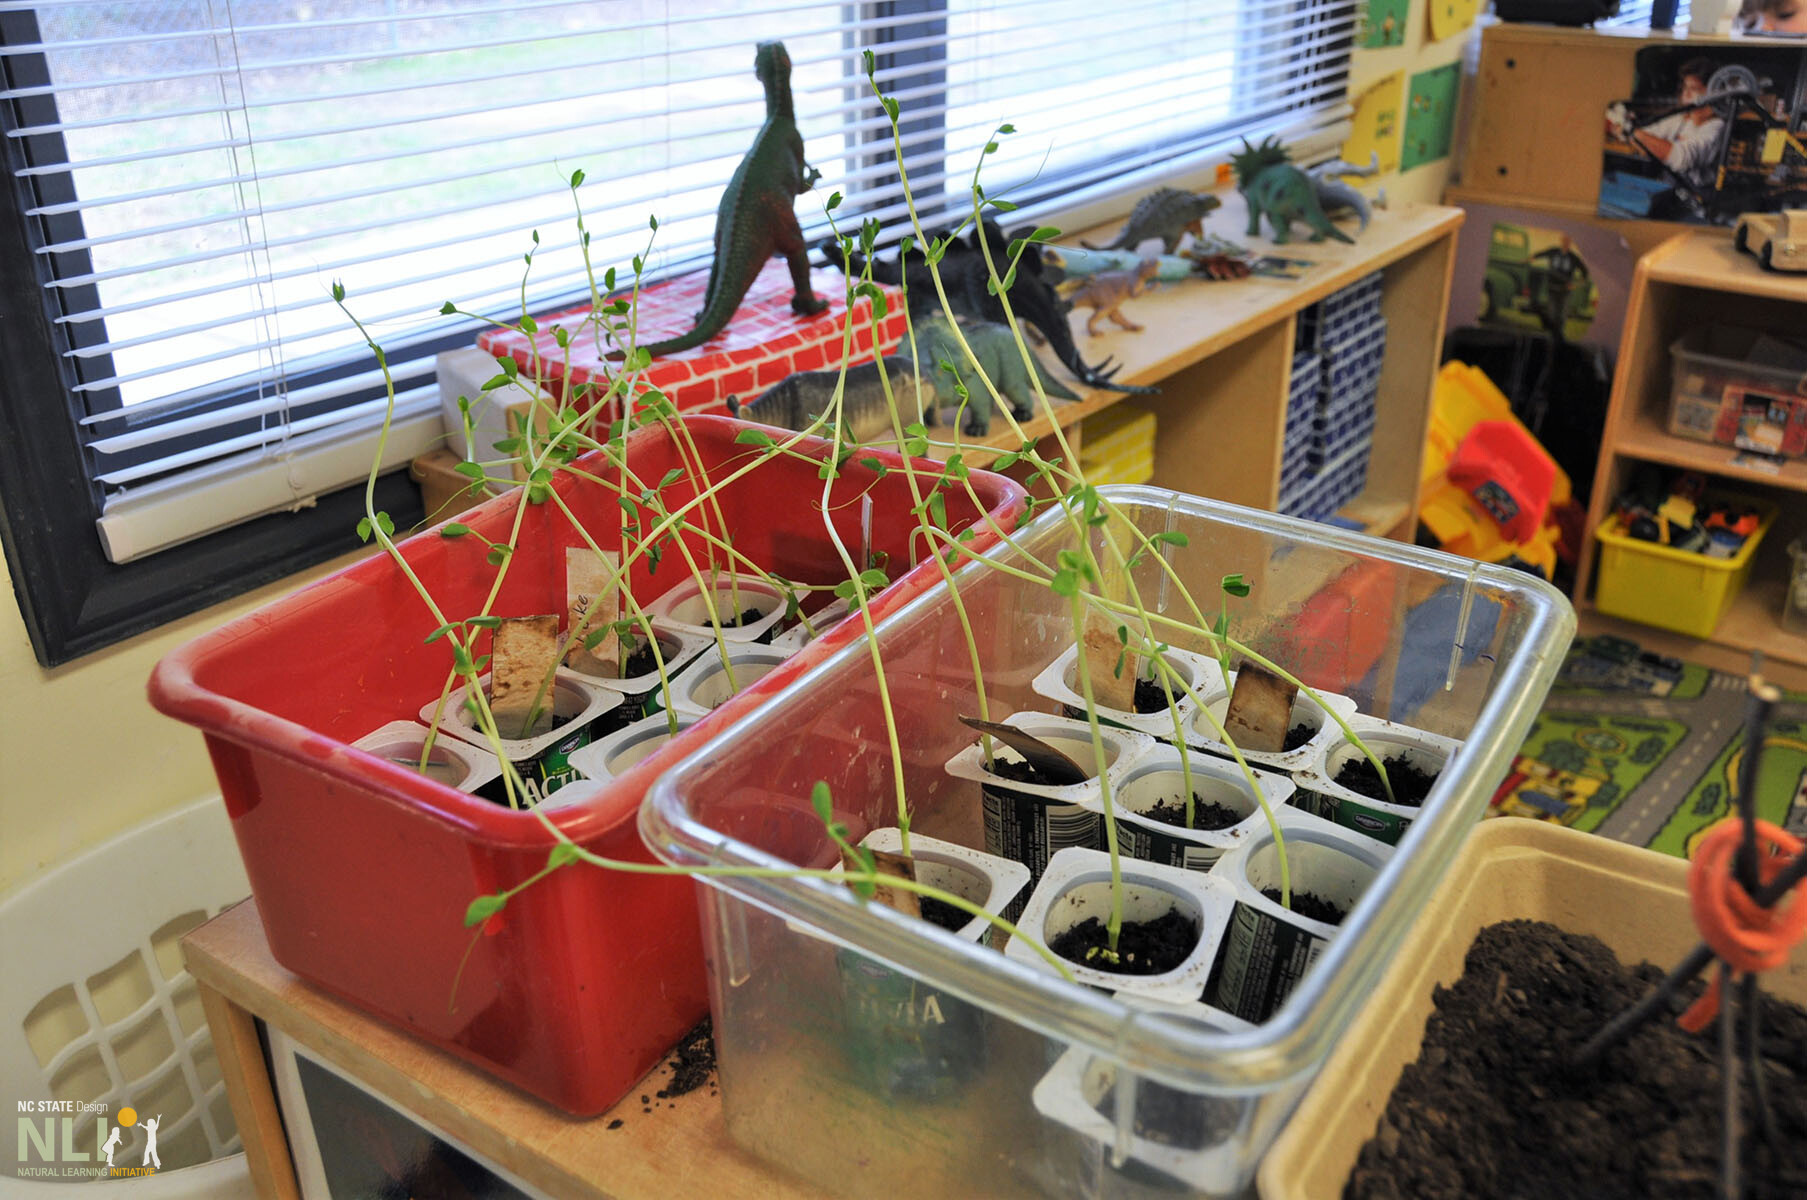
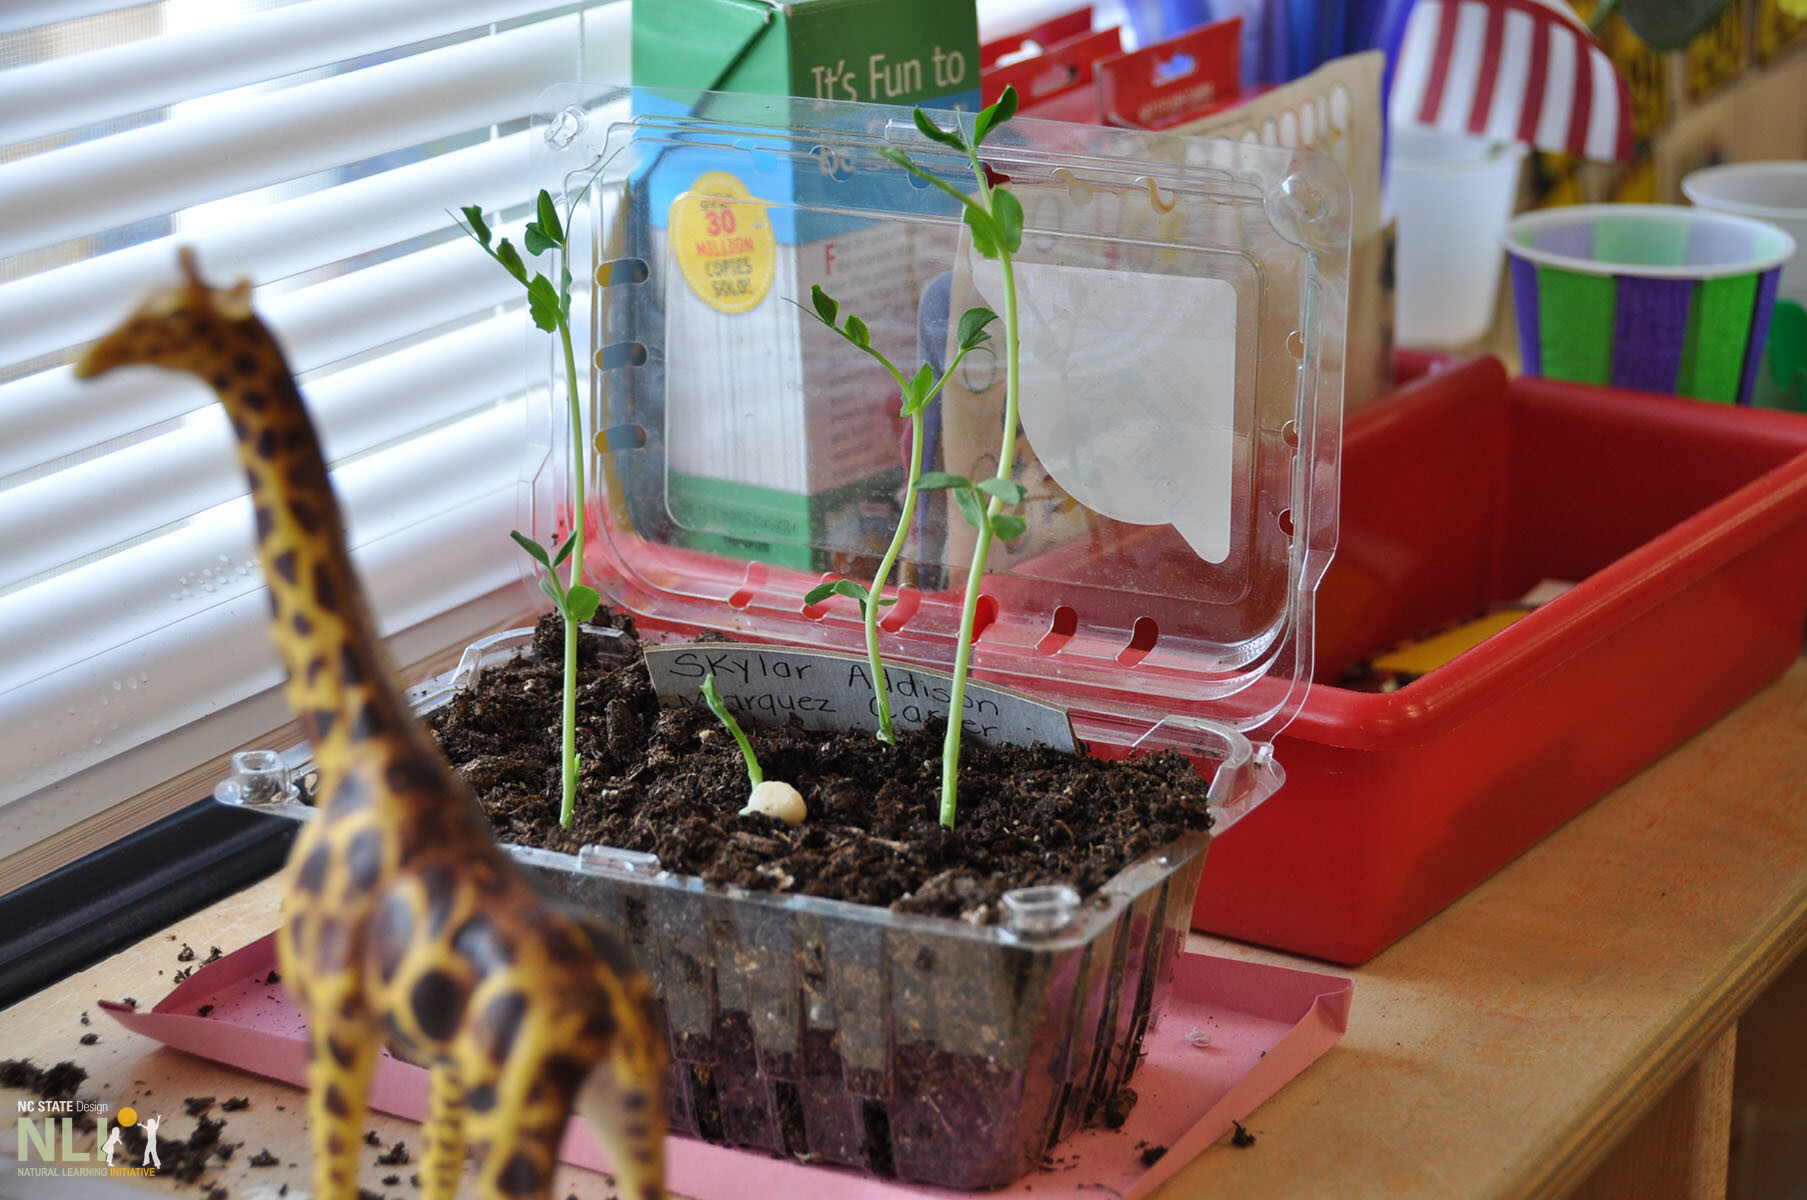
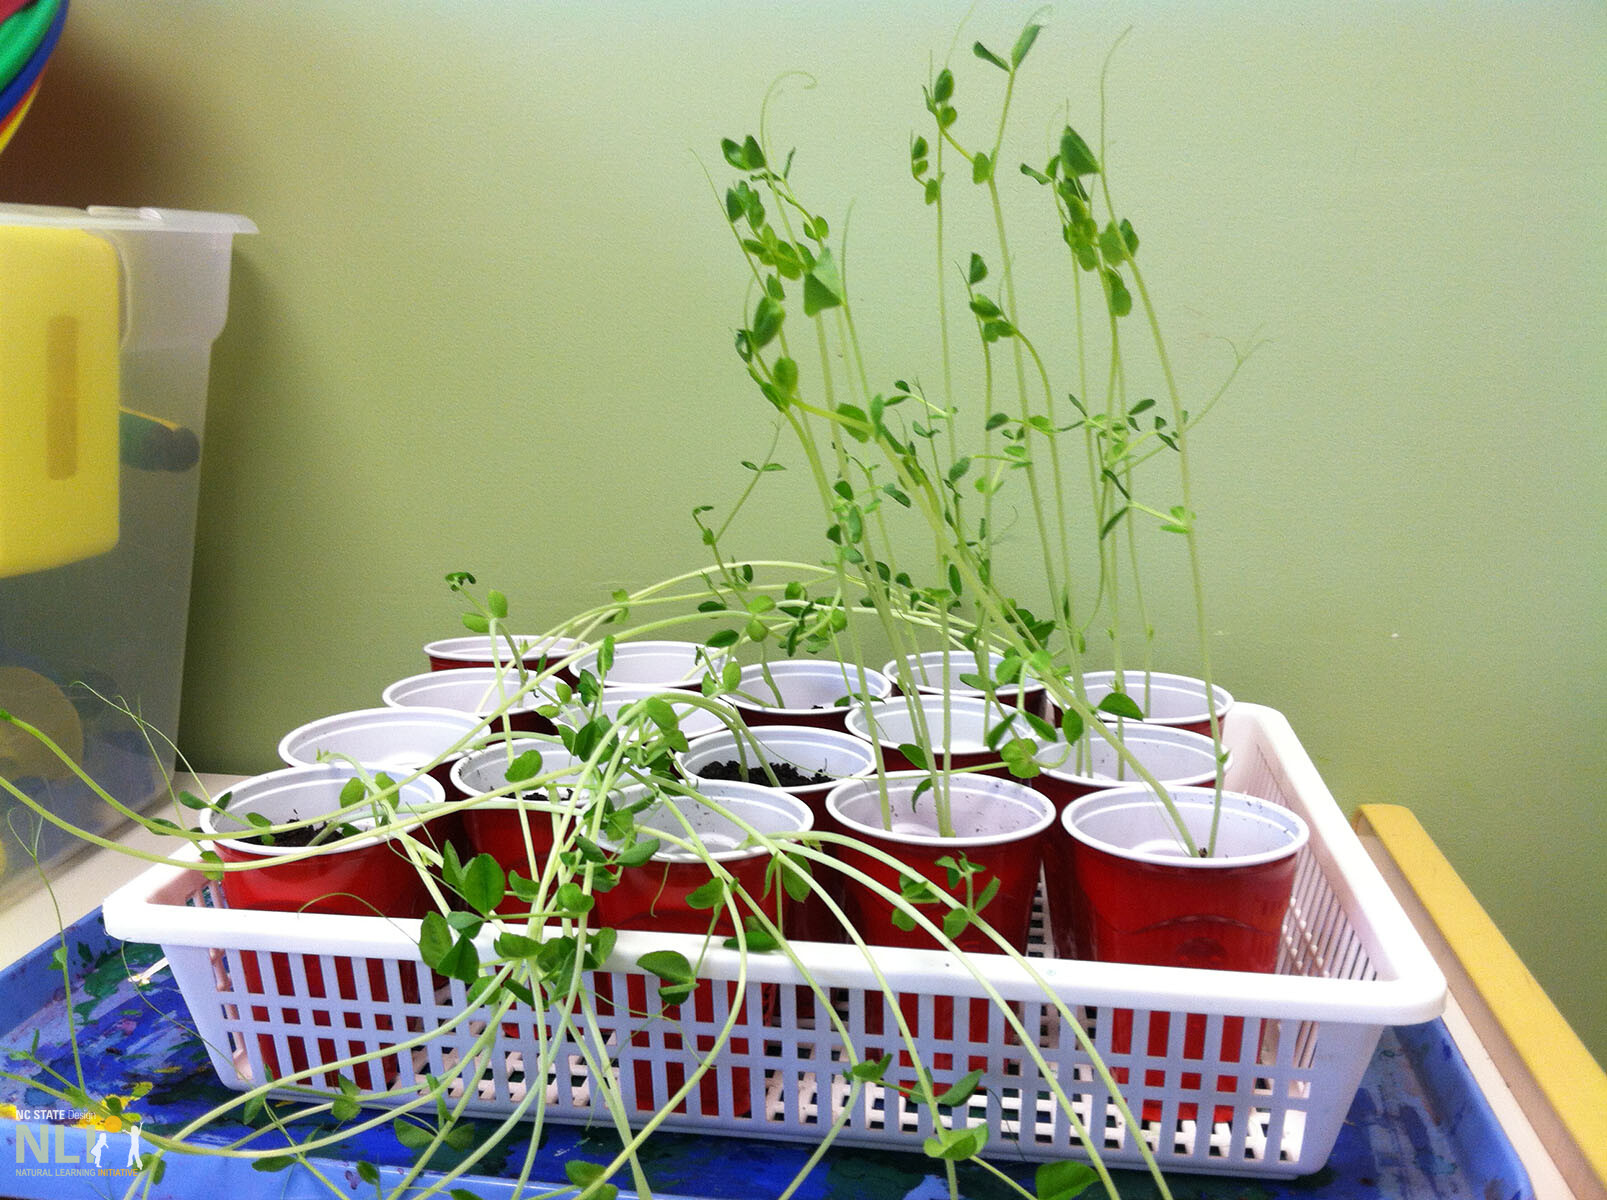
Spring is coming! It’s time to start seeds indoors to prep for the growing season– and bring gardening fun to school, home, or a childcare center! If you live in a cooler climate, starting veggie seeds indoors will protect delicate seedlings from early spring frosts. In a warmer climate, starting indoors will lengthen the growing season. In either case, starting indoors will support a full and flourishing vegetable garden throughout the summer. Carefully examine seed packets for specific planting instructions to ensure that your seedlings thrive.
CONTAINERS
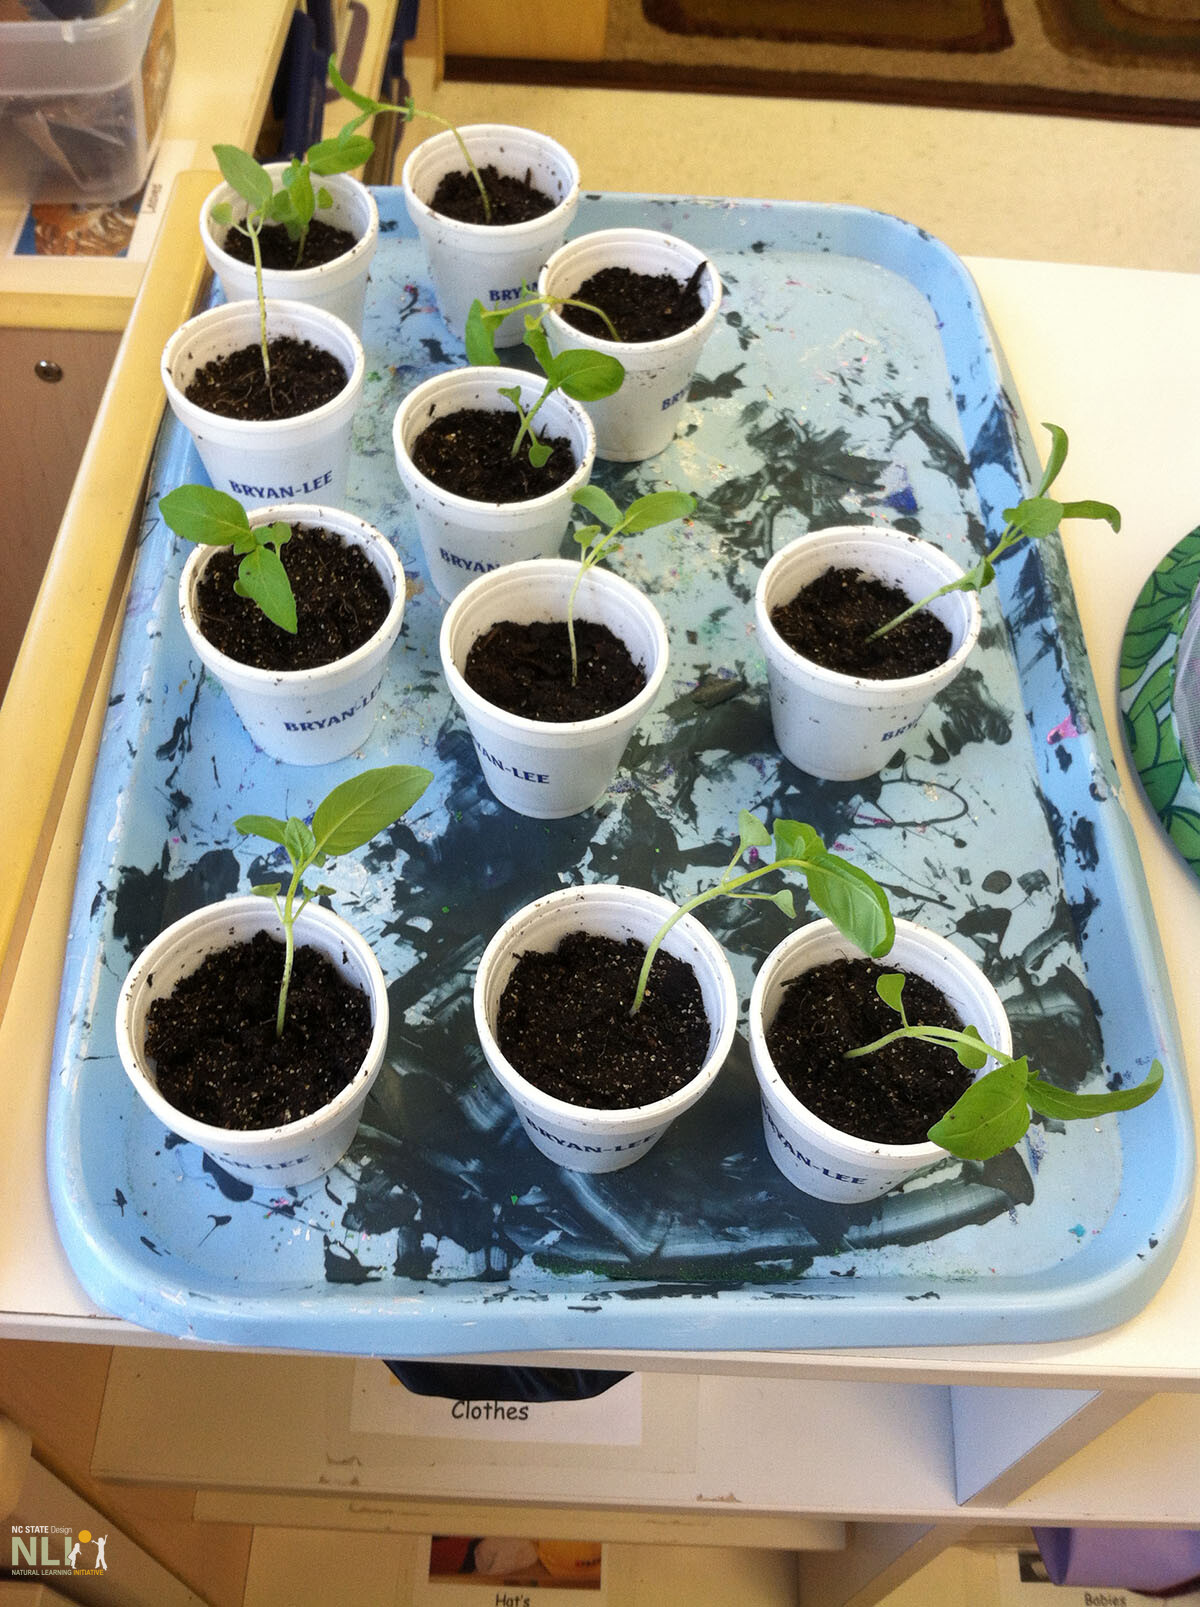
When starting veggie seeds indoors, get creative with containers by using everyday objects that can be found at home. Newspaper pots are a simple way to sprout seedlings (see InfoSheet: Making Newspaper Seedling Pots). Milk and egg cartons, muffin tins, yogurt cups, and many other household items can be repurposed as seed starter pots. Whatever the container, make sure to poke a hole in the bottom for adequate drainage.
WHEN TO START SEEDS INDOORS
The best time to start seeds indoors is based on the last spring frost date for the area. Frost dates are available from various online sources by entering the zip code. Below is an overview of approximate start times for popular seeds.
Cool Season Vegetables
Kale: Start seeds indoors 8 to 10 weeks before last frost. Transplant seedlings outside 4 weeks before last frost date.
Lettuce: Start seeds indoors 4 to 5 weeks before the last frost. Transplant seedlings outside right around the last frost.
Spinach: Start seeds indoors 7 to 9 weeks before last frost. Transplant seedlings outside 3 weeks before last frost date.
Warm Season Vegetables
Cucumber: Start seeds indoors 2 to 3 weeks before the last frost. Transplant seedlings outside 1 to 2 weeks after the last frost date.
Bell Pepper: Start seeds 8 weeks before the last frost. Transplant seedlings outside 2 weeks after the last frost date. Pepper seeds require warmer soil temperatures to germinate, so keep them in a warm area for best results.
Squash and Zucchini: Start seeds 1 to 2 weeks before the last frost. Transplant seedlings outside 2 weeks after the last frost date.
Tomato: Start seeds 6 weeks before the last frost. Transplant to a larger container when seedlings have at least 2 sets of leaves. Use a container twice as large as the original, leaving 1 inch of space between stem and container edge. Transplant seedlings outside 1 to 2 weeks after the last frost date. Tomato seeds require warmer soil temperatures to germinate, so keep them in a warm area for best results.
PLANTING SEEDS
Fill clean containers with 3-4 inches of potting mix or as deep as possible if container is more shallow. Moisten thoroughly with warm water.
Plant your seeds according to the depth and spacing listed on the seed packet.
Tiny seeds like lettuce should be sprinkled a few at a time across the surface then covered lightly with potting mix.
Once seeds are planted, keep the planting mix moist.
Find a warm area such as sunny window or refrigerator top. Keep there until seedlings emerge.
SEEDLINGS EMERGE
Once seedlings emerge, 12 to 16 hours of light are required– from the sun, grow lamps or fluorescent lights.
As seeds sprout, they may need to be thinned to ensure enough space to grow. Check minimum spacing on seed packets and thin seedlings accordingly.
HARDENING OFF AND PLANTING SEEDLINGS
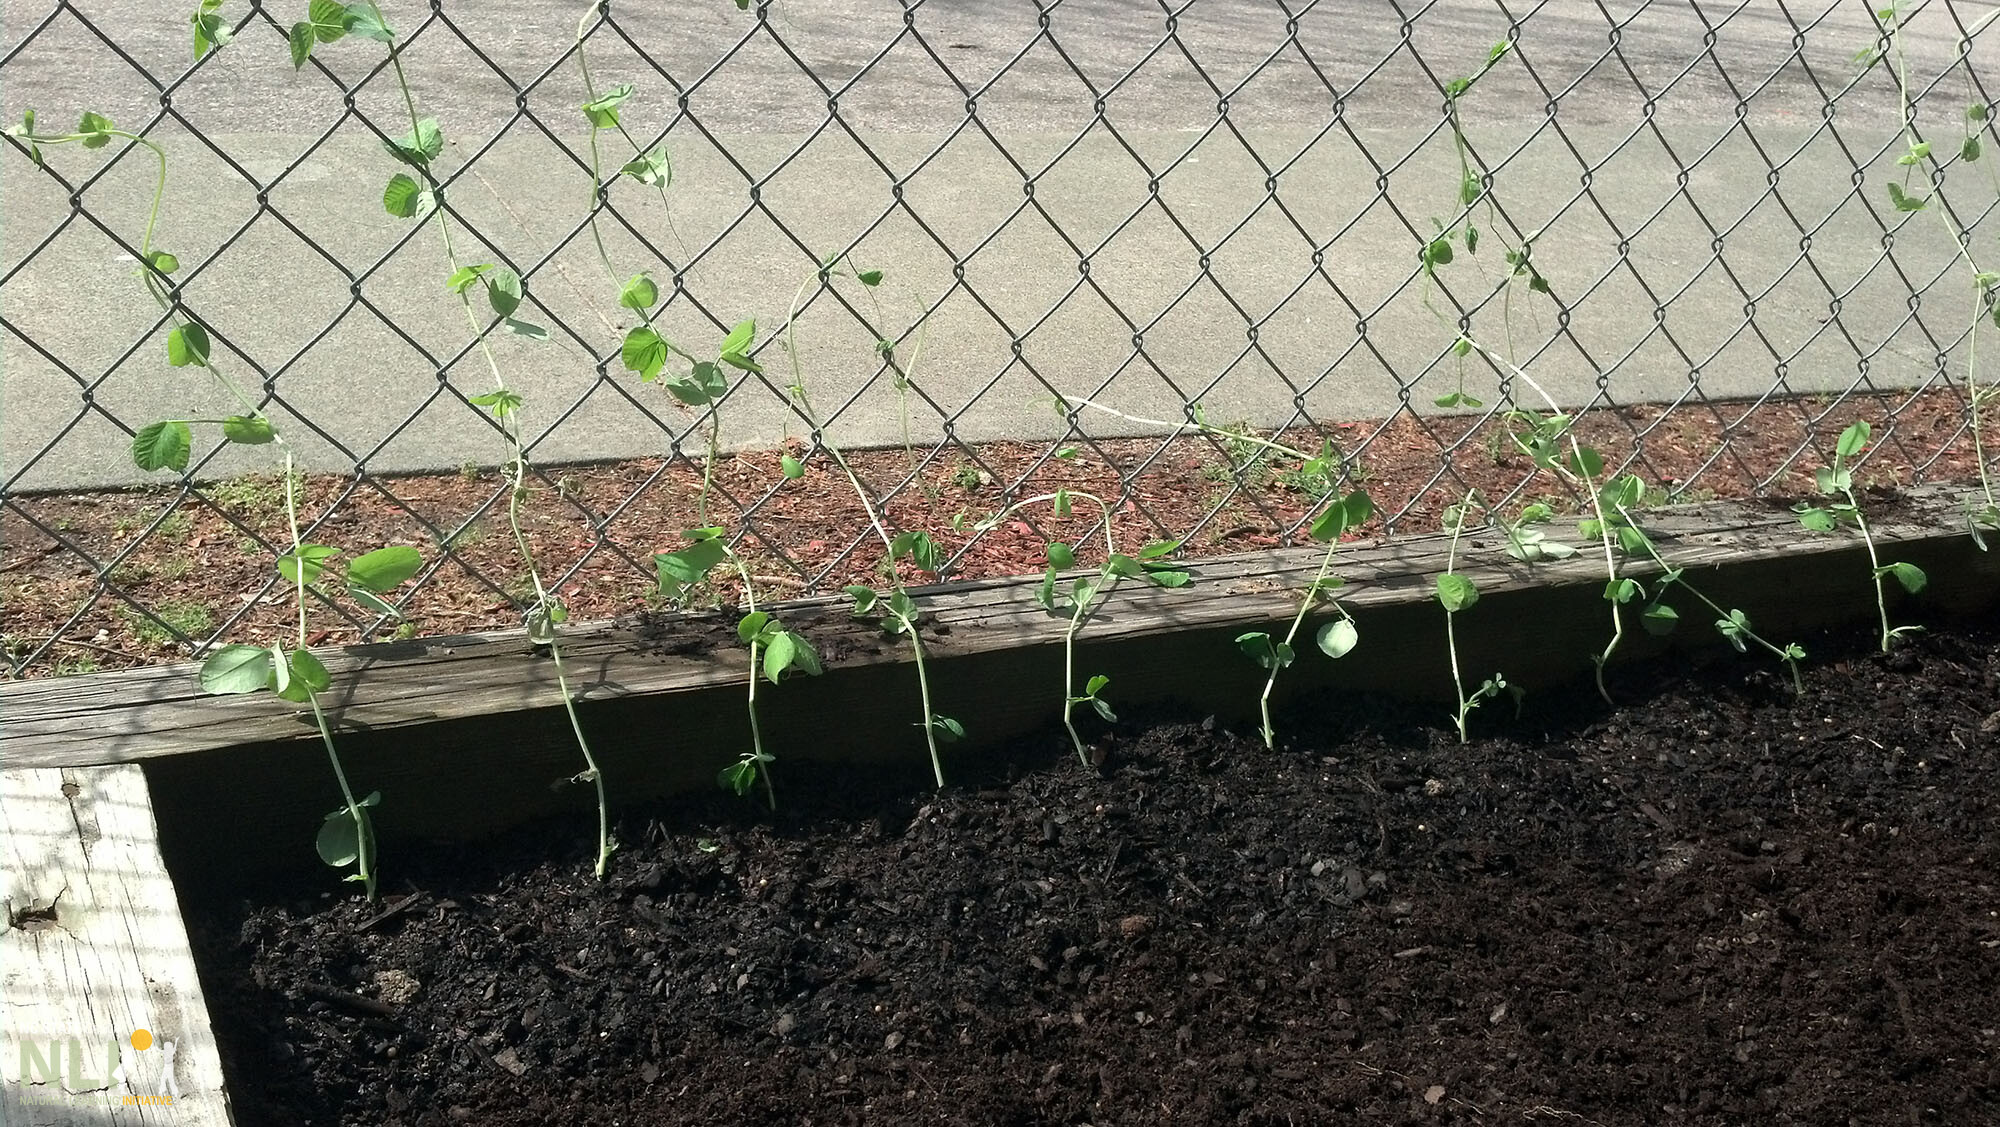
Before planting seedlings outside, they need to gradually adjust to outdoor climates or “harden off,” beginning one week before transplanting, thereby preventing plants from going into shock. To harden off, place seedlings outdoors for a few hours in part-shade, gradually extending the time each day, making sure to keep container soil moist. At the end of the week, plant seedlings in the ground. Alternatively, depending on the plant, re-pot in a larger temporary or permanent container (see InfoSheet: Growing Edibles in Containers). Now watch the plants thrive. Enjoy the fresh, edible produce!
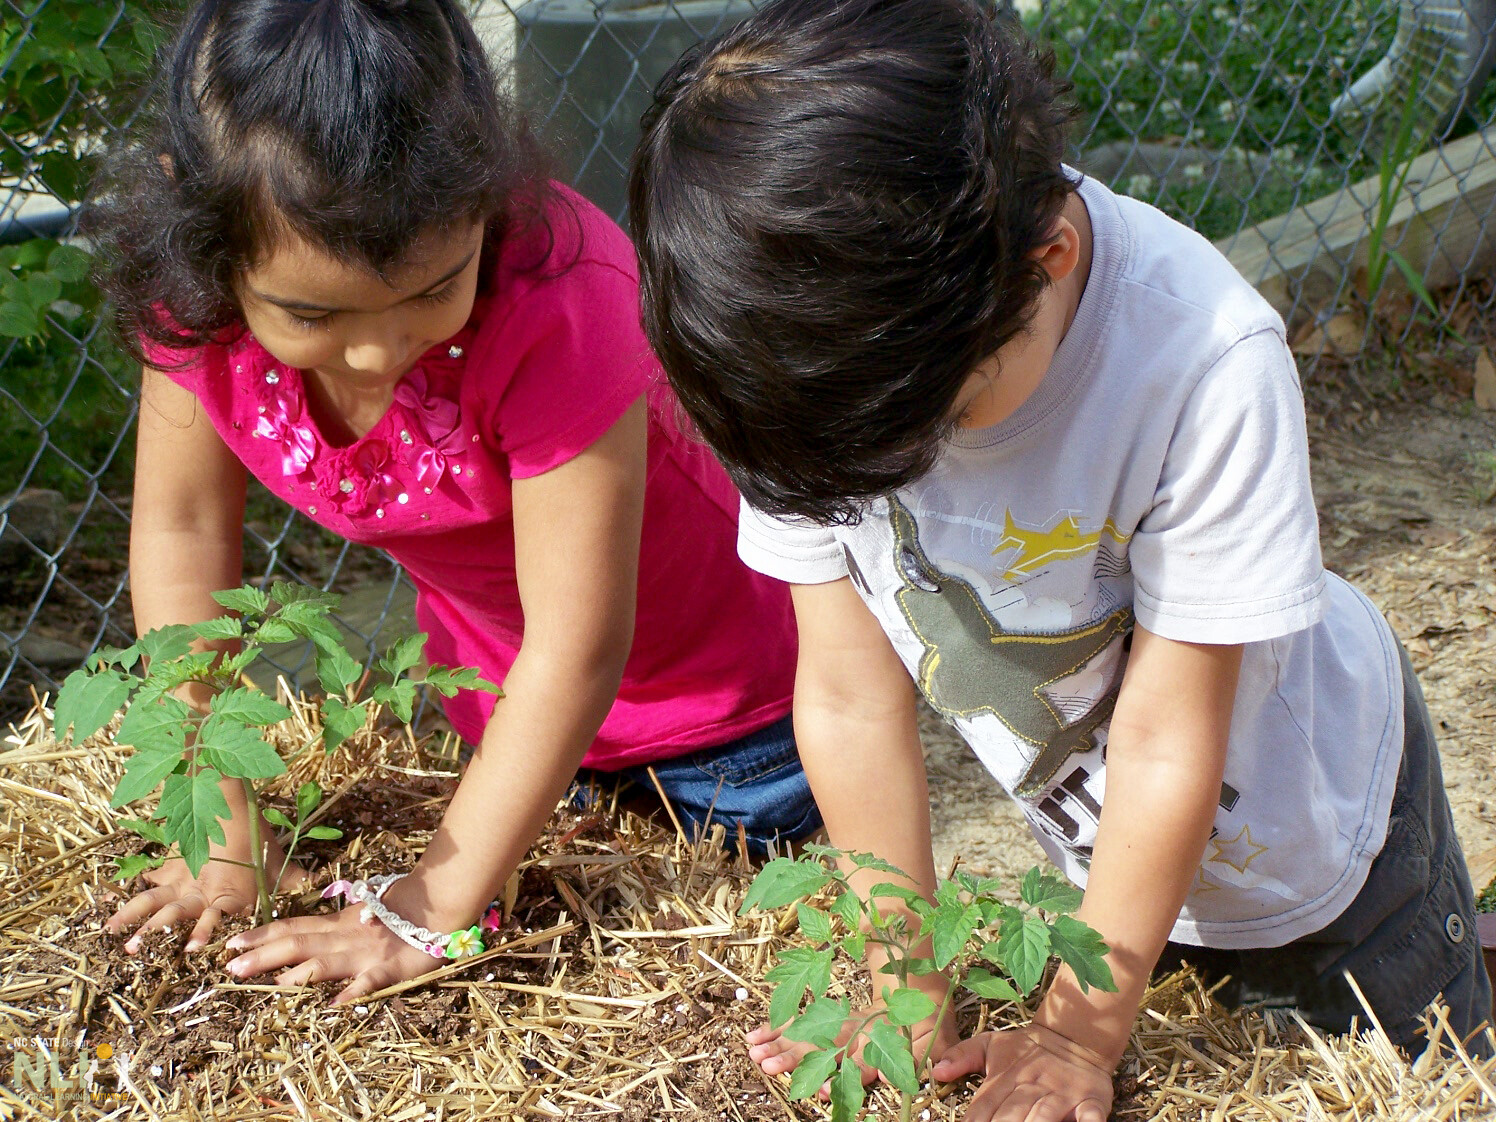
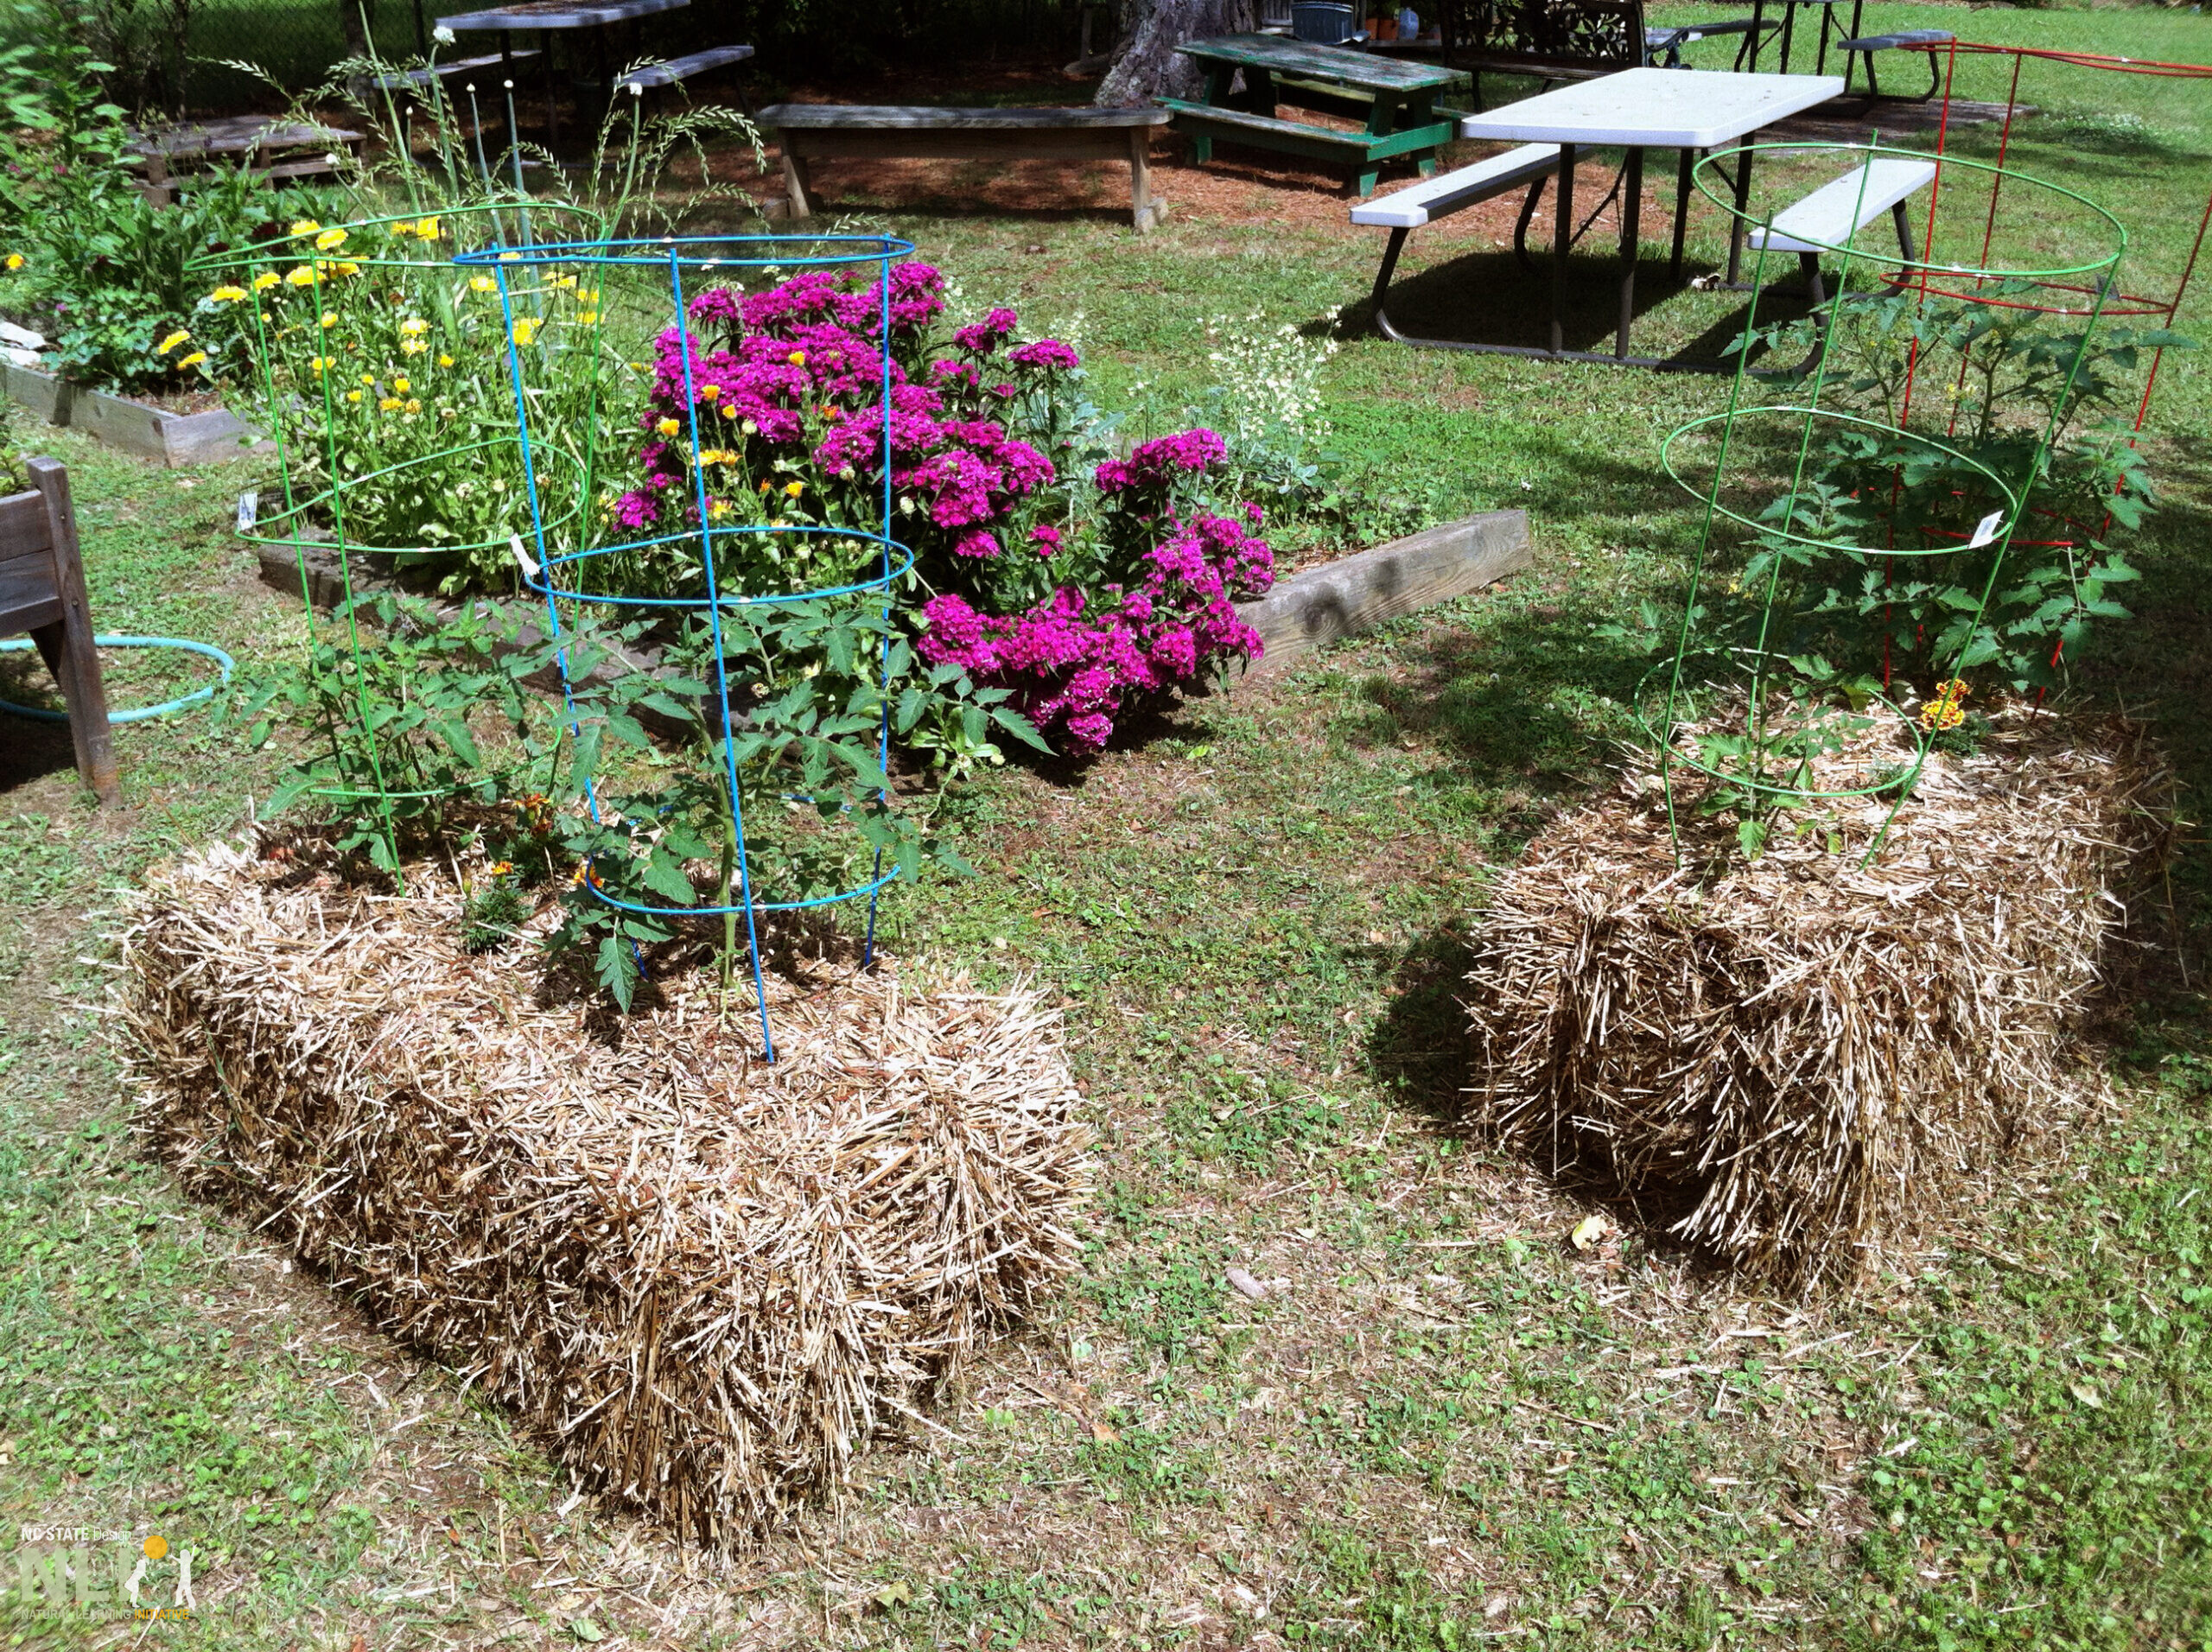
Straw bales are a flexible and affordable option for starting a gardening program in an outdoor learning environment (OLE). They can serve as a temporary solution while permanent beds are installed or as a permanent option. Straw bales offer a ready-made work surface at a perfect height for preschoolers. Some centers plant them with flowers or as part of an annual pumpkin display at the building entrance. As straw is a sustainable material, it can be re-purposed as mulch or added to compost.
Choose straw bales Make sure bales are straw and not hay (will sprout unwanted weeds). If available, choose organic bales to avoid the possibility of persistent pesticides or herbicides.
Determine location Locate straw bale gardens near a water source to ensure more frequent irrigation than an in-ground garden. Position to receive at least six hours of sun per day, like any place for growing vegetables and flowers. Decide location before watering as bales will become too heavy to move.
Which side up? If twine binding faces up, more space is available for soil layer and planting. If twine bindings face out, some say defense against disease and animal intrusions is stronger. It is an individual choice.
Condition bales Condition bales to maximize planting success. Sprinkle high nitrogen organic fertilizer over the upper surface of each bale and water thoroughly to disperse fertilizer until water runs out of the bottom. Periodically water for two to three weeks, adding more fertilizer. Planting can begin when bales begin to get warm due to decomposition, which produces basic nutrients and promotes root growth.
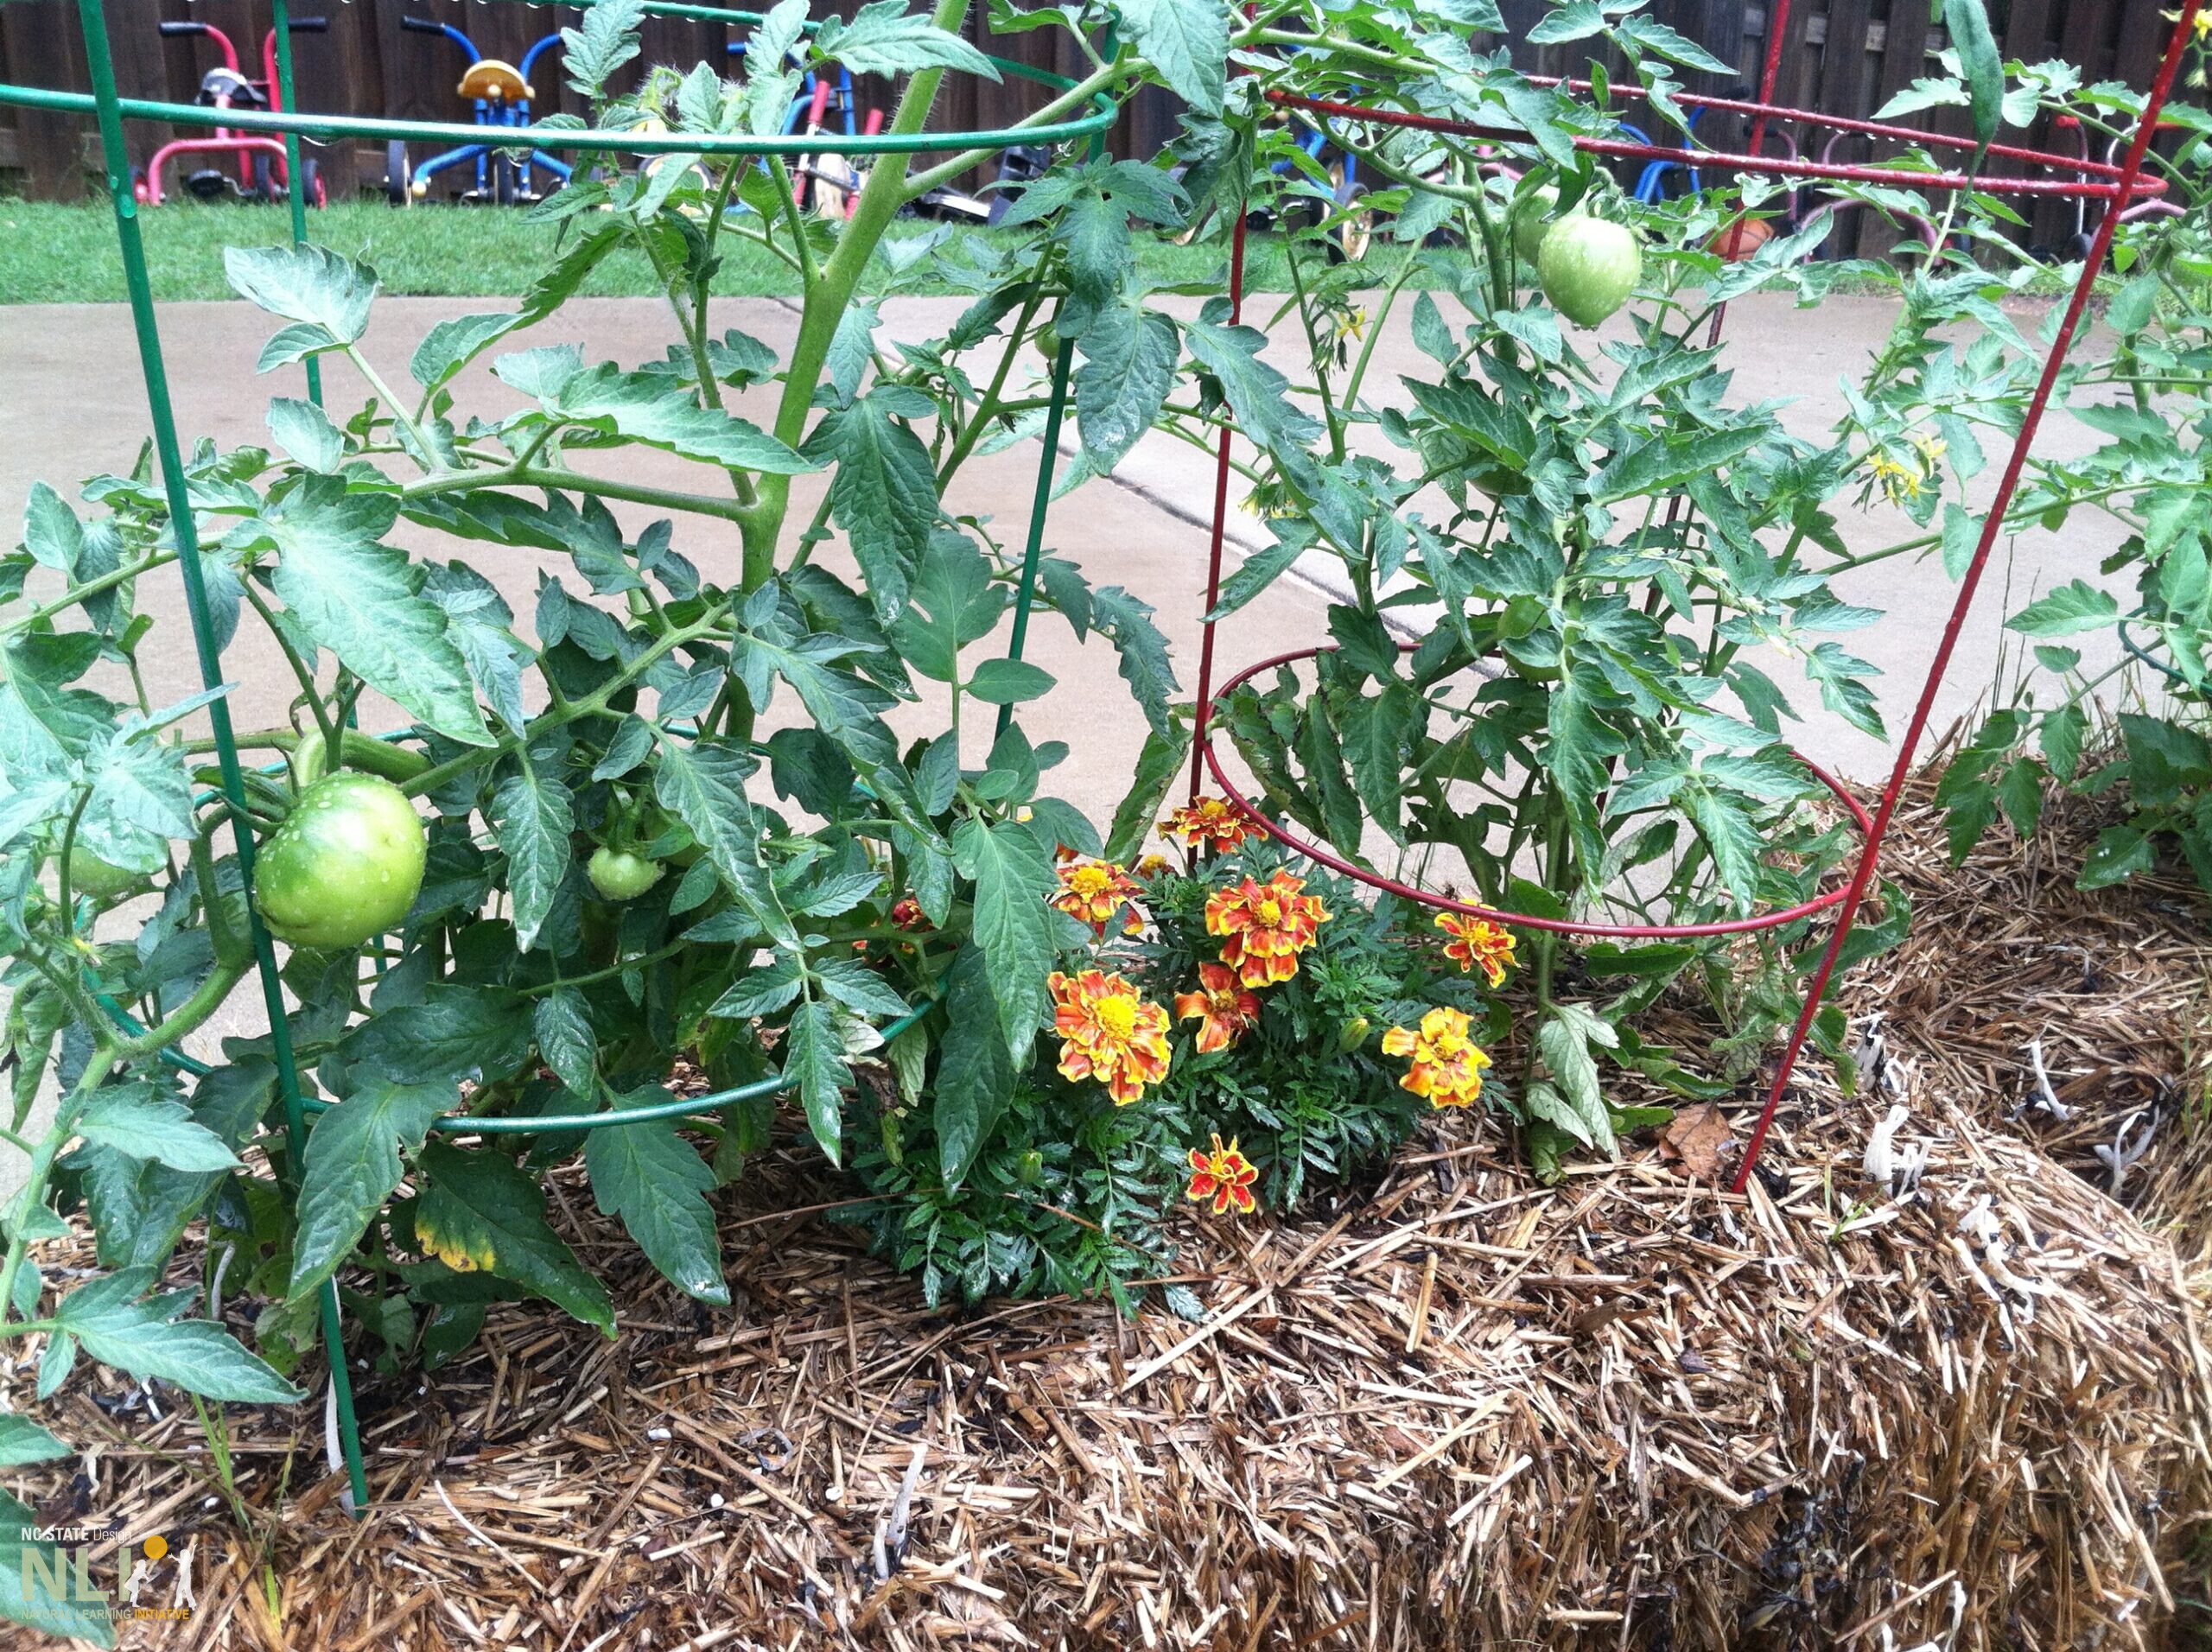
Select plants Vegetables, herbs, and flowers can be grown in straw bales. However, tall plants will become unstable and may topple over, including large tomato plants and corn. Even smaller cherry or grape tomatoes will need tomato cages for support and stability.
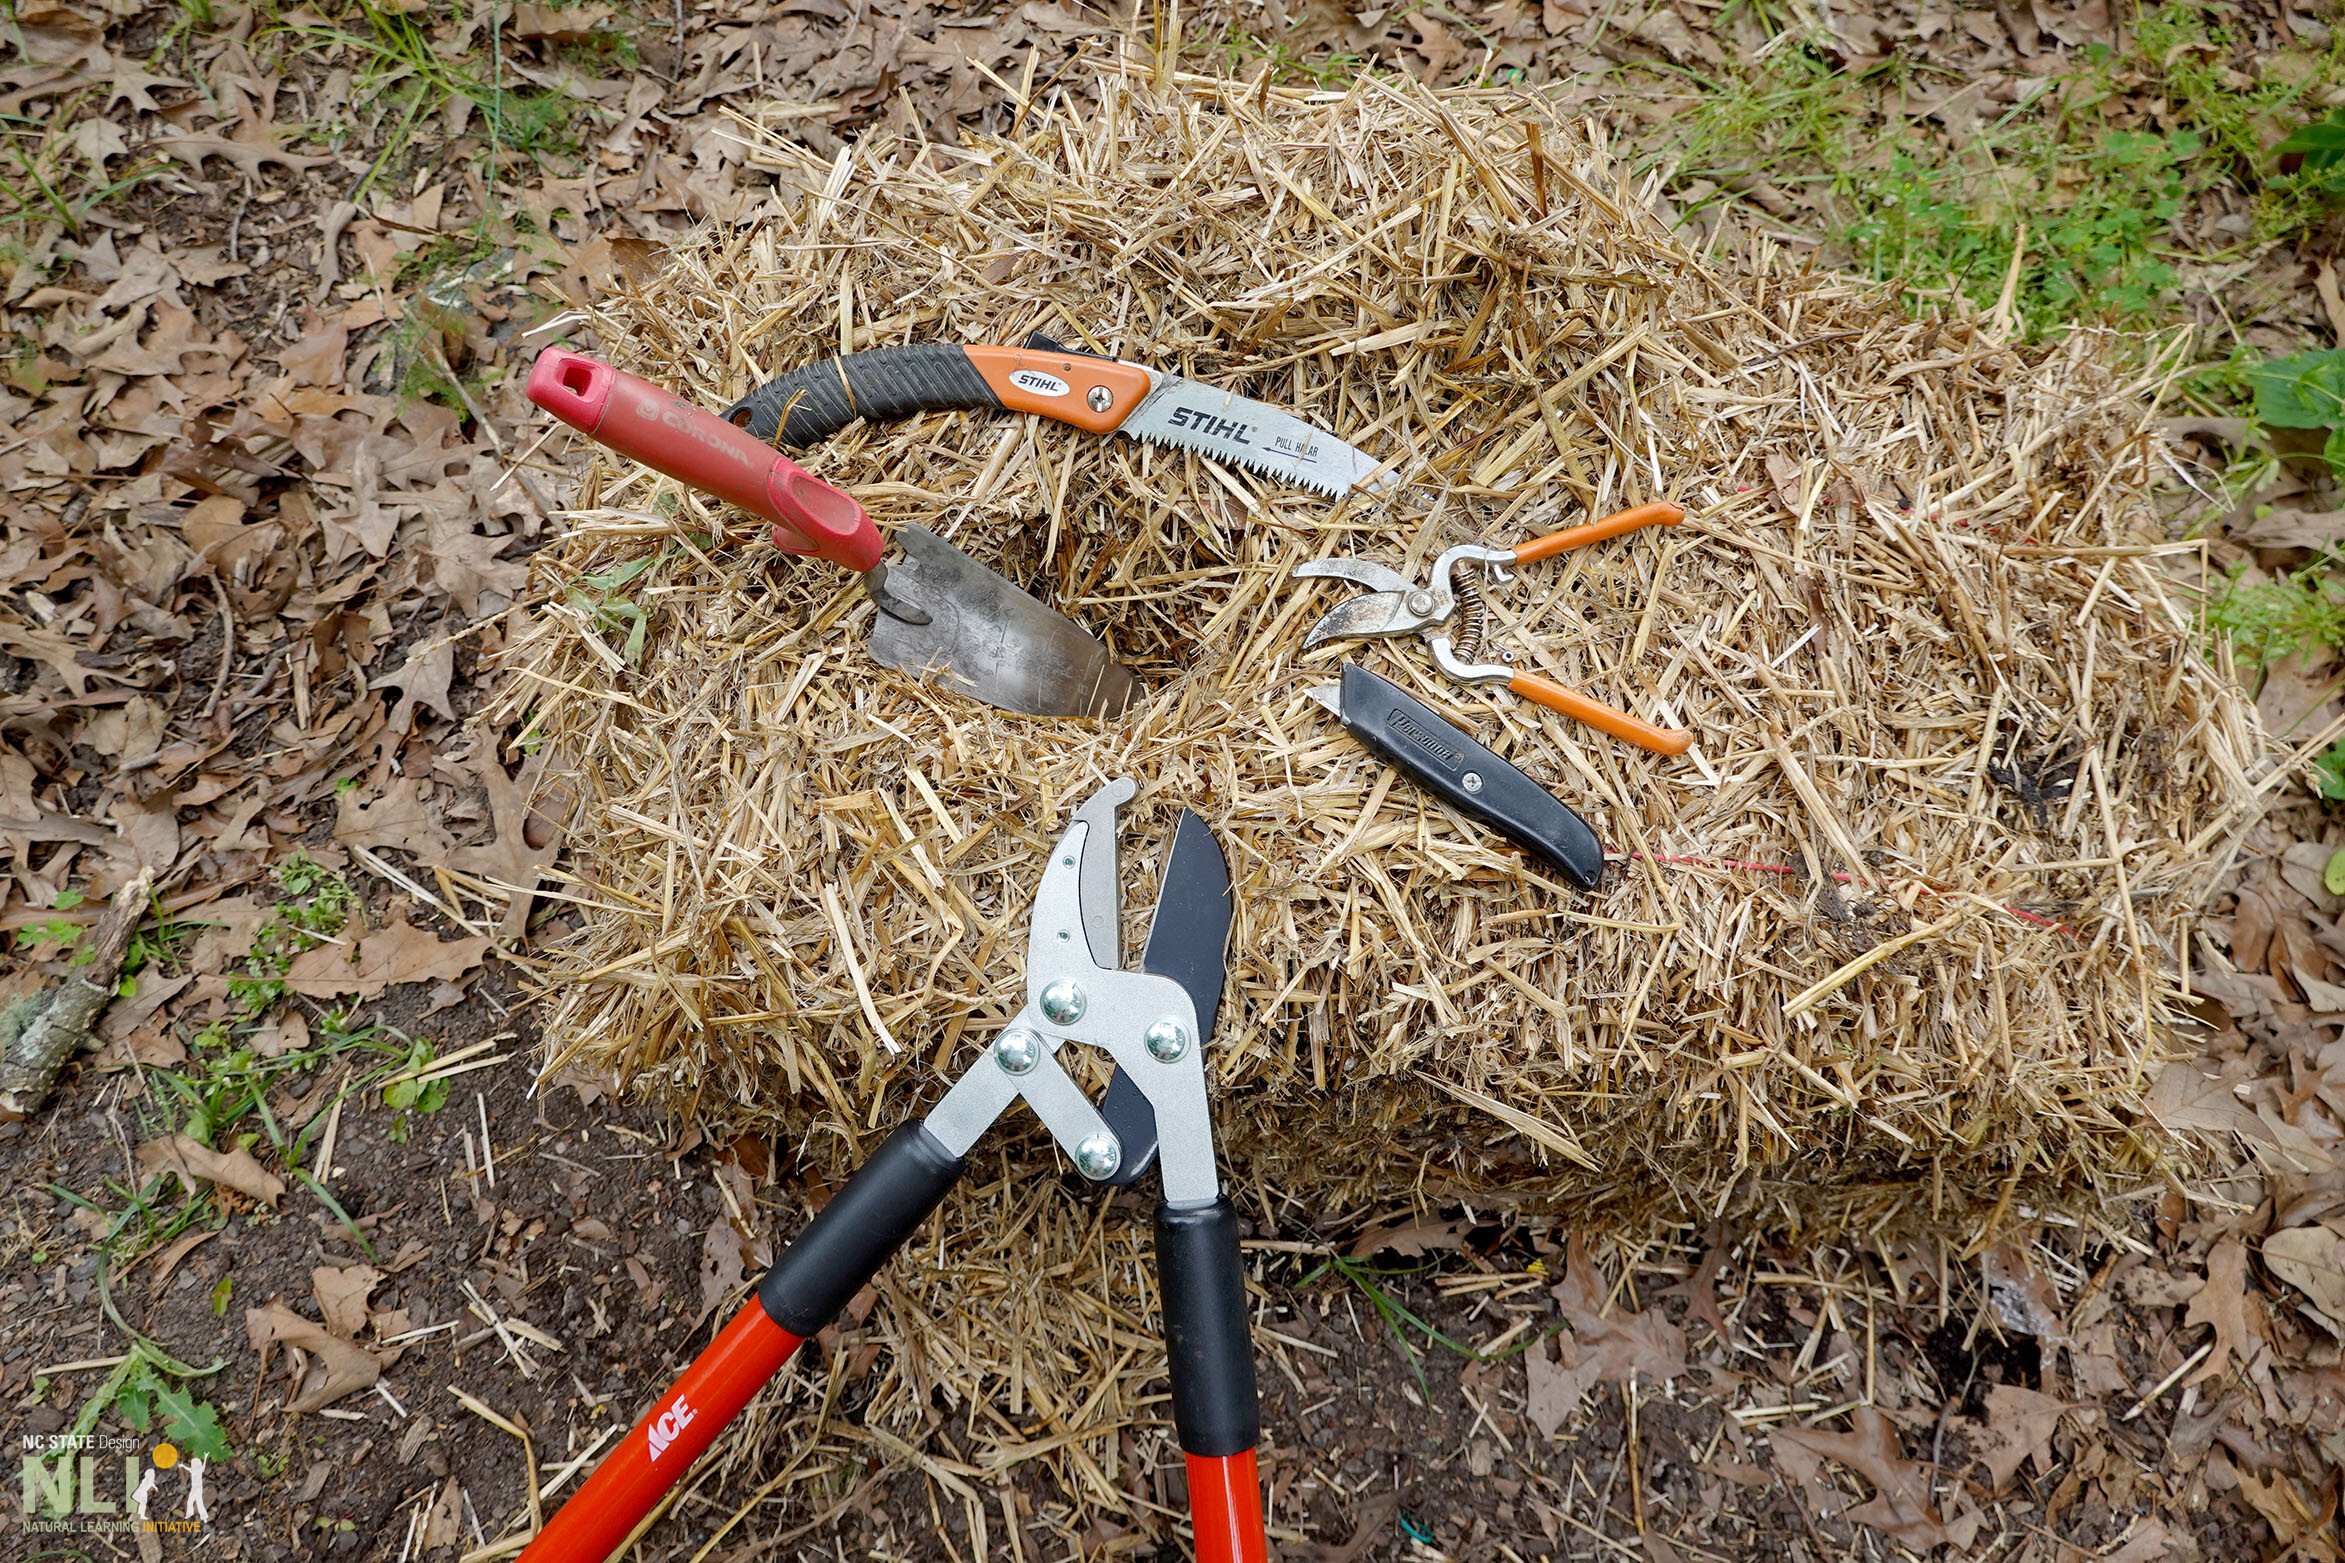
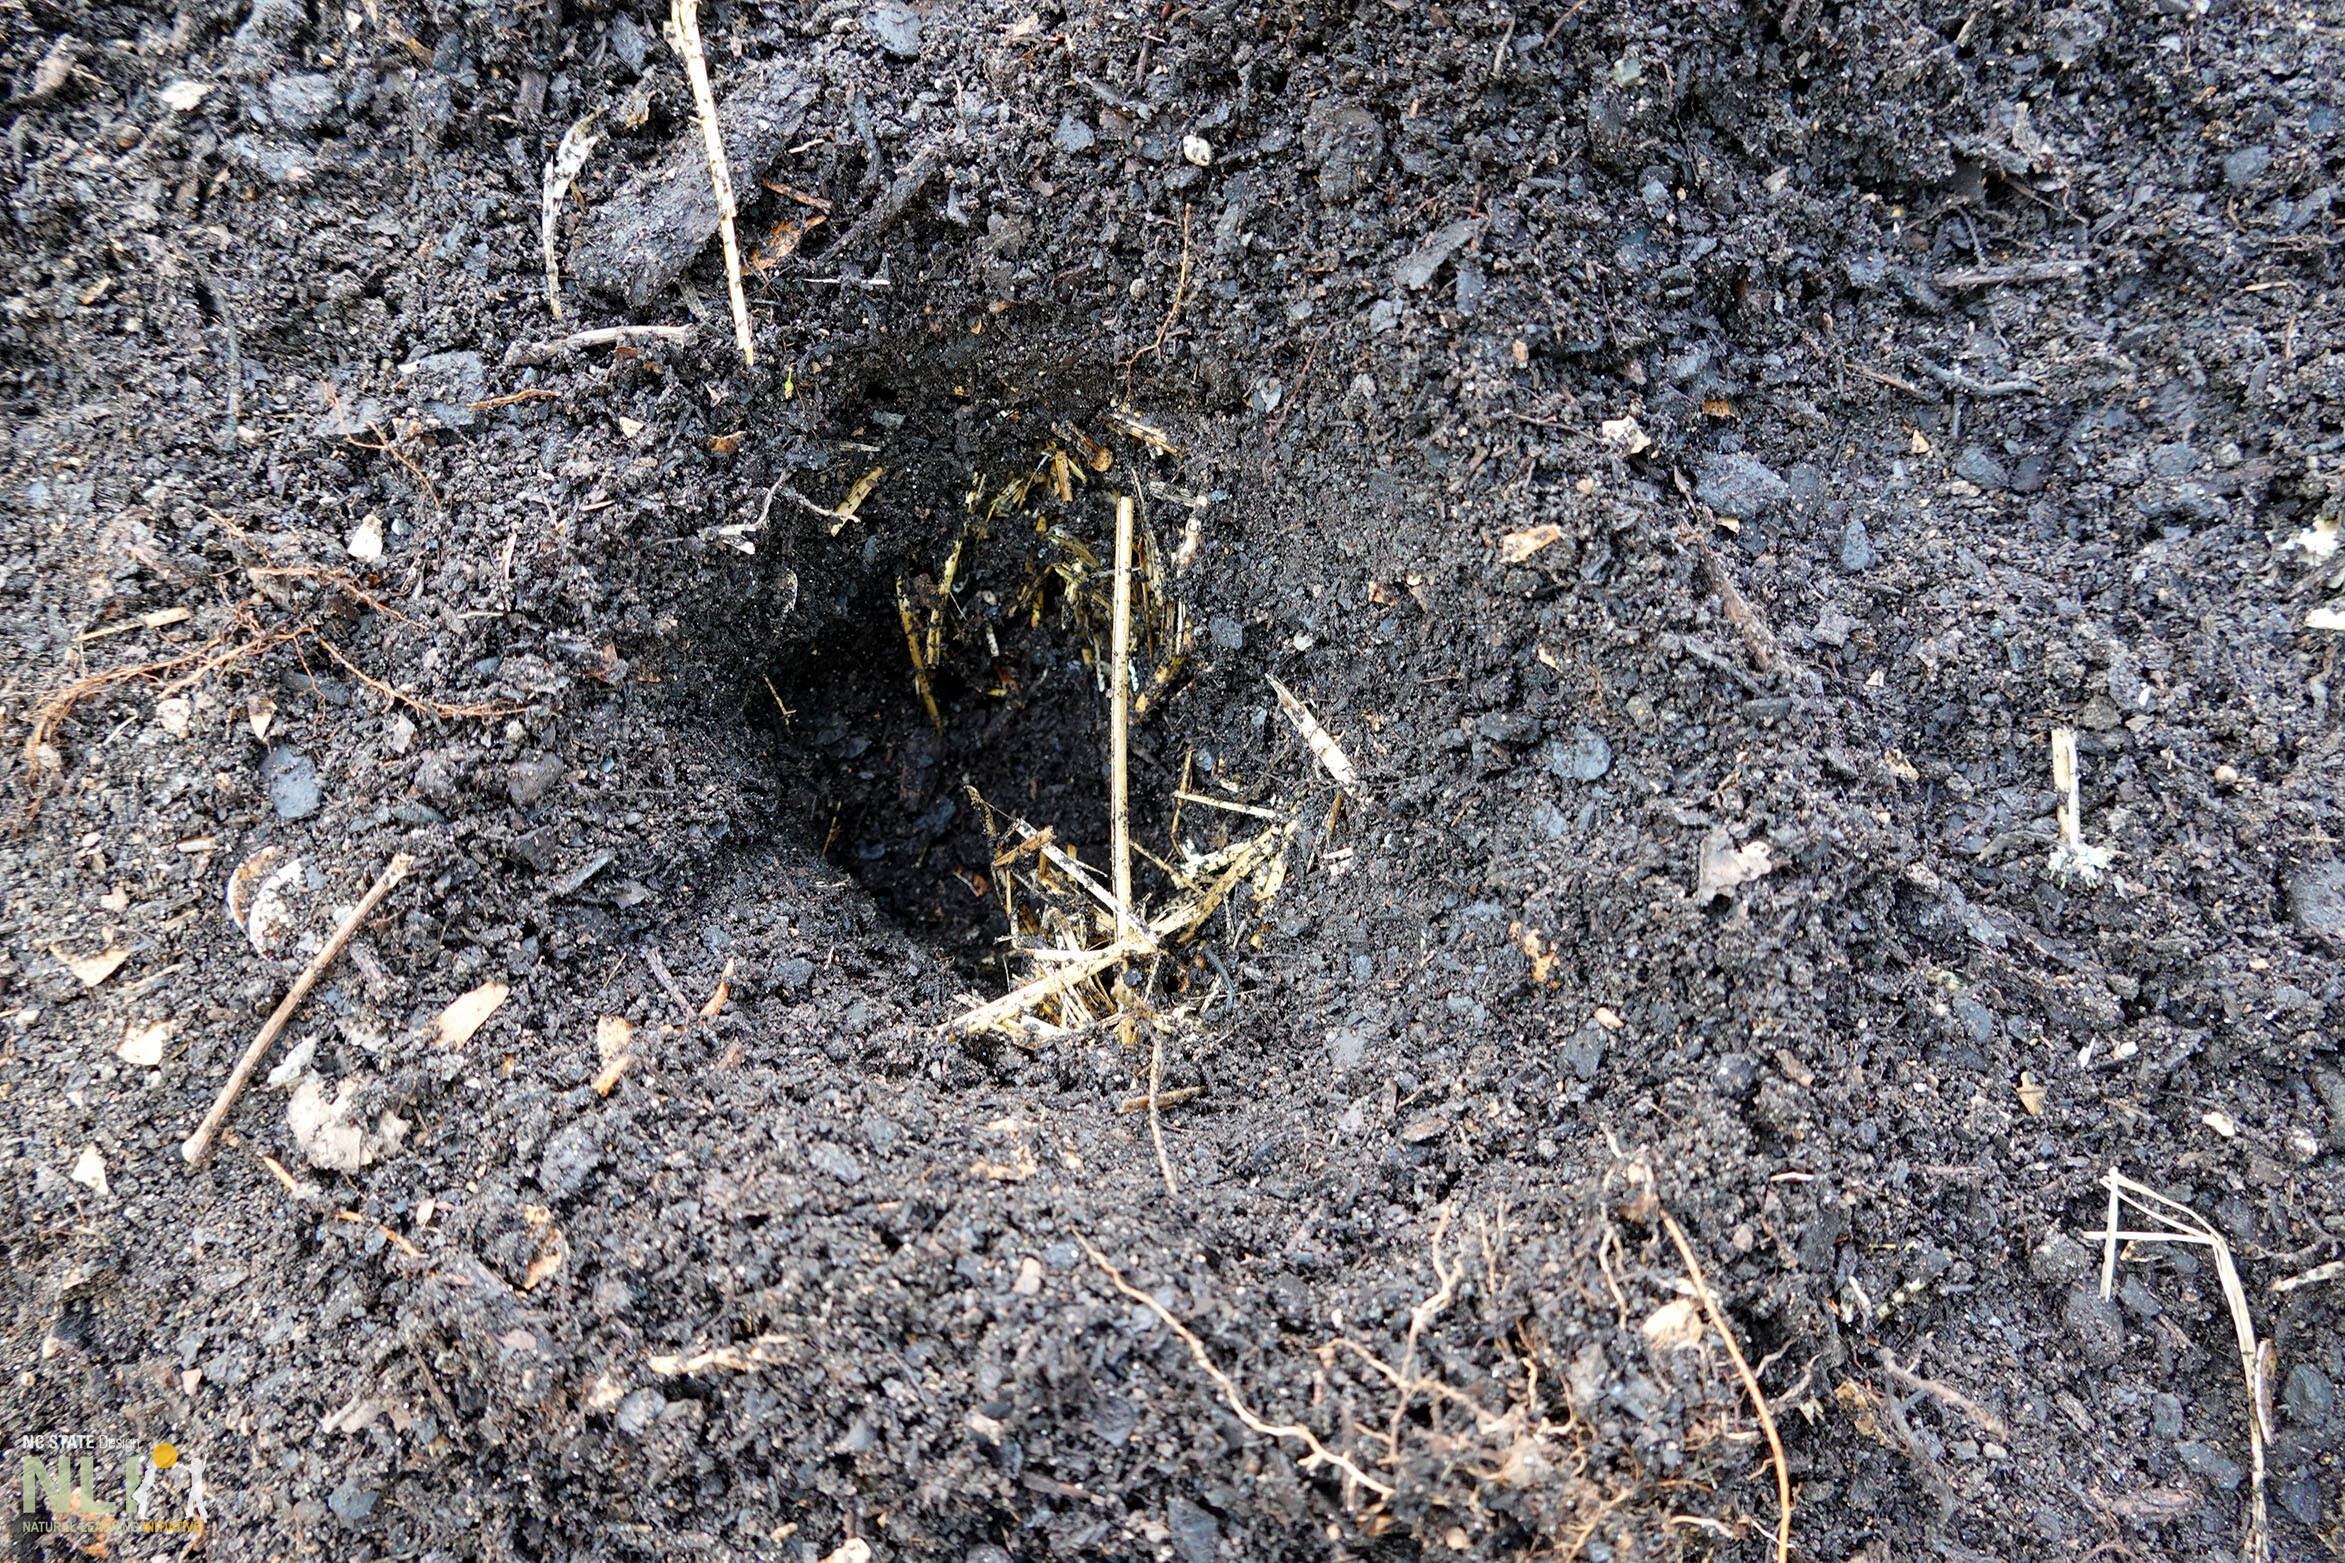
Prepare bales for planting plants Seeds or transplants can be planted. Transplants need cavities a bit larger than their containers. Use tools including clippers, loppers, pruning saw, box cutter (do not use with children present), and trowel to chop out cavities (not as easy as it looks). Set aside chopped straw. Cover bales with 2-3 inches of planting soil mixed with compost. Tamp down.
Plant Dig out soil mix from cavity, install plant, and back-fill around root ball, making sure it is firmly embedded. Sow sees directly into the layer of soil/compost at the recommended depth and spacing as indicated on the seed packet. Layer cavity straw around plant(s) as mulch. Add organic fertilizer. Space vegetable plants as recommended below: • Tomatoes: 1-2 plants per bale • Peppers: 2 plants per bale • Squash: 1 plant per bale • Zucchini: 1 plant per bale • Cucumbers: 2 plants per bale
Watering Straw bale gardens require more water than in-ground gardens to keep bales from drying out. Water regularly depending on rainfall during the germination period.
Longevity Remember that although straw bales are economically friendly and easy to manage, they are temporary. Decomposition is natural and inevitable. At the end of the season, when the straw begins to more rapidly decompose and fall apart, use as mulch or compost for the permanent garden. Repeat the cycle the following year if desirable.
Materials & Tools:
Straw bale(s)
Hand trowel
Garden hose
Compost
Organic fertilizer high in nitrogen
Seeds or seedlings: annual flowers, fruit, & vegetables
Clippers, loppers, pruning saw, box cutter (do not use with keep out of reach of children present)
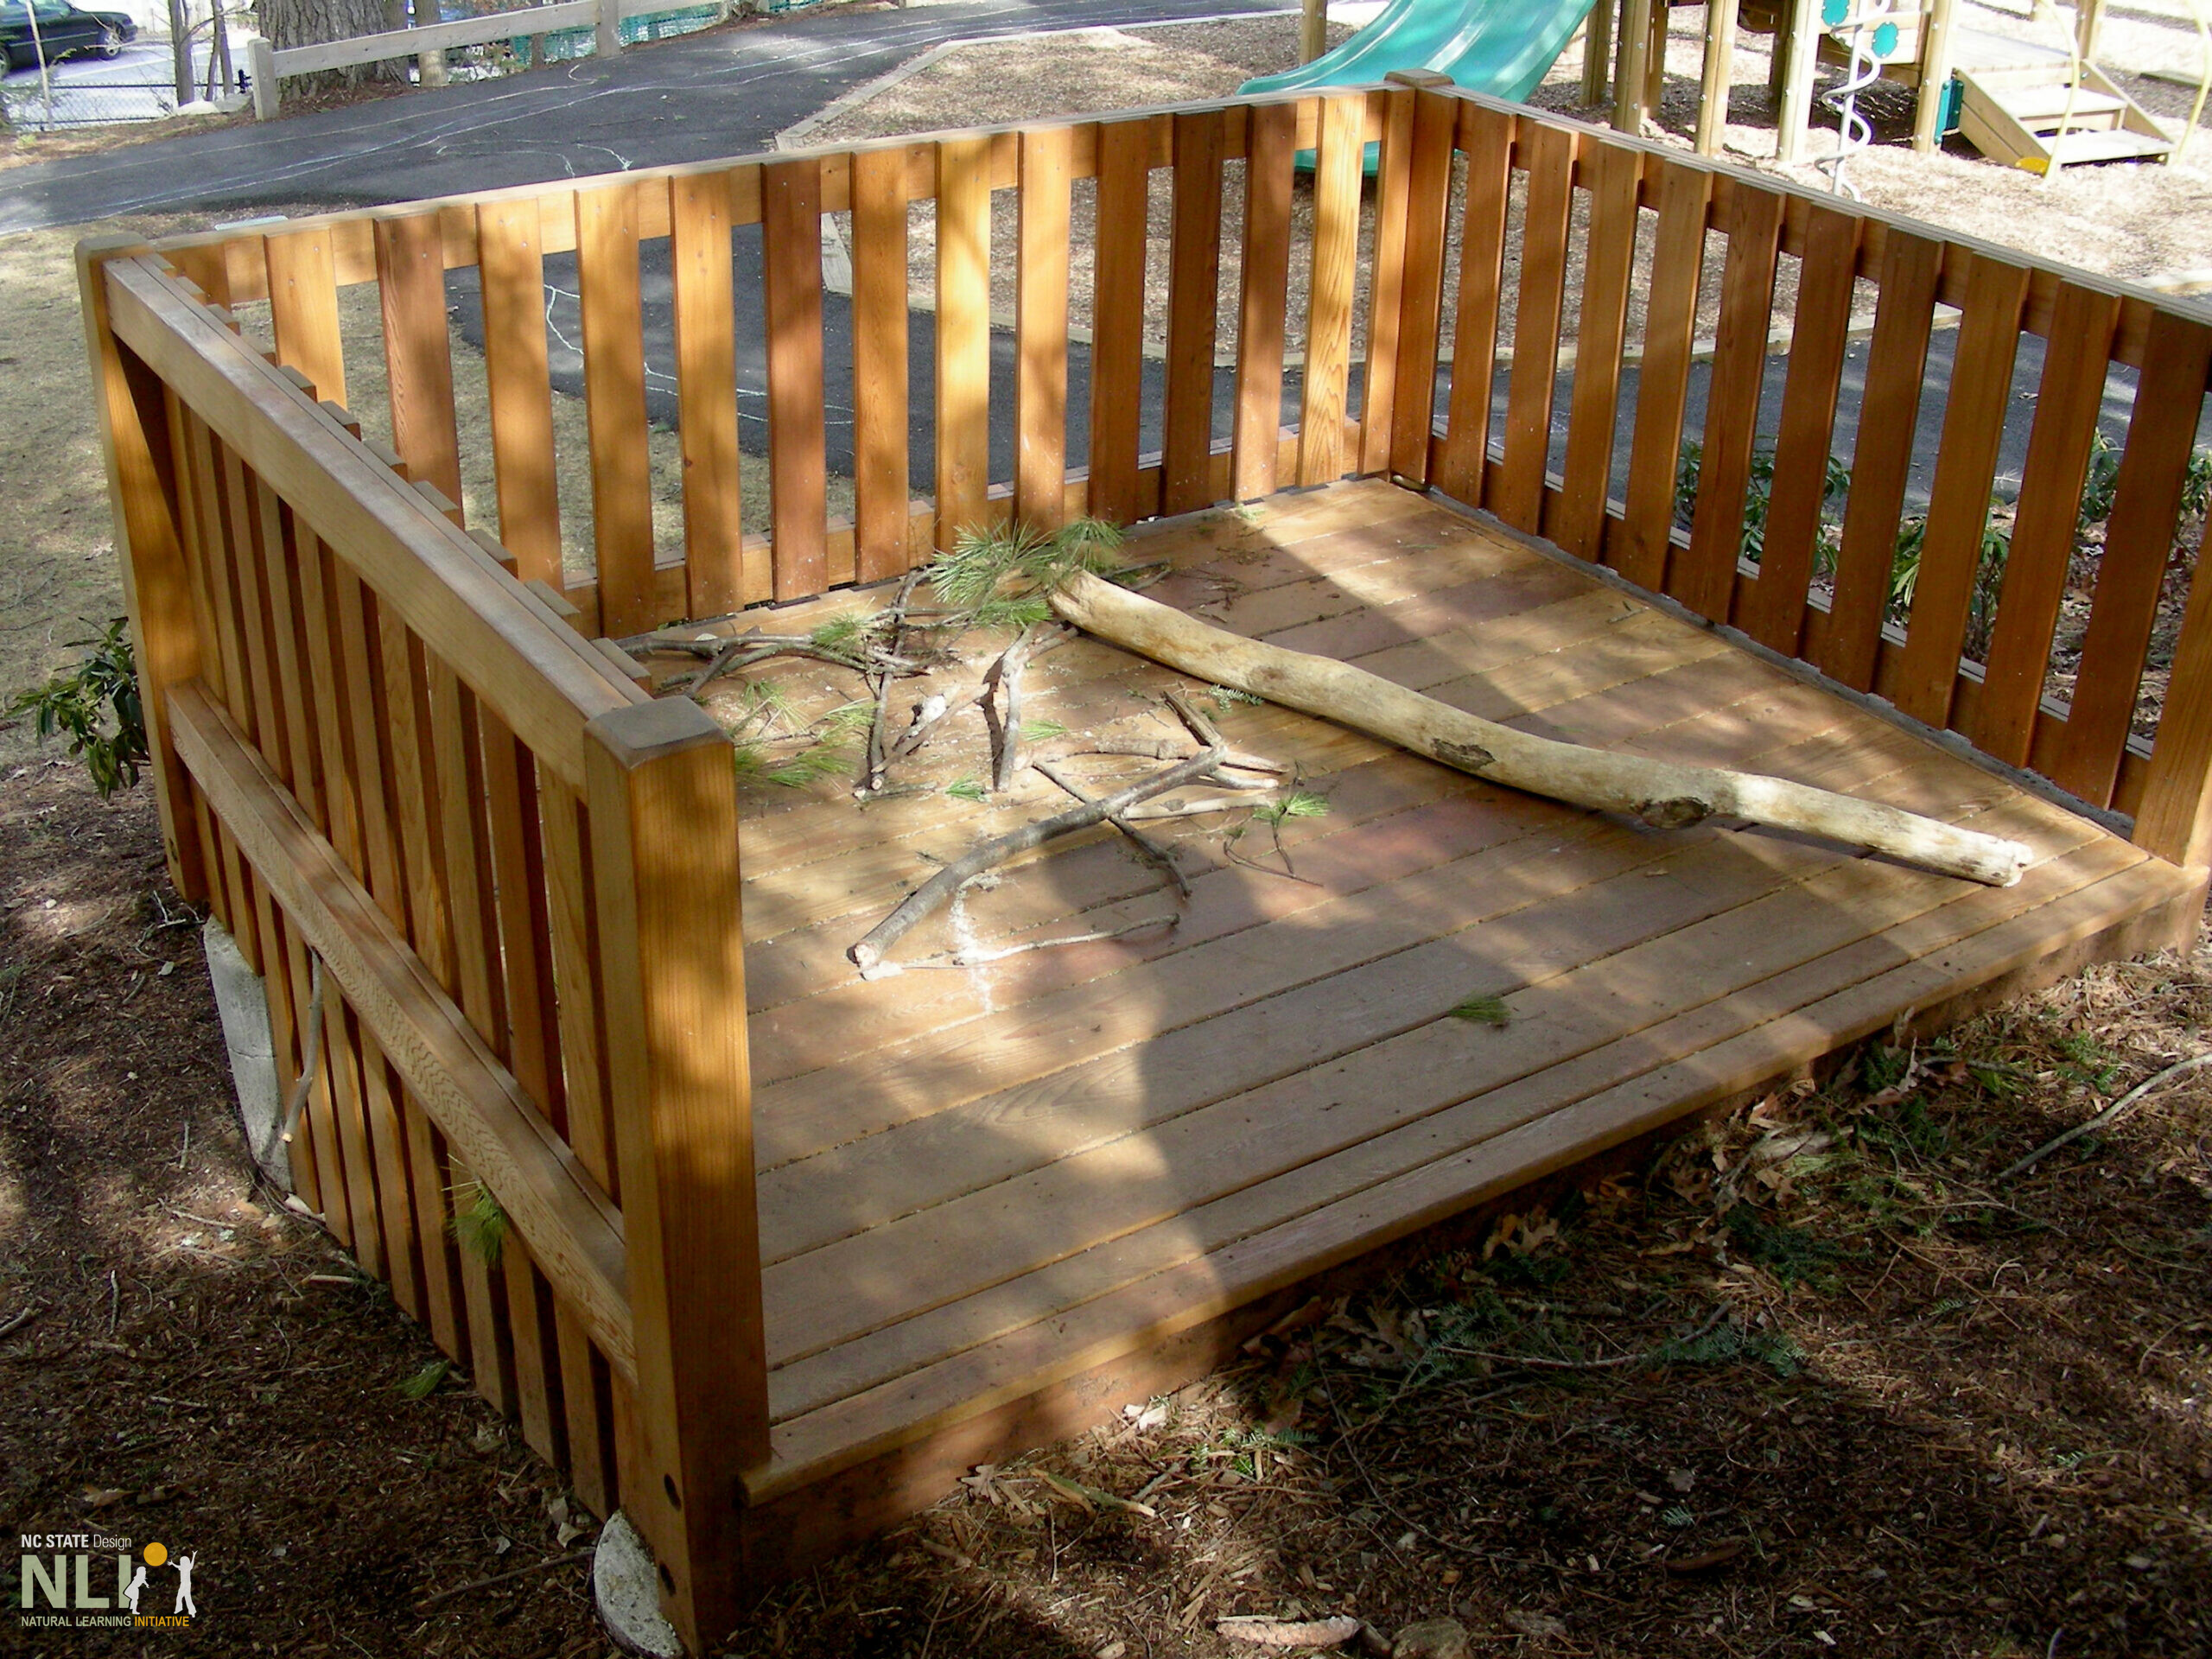
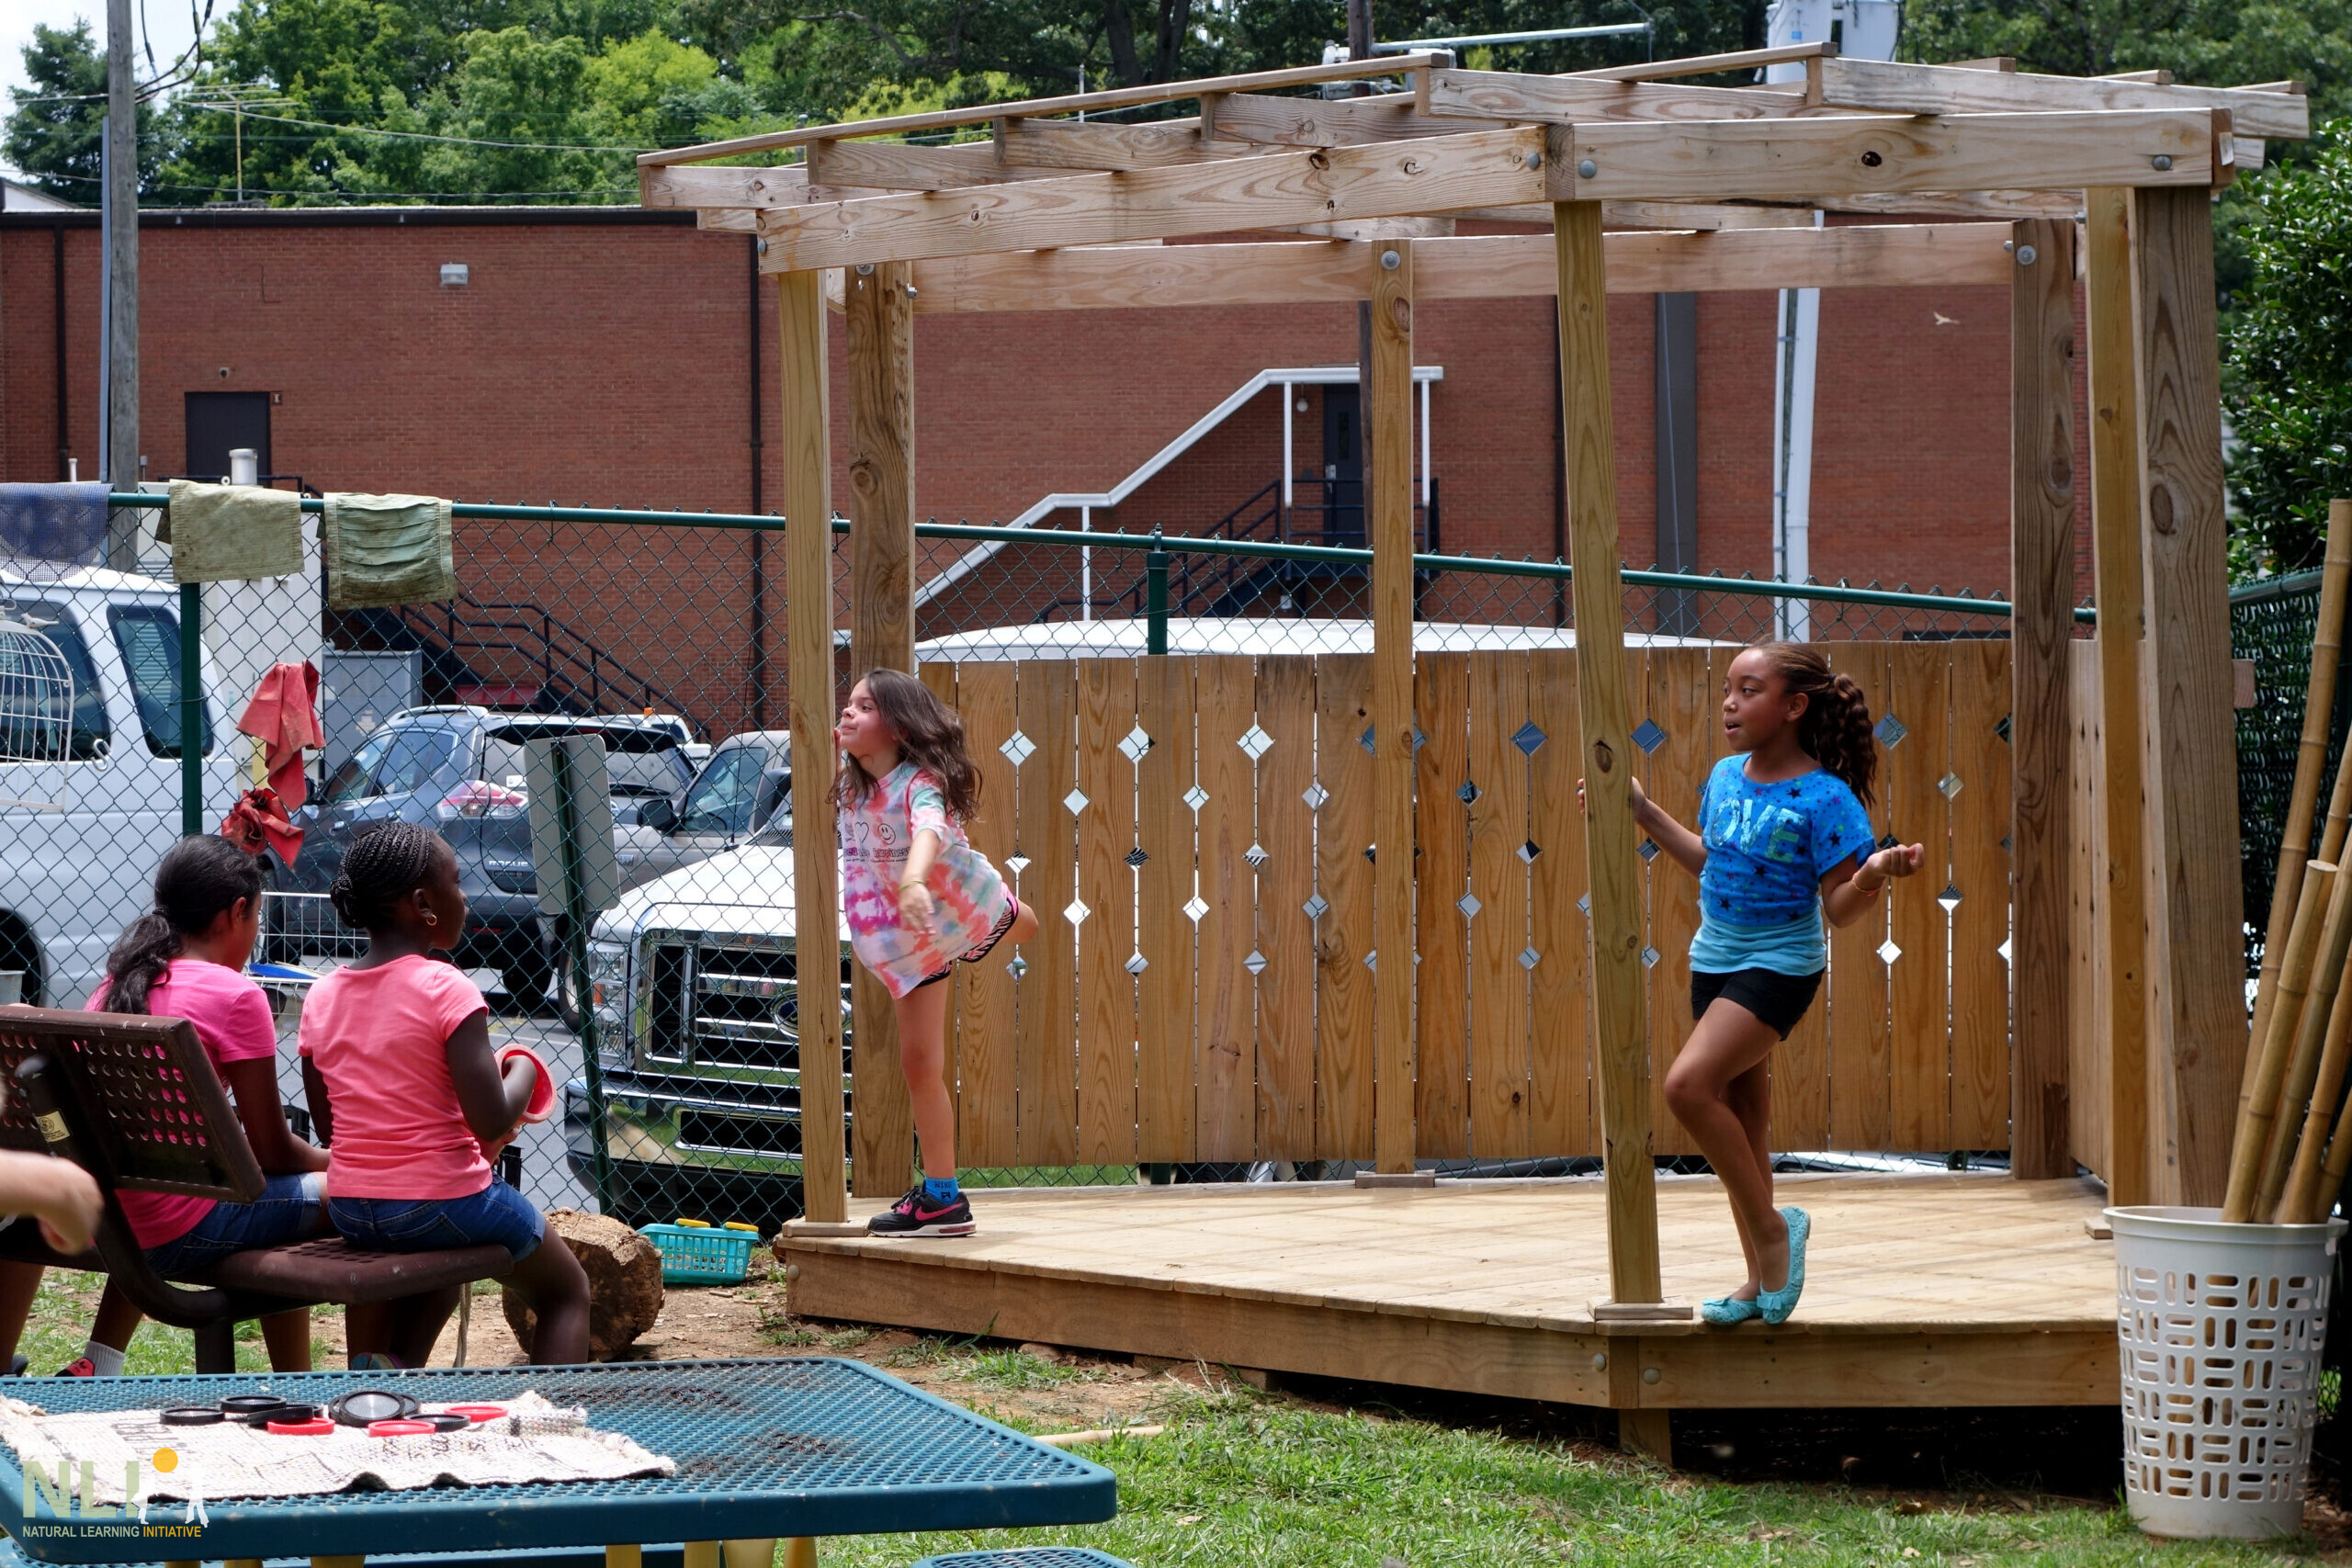
Deck/stage settings provide dry, off-the-ground, multipurpose places for informal play, gathering, and classroom activity. Settings can be constructed of dimensioned or composite lumber, with lattice, see-through sides if needed. Settings may be covered or semi-covered, with added seating and/or storage. Stages encourage socio-emotional dramatic play by providing a safe space for emotional expression, where children can create stories, put on shows, dress up, and act out.
6-inch wide boards are ideal for most decks, requiring fewer fasteners than 4-inch boards. Buy lumber that runs the full length of the deck to avoid placing boards end-to-end, which makes them more susceptible to rot.
Use structural screws (not nails) for higher tensile strength and ease of use. Note that nail heads can begin to rise above the timber surface, requiring periodic nailing to avoid the risk of tripping.
Sealant extends the life of common pressure-treated wood by protecting it from the elements. With care and attention, the life expectancy of treated lumber can be similar to manufactured play equipment, i.e., 10-15 years. Thompson’s Seal is a popular brand.
DESIGN CONSIDERATIONS
Dimensions and shape vary based on budget and intended use. Decks can be common rectangular or hexagonal shapes, or custom-built to fit a particular location to complement existing play and learning settings.
Location. Decks and stages can adapt to a variety of site constraints, including difficult terrain, corners, and damp or wet areas. If building a deck over a”low-point,” ensure that the substructure is well-drained. Decks and stages work well in corners and along fence lines, but can also be centrally located for group activities, teacher-led interactions, and social play.
Sufficient shade must be provided to protect children from harmful ultraviolet exposure. Shade also extends comfortable outdoor stays. Try to use permanent solutions, such as shade trees and pergolas. Temporary solutions, like shade sails and canopies, can be installed while trees mature.
Ground-level, multipurpose deck/stage, tucked into a corner of the preschool space, under the shade of adjacent trees. Open-ended play with colored streamers is underway.
Covered, raised porch/deck provides transition zone between indoors and outdoors, where classroom activity can spill out into the fresh air.
Hillside deck, accessed via stone steps (off camera), provides commanding “prospect” across preschool space and an enclosed (but visible) “refuge” for dramatic play (here, with natural loose parts gathered from grove of trees behind).
Elevated, multipurpose, corner stage under shady pergola affords social-emotional, expressive activity without prompting. Bench supports audience participation.
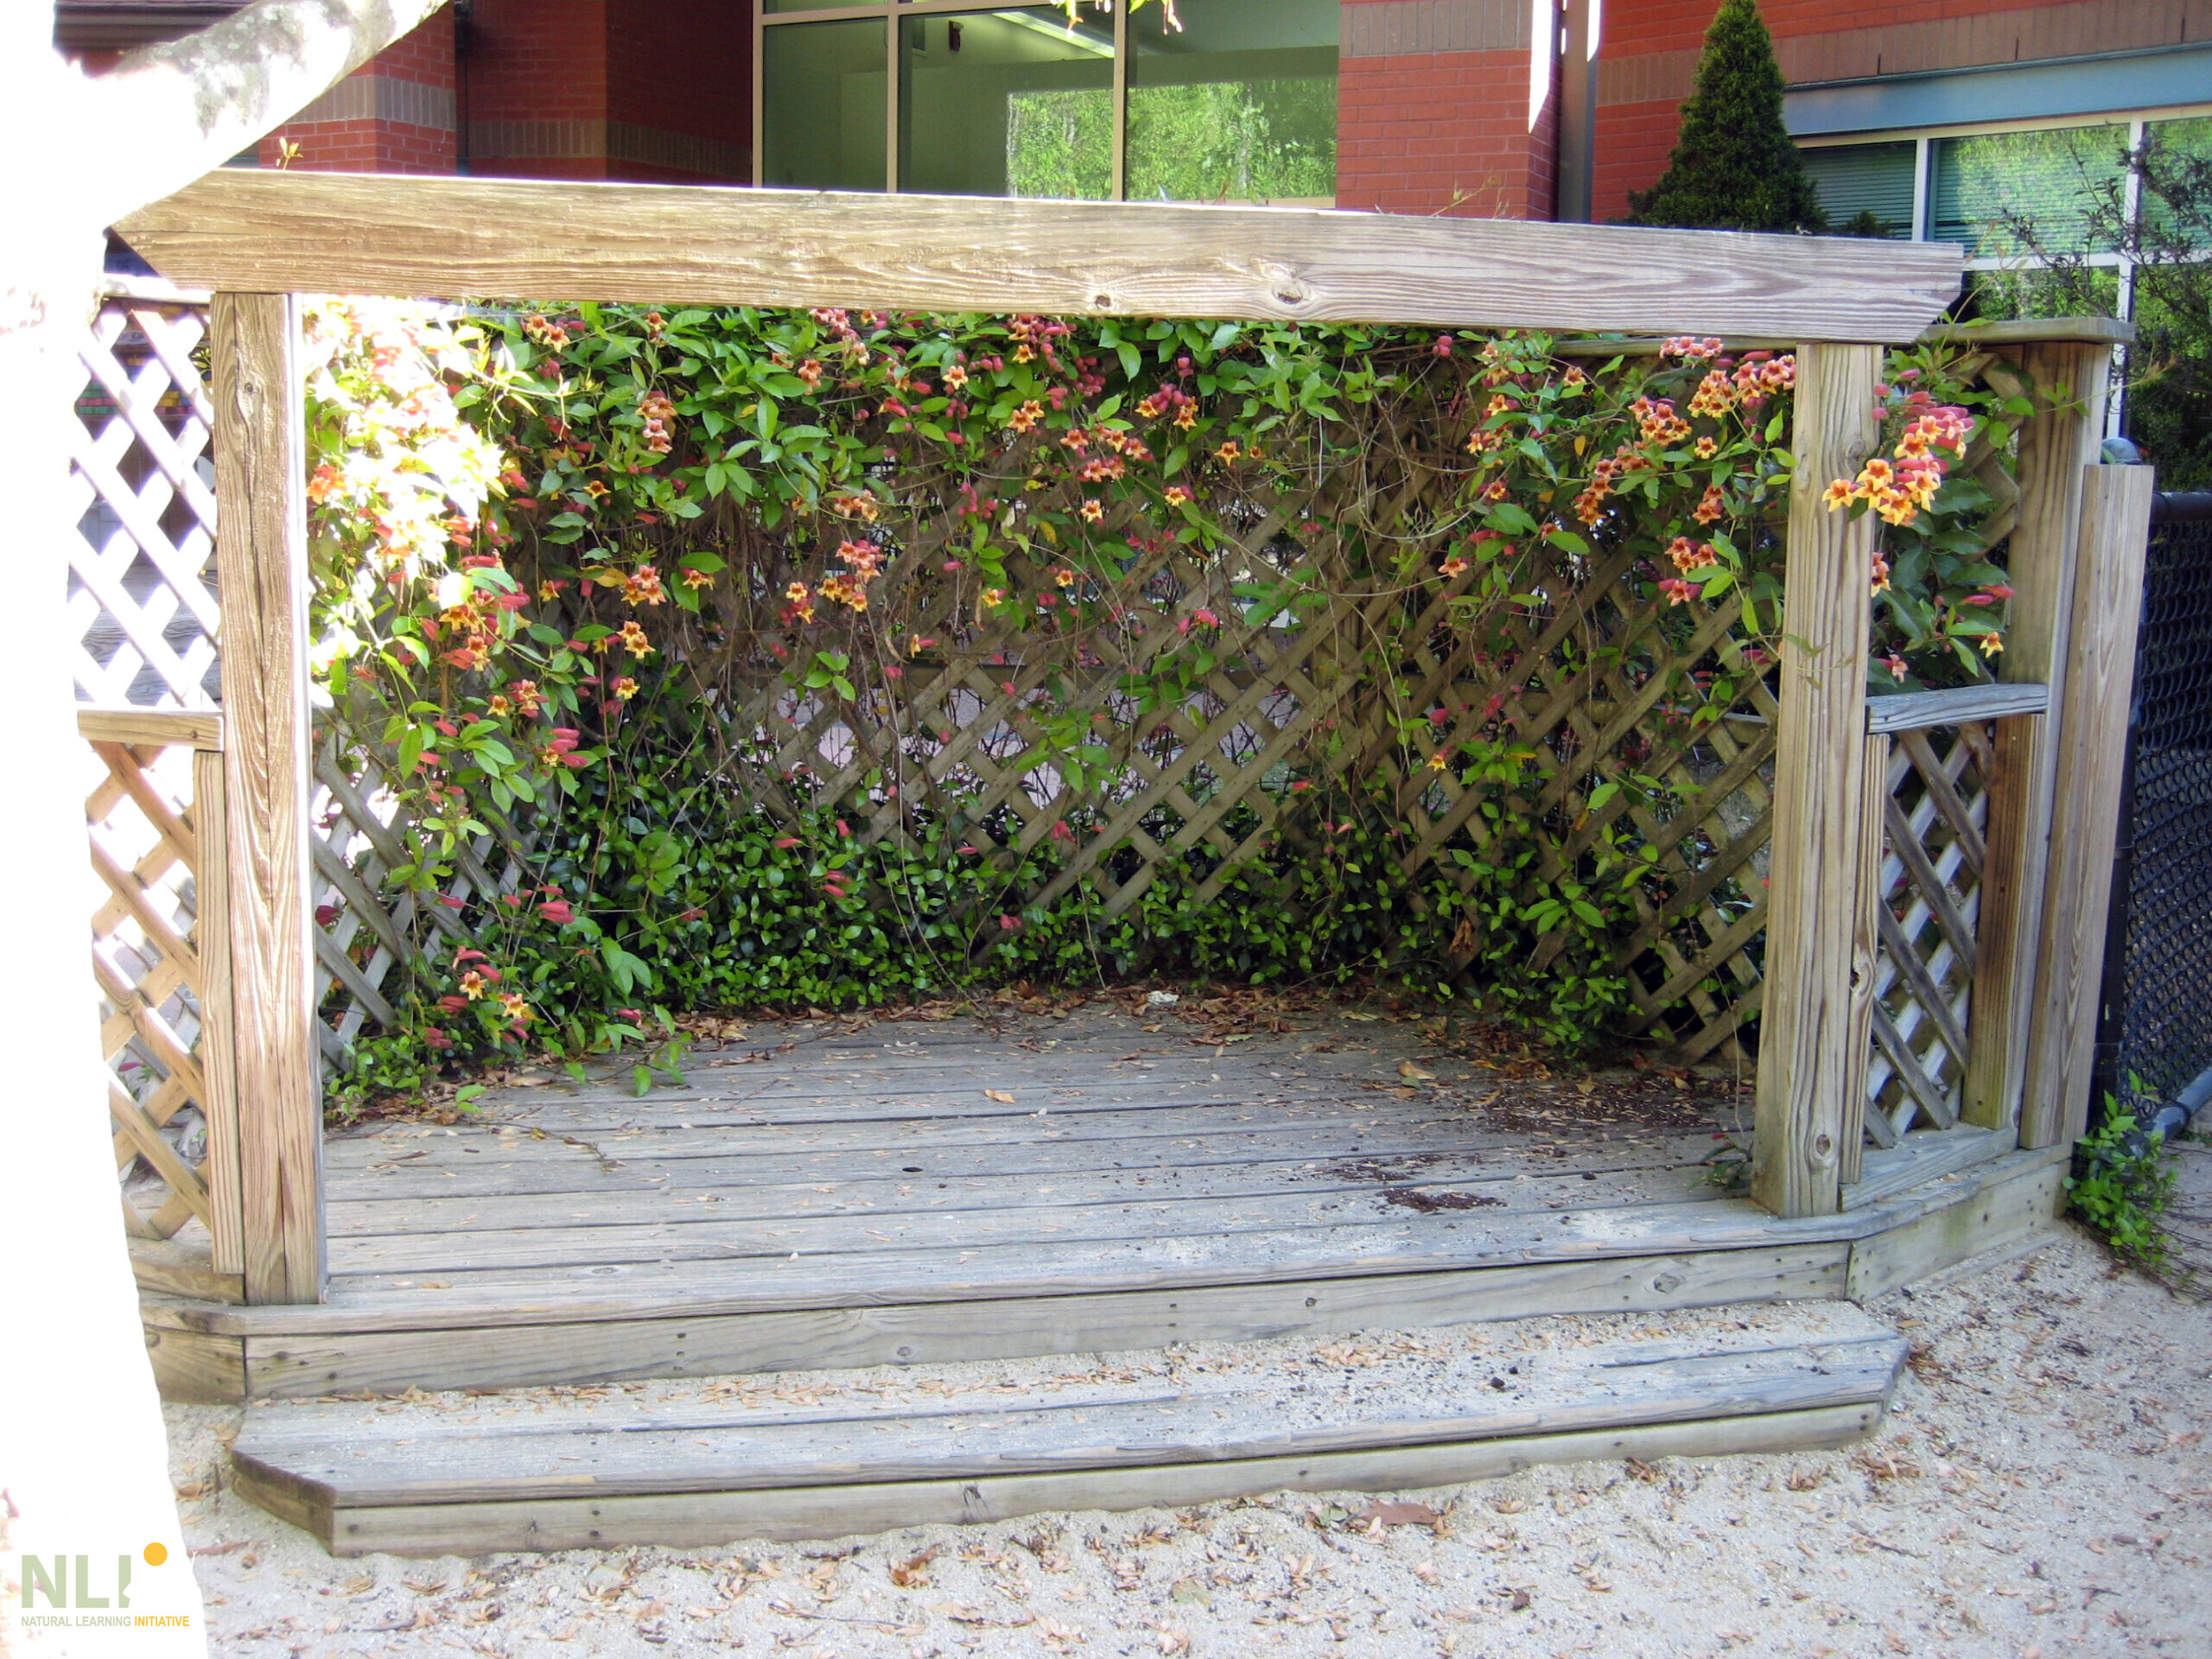
Multipurpose stage/deck offers an intimate refuge in a corner of this toddler space, enclosed by see-though lattice supporting colorful perennial vines.
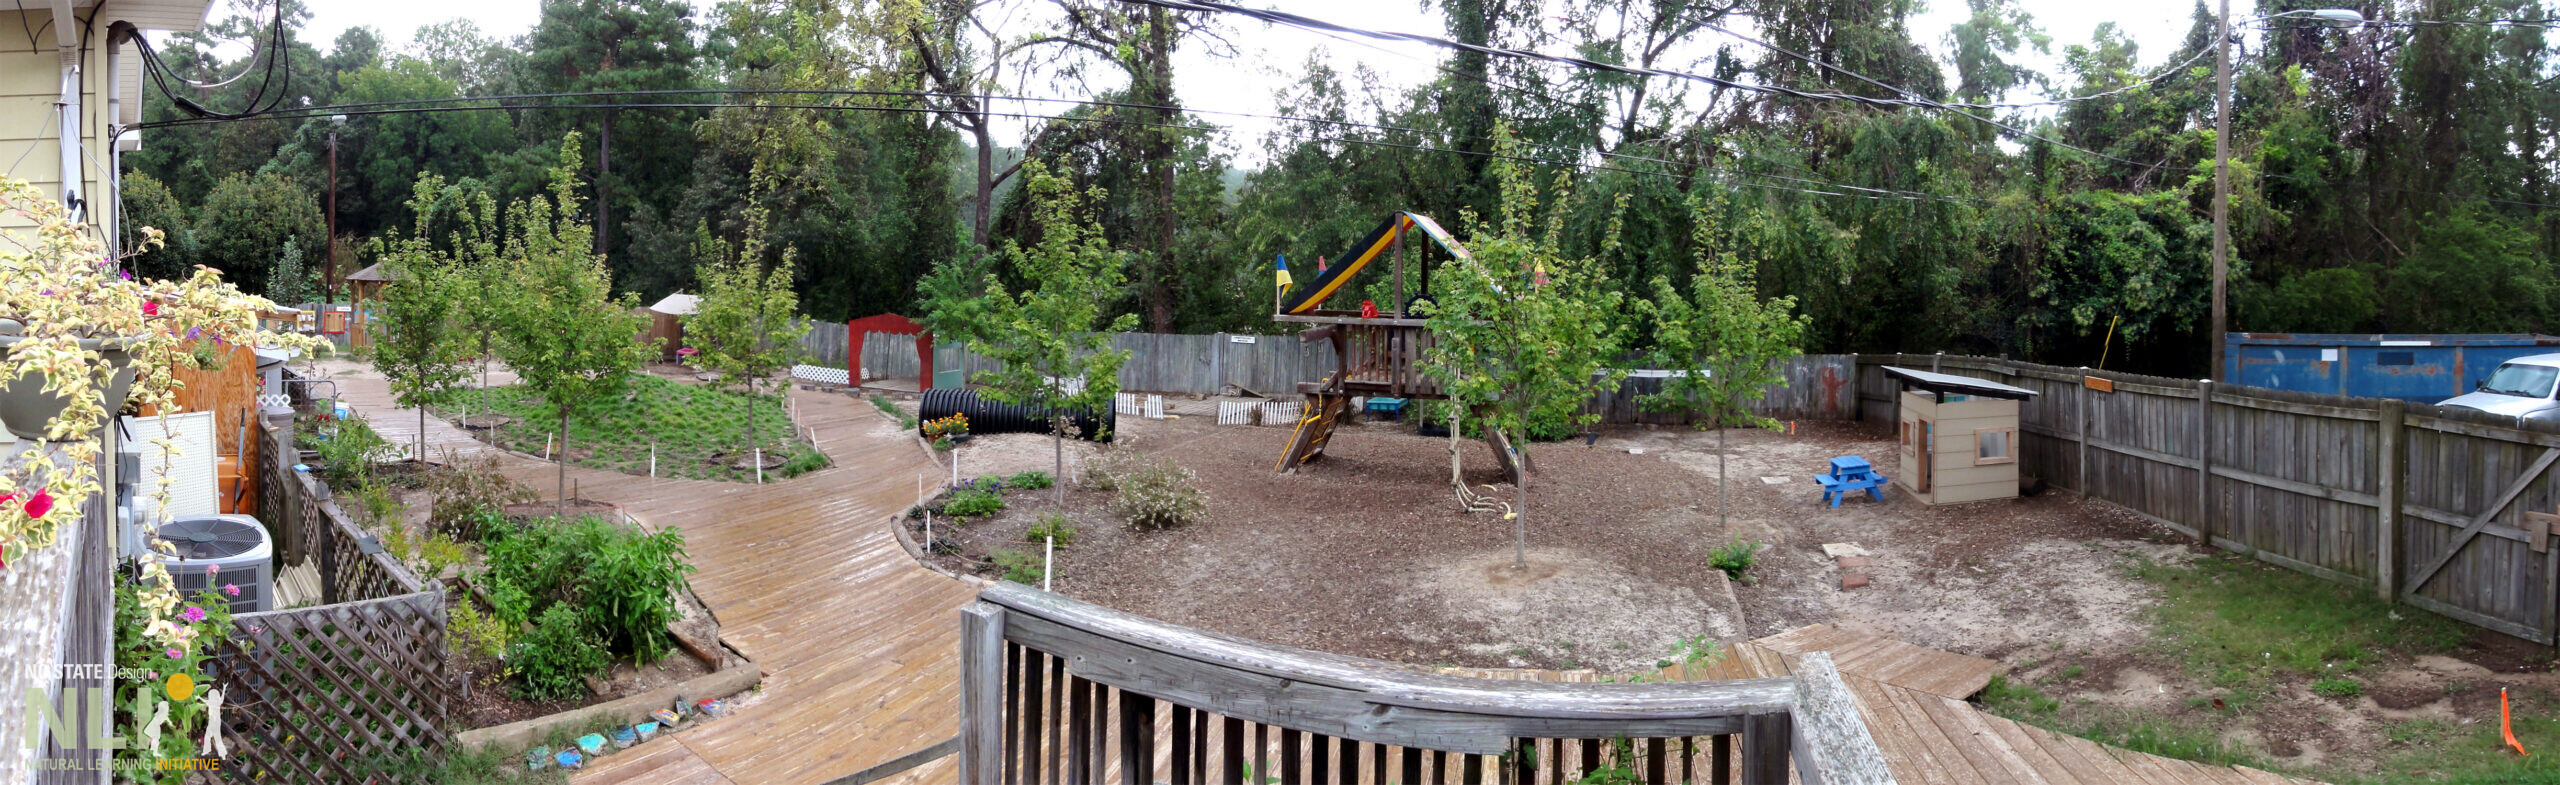
Primary pathway deck offers a viable, functional solution in this preschool space to counteract poor drainage. Note red proscenium arch stage
COMMON TYPES OF DECKS/STAGES
Ground-level decks should be set on a bed of gravel or supported on concrete block foundations. This keeps the wood away from moisture, increasing its longevity.
Raised decks and porches can serve as useful indoor-outdoor transitional spaces. They should be located and configured so as not to obscure sightlines. Raised decks and porches should meet local licensing requirements, including sufficient rail height and visibility.
Lookout decks, placed on the sides or on top of hills, serve as adventurous, high-activity play settings. Lookout decks should ensure child safety with sufficient railing heights to meet licensing requirements. A lookout deck can be paired with an embankment slide. Consult a landscape designer/architect or engineer to ensure appropriate grade slopes.
Performance stages support dramatic and social play. They can be simple, ground-level decks paired with dramatic play props and costumes, or more elaborately designed amphitheaters. Pair with log, stone, or other semi-circular seating. Consider costume storage that allows children easy access.
Infant/toddler decks create semi-enclosed play settings with adjacent touchable, aromatic plantings. Decks must be adequately shaded with a pergola, shade sails, or shade trees. Ribbons, strings, bells, and other tactile, wind-sensitive materials can be hung above decks for additional sensory stimulation.
All wooden components should be free of sharp edges, sharp hardware, and splinters.
Before digging on-site, call 811 to check for underground utilities. The service is free but can take several days, so call in advance before starting installation.
Terrariums are a fun and attractive way to bring nature indoors. Using easily found and inexpensive materials, you can create a small world of wonder for children and adults alike. With figurines, plants, and found objects, children can construct a magical scene that activates their imagination and connects them to natural materials. After careful assembly, children can help care for the terrarium, and as plants grow, watch their design come to life!
Themes
Be creative in choosing a terrarium theme – a wild jungle, prehistoric dinosaurs, a farm scene with favorite animals, or wherever the children’s fancy leads. For a fairy-themed garden, see related InfoSheet: Fairy Villages. Go on a nature hunt with children. Look for special, exciting, evocative, natural objects to guide the terrarium theme. Use small rocks or stones with complex shapes and textures to enhance the theme. Allow imaginations to run wild with endless design possibilities.
Containers
Terraria containers can be ‘open’ or ‘closed.’ Open are easier to create and manage (compared to the more finicky ‘closed’ approach) and are recommended as a starting point for novices. Containers can be purchased or repurposed from clear glass or plastic receptacles (goldfish bowl, cookie jar, large mason jar, shallow dish, etc.) Any transparent container with a relatively large opening will do.
Plants
Open terraria are dryer and better suited to succulents and cacti – needing misting a few times a week. Choose plants also based on light conditions (direct sun; indirect, bright light; low light). Enclosed terraria will be more humid, making them better suited to low-light plants such as ferns and moss. Tropical plants may get burned if placed too long in direct sun. Remember that since plants will share a habitat, they require similar light and moisture levels. In general, select small plants that won’t quickly outgrow the container.
Steps
Choose a location. Observe its light conditions. Use a plastic covering or newspaper to protect the surface.
Thoroughly wash the container, pebbles/rocks, and other items before assembling. Allow to dry.
Cover the bottom of the container with a 1-inch layer of pebbles for drainage.
Depending on the shape and depth of the terrarium, add a layer of potting mix that is at least 2-inches deep. Lightly pat soil down into an even layer.
Carefully tease roots apart. Arrange each plant in a preferred location. Use a finger or a spoon to create small holes for each plant. Make sure to leave space for plants to breathe and grow.
Gently nestle each plant in its hole and cover with excess soil to secure it in place.
Once all plants are placed, use decorative elements such as rocks, stones, miniature tree cookies, mosses, figurines, and found natural materials to create the terrarium theme.
Lightly mist plants and soil until damp but not wet.
Place terrarium in selected location and enjoy!
Check once a week for moisture and plant health.
Recommended Plants
For bright light (sunlight directly shining on plants):
Aloe, Aloe vera
Hens & Chicks, Sempervivum
Echeveria, Echeveria spp.
Panda plant, Kalanchoe tomentosa
Zebra cactus, Haworthia attenuata
For indirect sunlight (sun not directly shining on plants):
Baby’s Tears, Helxine soleirolii
Friendship plant, Pilea involucrata
Lemon Button Fern, Nephrolepis cordifolia
Moon valley, Pilea mollis ‘Moon Valley’
Nerve Plant, Fittonia spp.
Pink Polka Dot, Hypoestes phyllostachya
Watermelon Peperonmia, Peperomia argyreia
For low light (little to no light):
Bird’s nest Fern, Asplenium nidus
Golden club moss, Selaginella kraussiana ‘Aurea’
Maidenhair Fern, Adiantum raddianum
Materials & Tools
Glass or transparent plastic container
Small rocks or stones with interesting textures/shapes
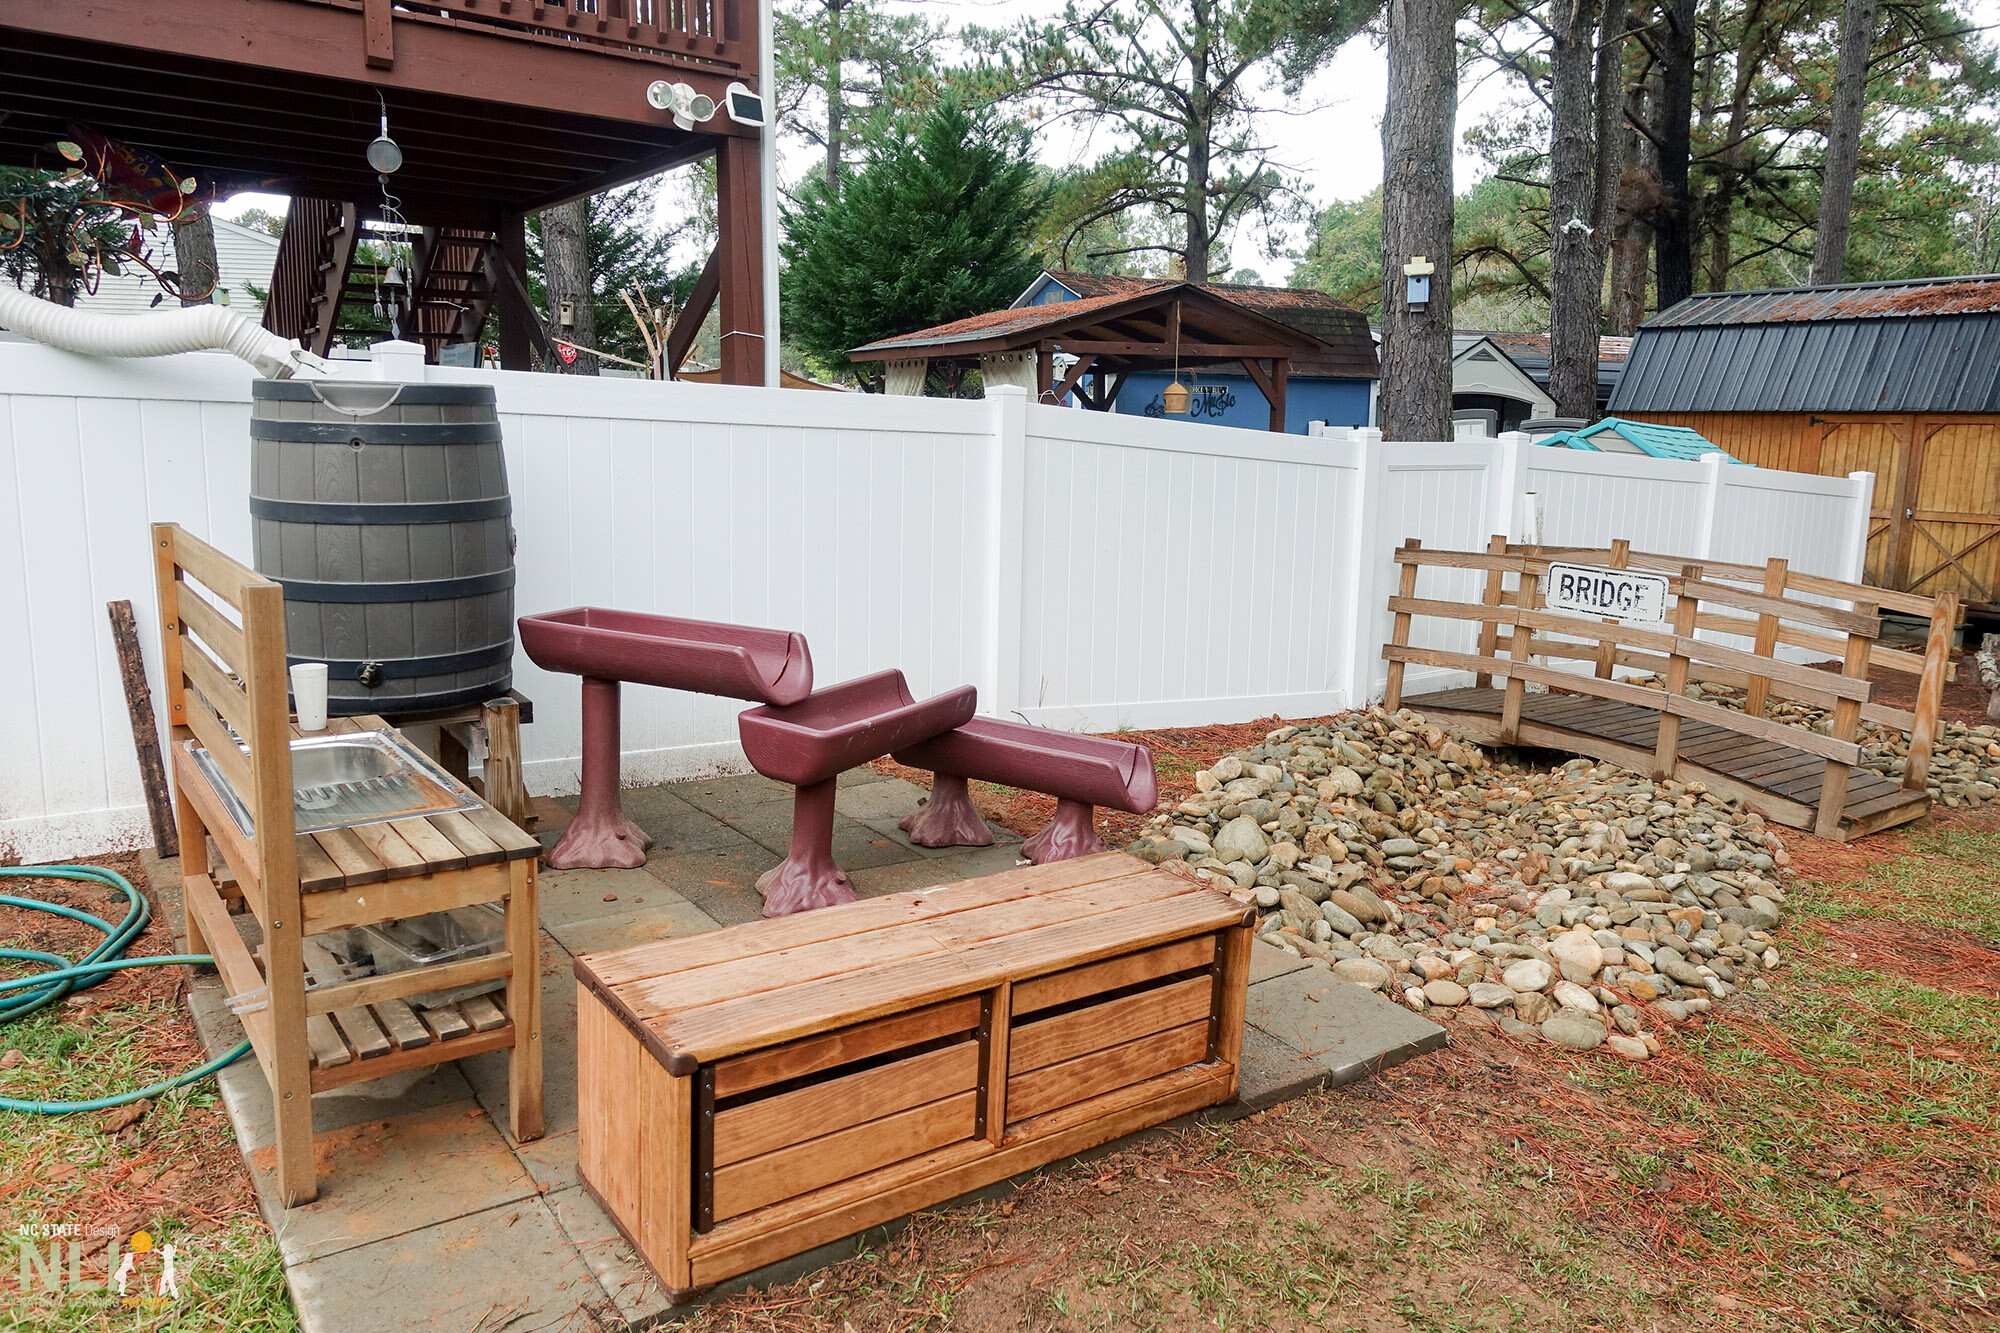
A rain barrel is a container that captures and stores rainwater from roof downspouts. Barrels usually range from 50 to 80 gallons. Smaller rain barrels may be explicitly repurposed. All have a spigot for filling watering cans and sometimes a soaker hose connection. Installing rain barrels at childcare centers reduces water bills, slows storm-water run-off, and models responsible natural resource stewardship for children and adults.
STEPS
Identify downspouts suited for rain barrels and calculate the number needed. For a large roof area, consider interconnecting barrels at their upper level or a single, higher-capacity cistern—available in various sizes from agricultural suppliers and home improvement stores. Ensure selected downspouts are free-flowing and functioning properly.
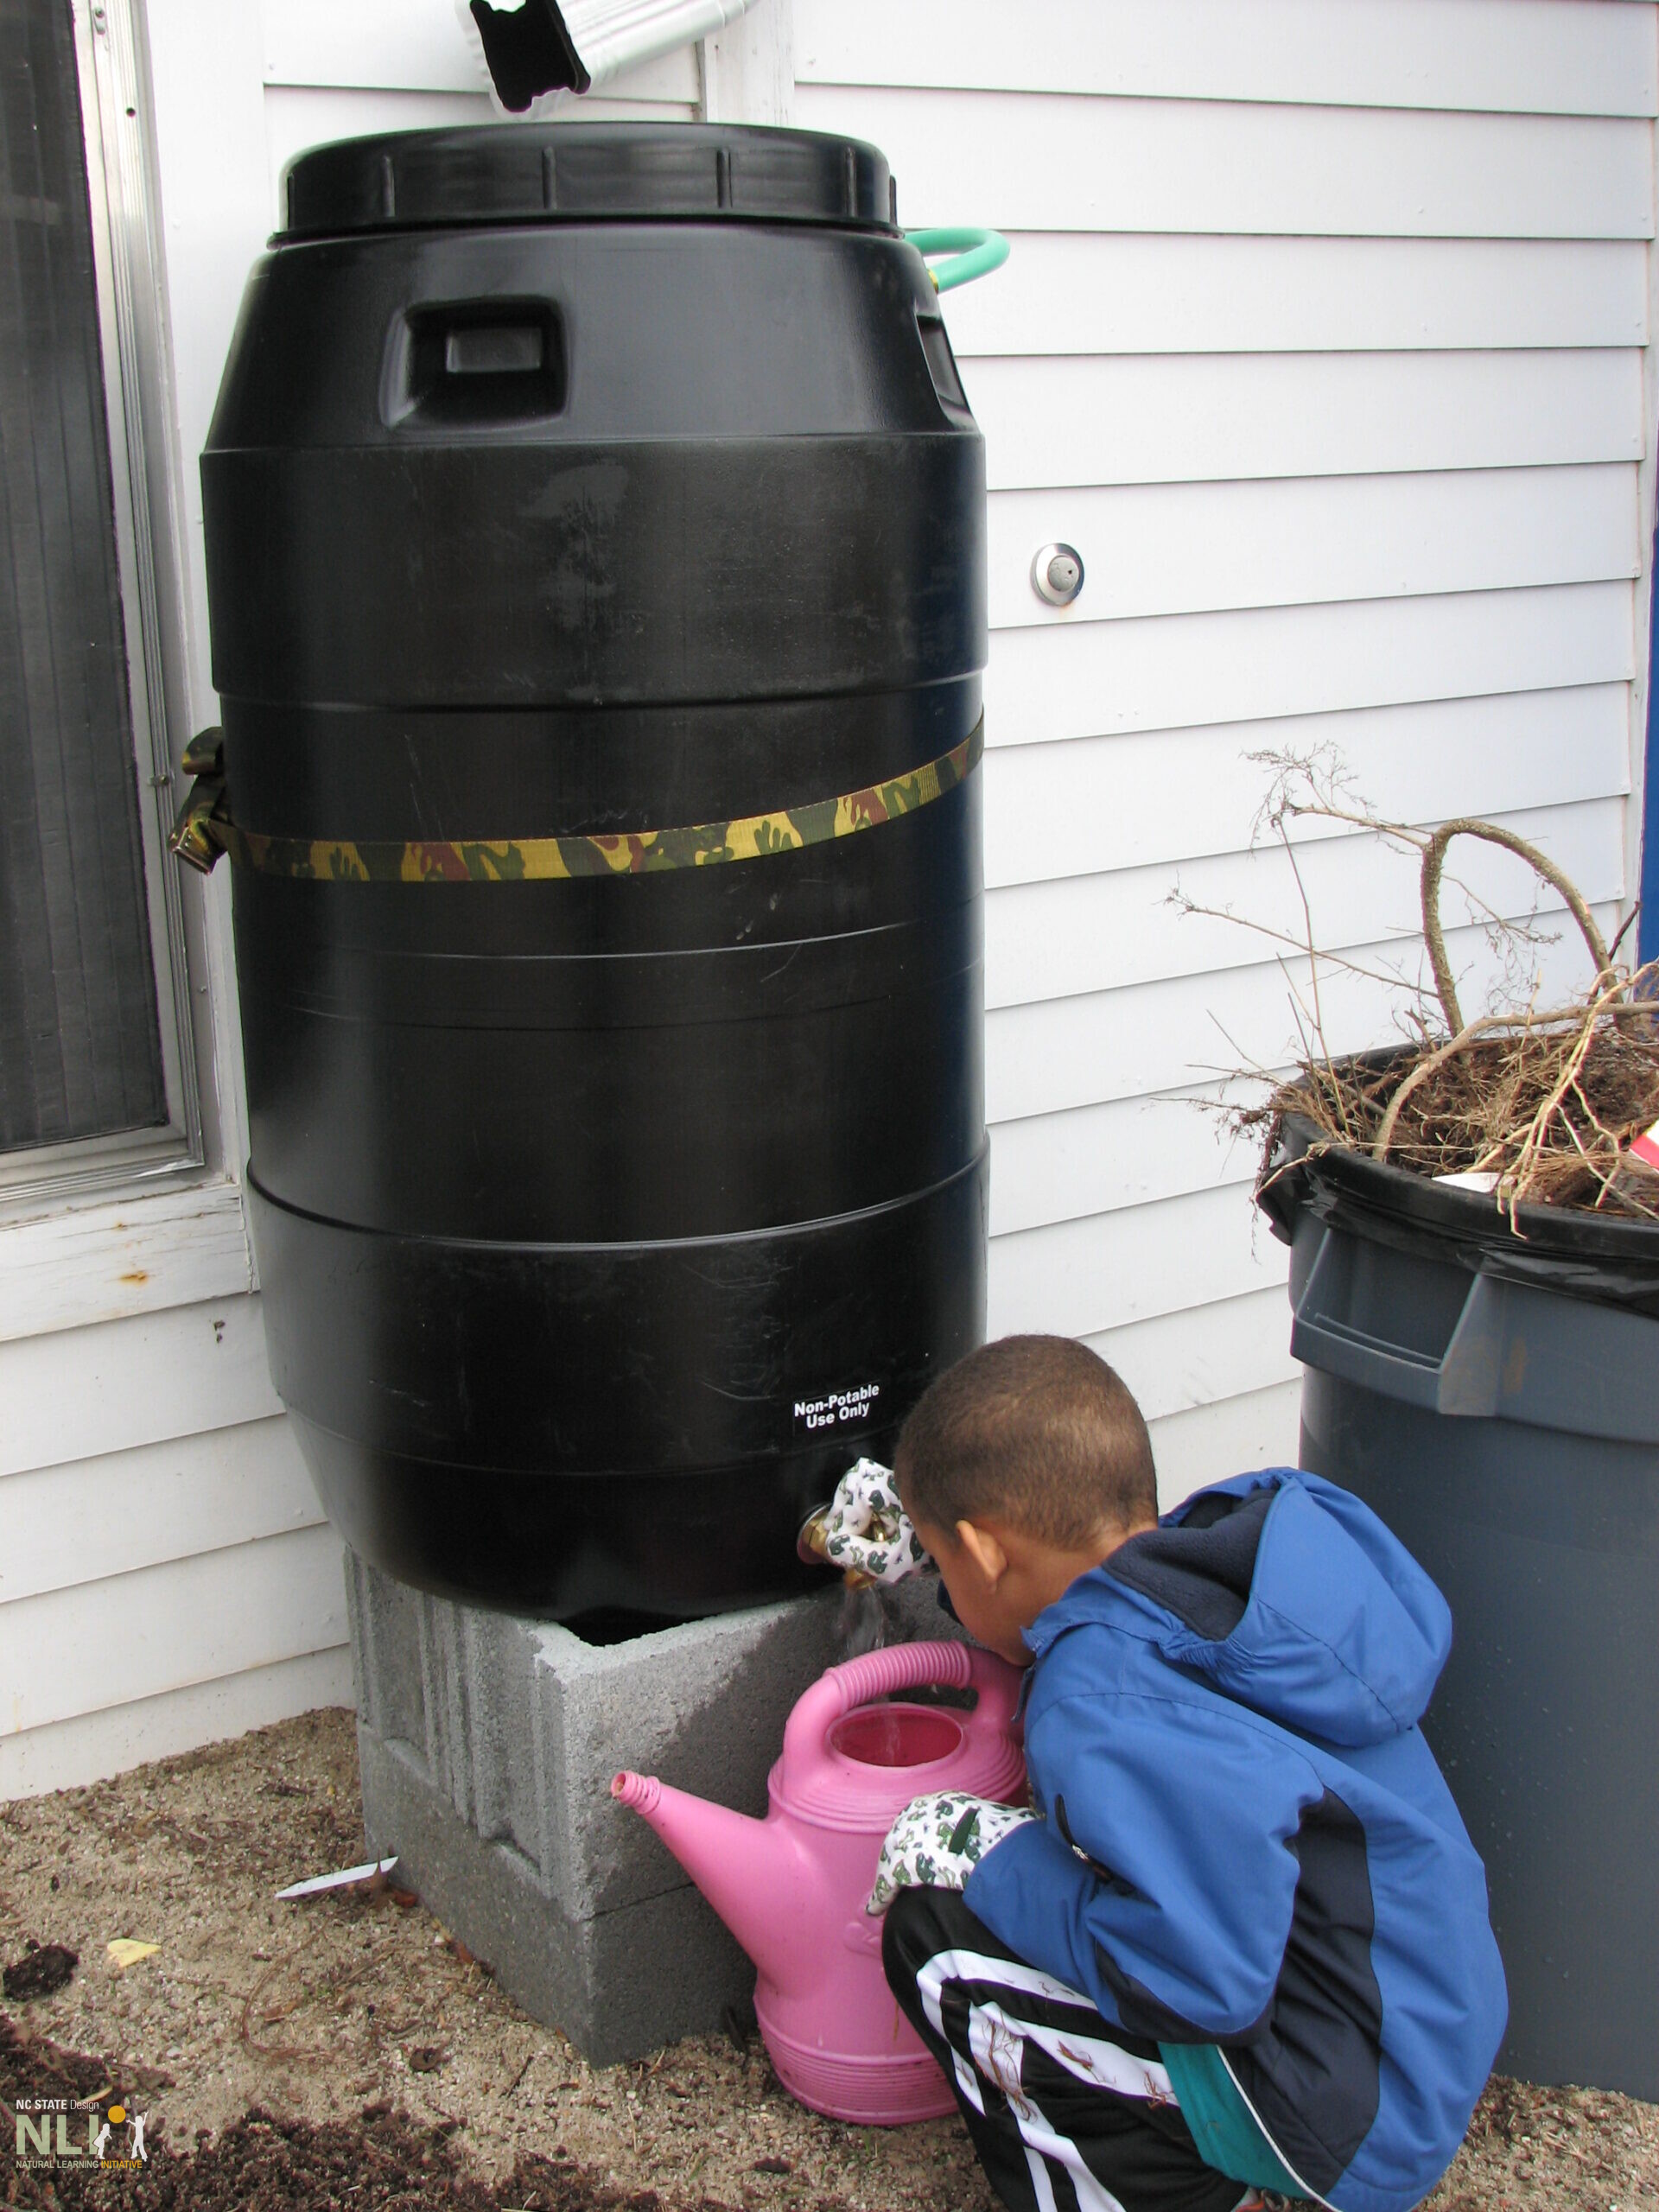
Create a stable base for each rain barrel. Remove rocks, grass, and other vegetation from the desired location. Level the soil. Apply a 2-inch layer of leveling sand if necessary. Rain barrels provide a “hydraulic head” for irrigation and rapid flow to fill watering cans. Elevate barrels so watering cans fit under the spigot by supporting the barrel base on a double stack of cinder blocks on the leveled ground. Stack the second row rotated in the opposite direction. Turn the block openings inward, to prevent children from climbing (Figure 2). Cut the downspout (Figure 2). With the barrel on top of stacked cinder blocks, mark the downspout connection point approximately 12 inches above the top of the barrel and cut to size with a hacksaw.
Attach downspout connectors. Adjust the downspout height above the barrel so low-flow events can drip into the barrel and high flow events will not gush over the barrel edge. Downspout connectors or “elbows” may need to be purchased, or can be repurposed from the downspout pieces cut during the previous step.
Connect an overflow hose. If an existing surface drainage system exists, connect a length of garden hose to the overflow spigot on the barrel (or end one of a series) and the other end to the existing system. If surface drains are absent, consider one of several possibilities. Connect the overflow hose to a dry stream bed (see InfoSheet 36: Dry Stream Beds) or with a sufficient hydraulic head, connect a soaker hose installed in a planting bed. As a last resort, overflow water should be directed via a hose away from the building to prevent standing water.
Attach support strap. Attach an eye hook to a secure, stable part of a solid post or wall (Figure 3). Wrap the strap around the barrel and attach it to the eye hook. This safety step prevents the rain barrel from tipping over.
Discuss with staff, parents, and children the benefits of collecting rainwater and provide them with a link or print copy of this InfoSheet to encourage installation at home. Consider holding a rain barrel workshop to engage community members in helping with installation and sharing knowledge (see Resource 1 below).
All the Water in the World, by George Ella Lyon & Katherine Tillotson. An inspiring poem about the importance of water for plants, animals, humans, and other living things. Includes facts about water conservation for the health of all life on earth.
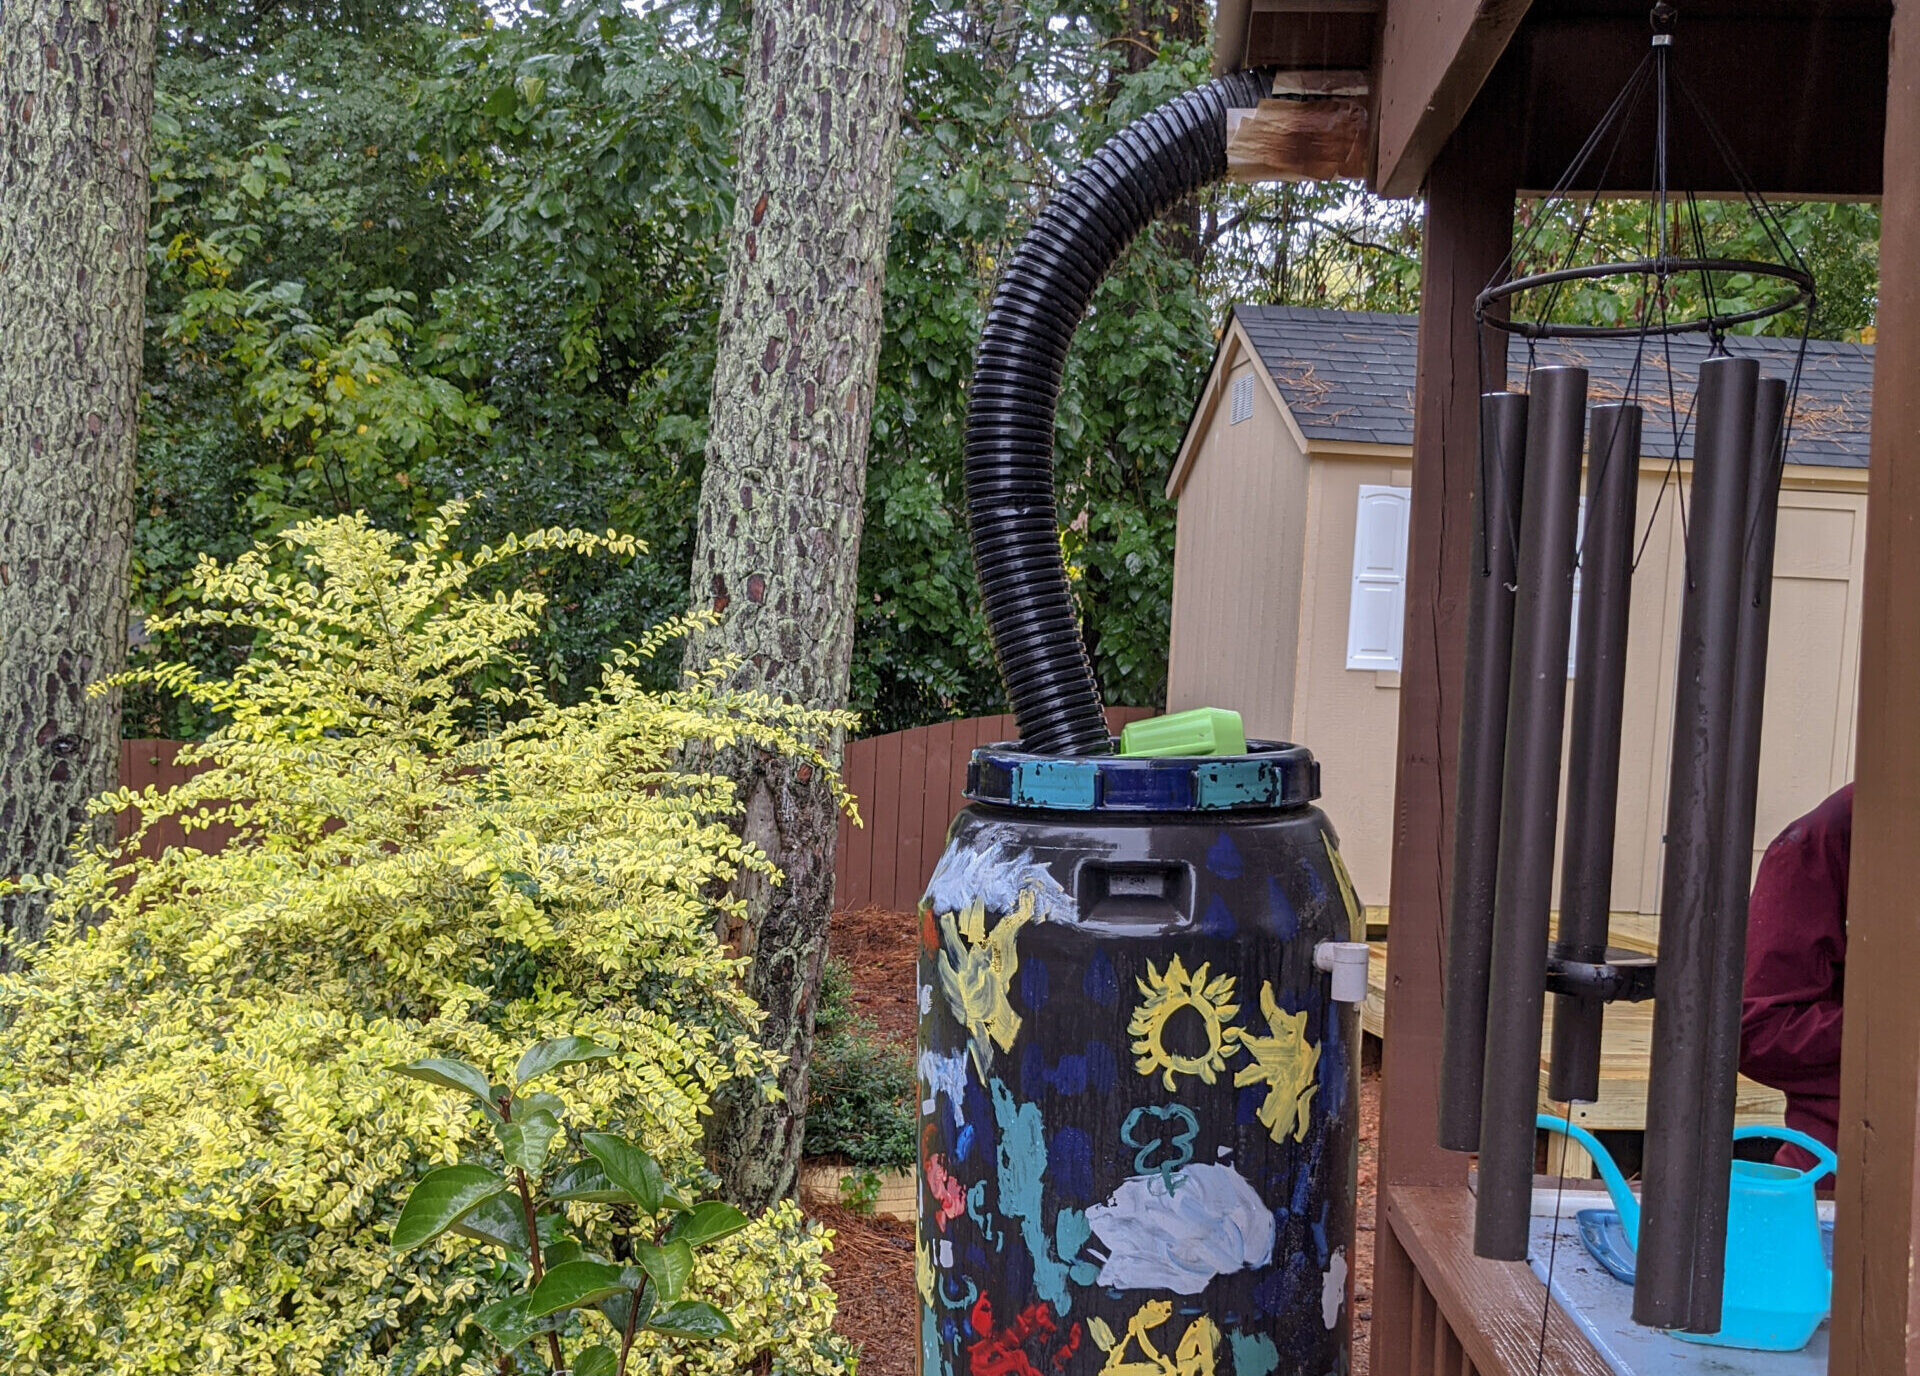
1.Rain barrel painted by children.
2. Installing a rain barrel on two layers of cinder blocks.
3. Barrel is secured by strap tied to wall.
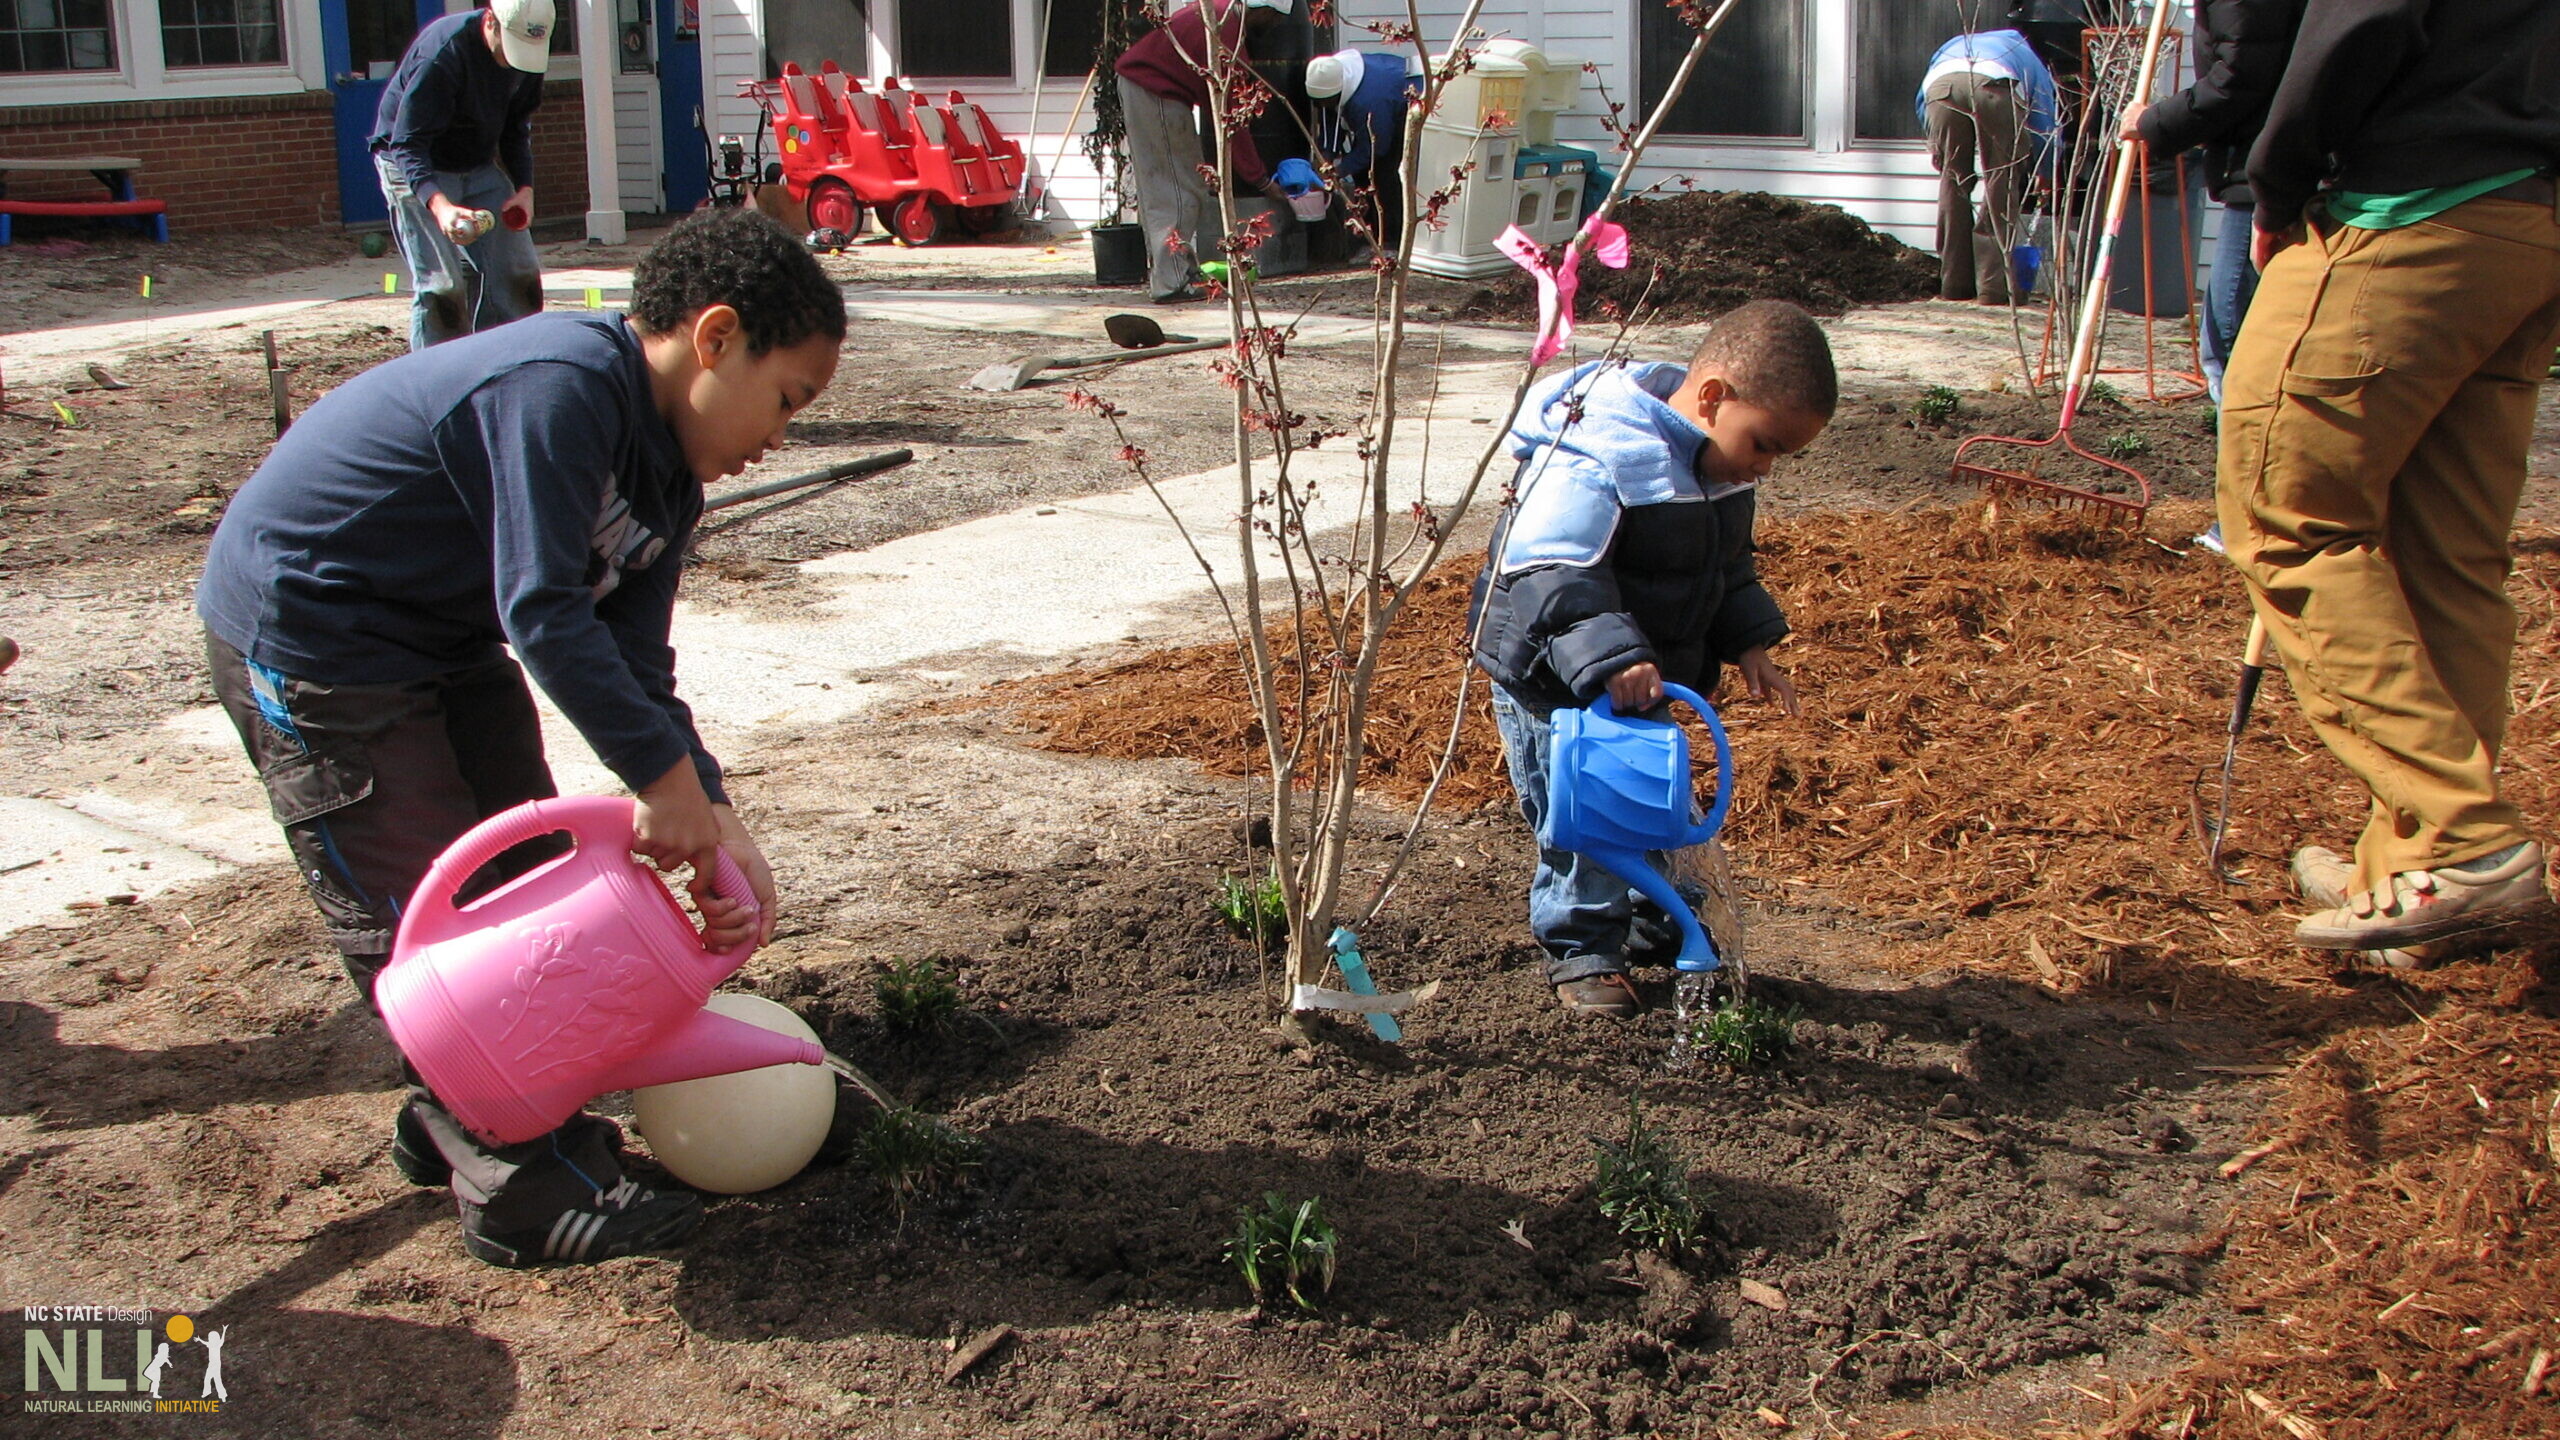
4. Young children love to water plants!
Engage children. Children love watering and will go back and forth endlessly filling watering cans and delivering water to plants (Figure 4). Rain barrel water can be used for all plants except vegetables.
In periods of drought, use collected water more deliberately and discuss with children how life depends on water and the importance of not wasting it (see Resources 2 & 3 below). Discuss with children what messages could be painted on the barrel to help everyone understand what water does. Facilitate execution of the ideas (Figure 1).
HEALTH AND SAFETY
Recycled rainwater is not suitable for consumption, water play, or watering vegetable gardens.
Ensure that children wash their hands with potable water after handling recycled rainwater.
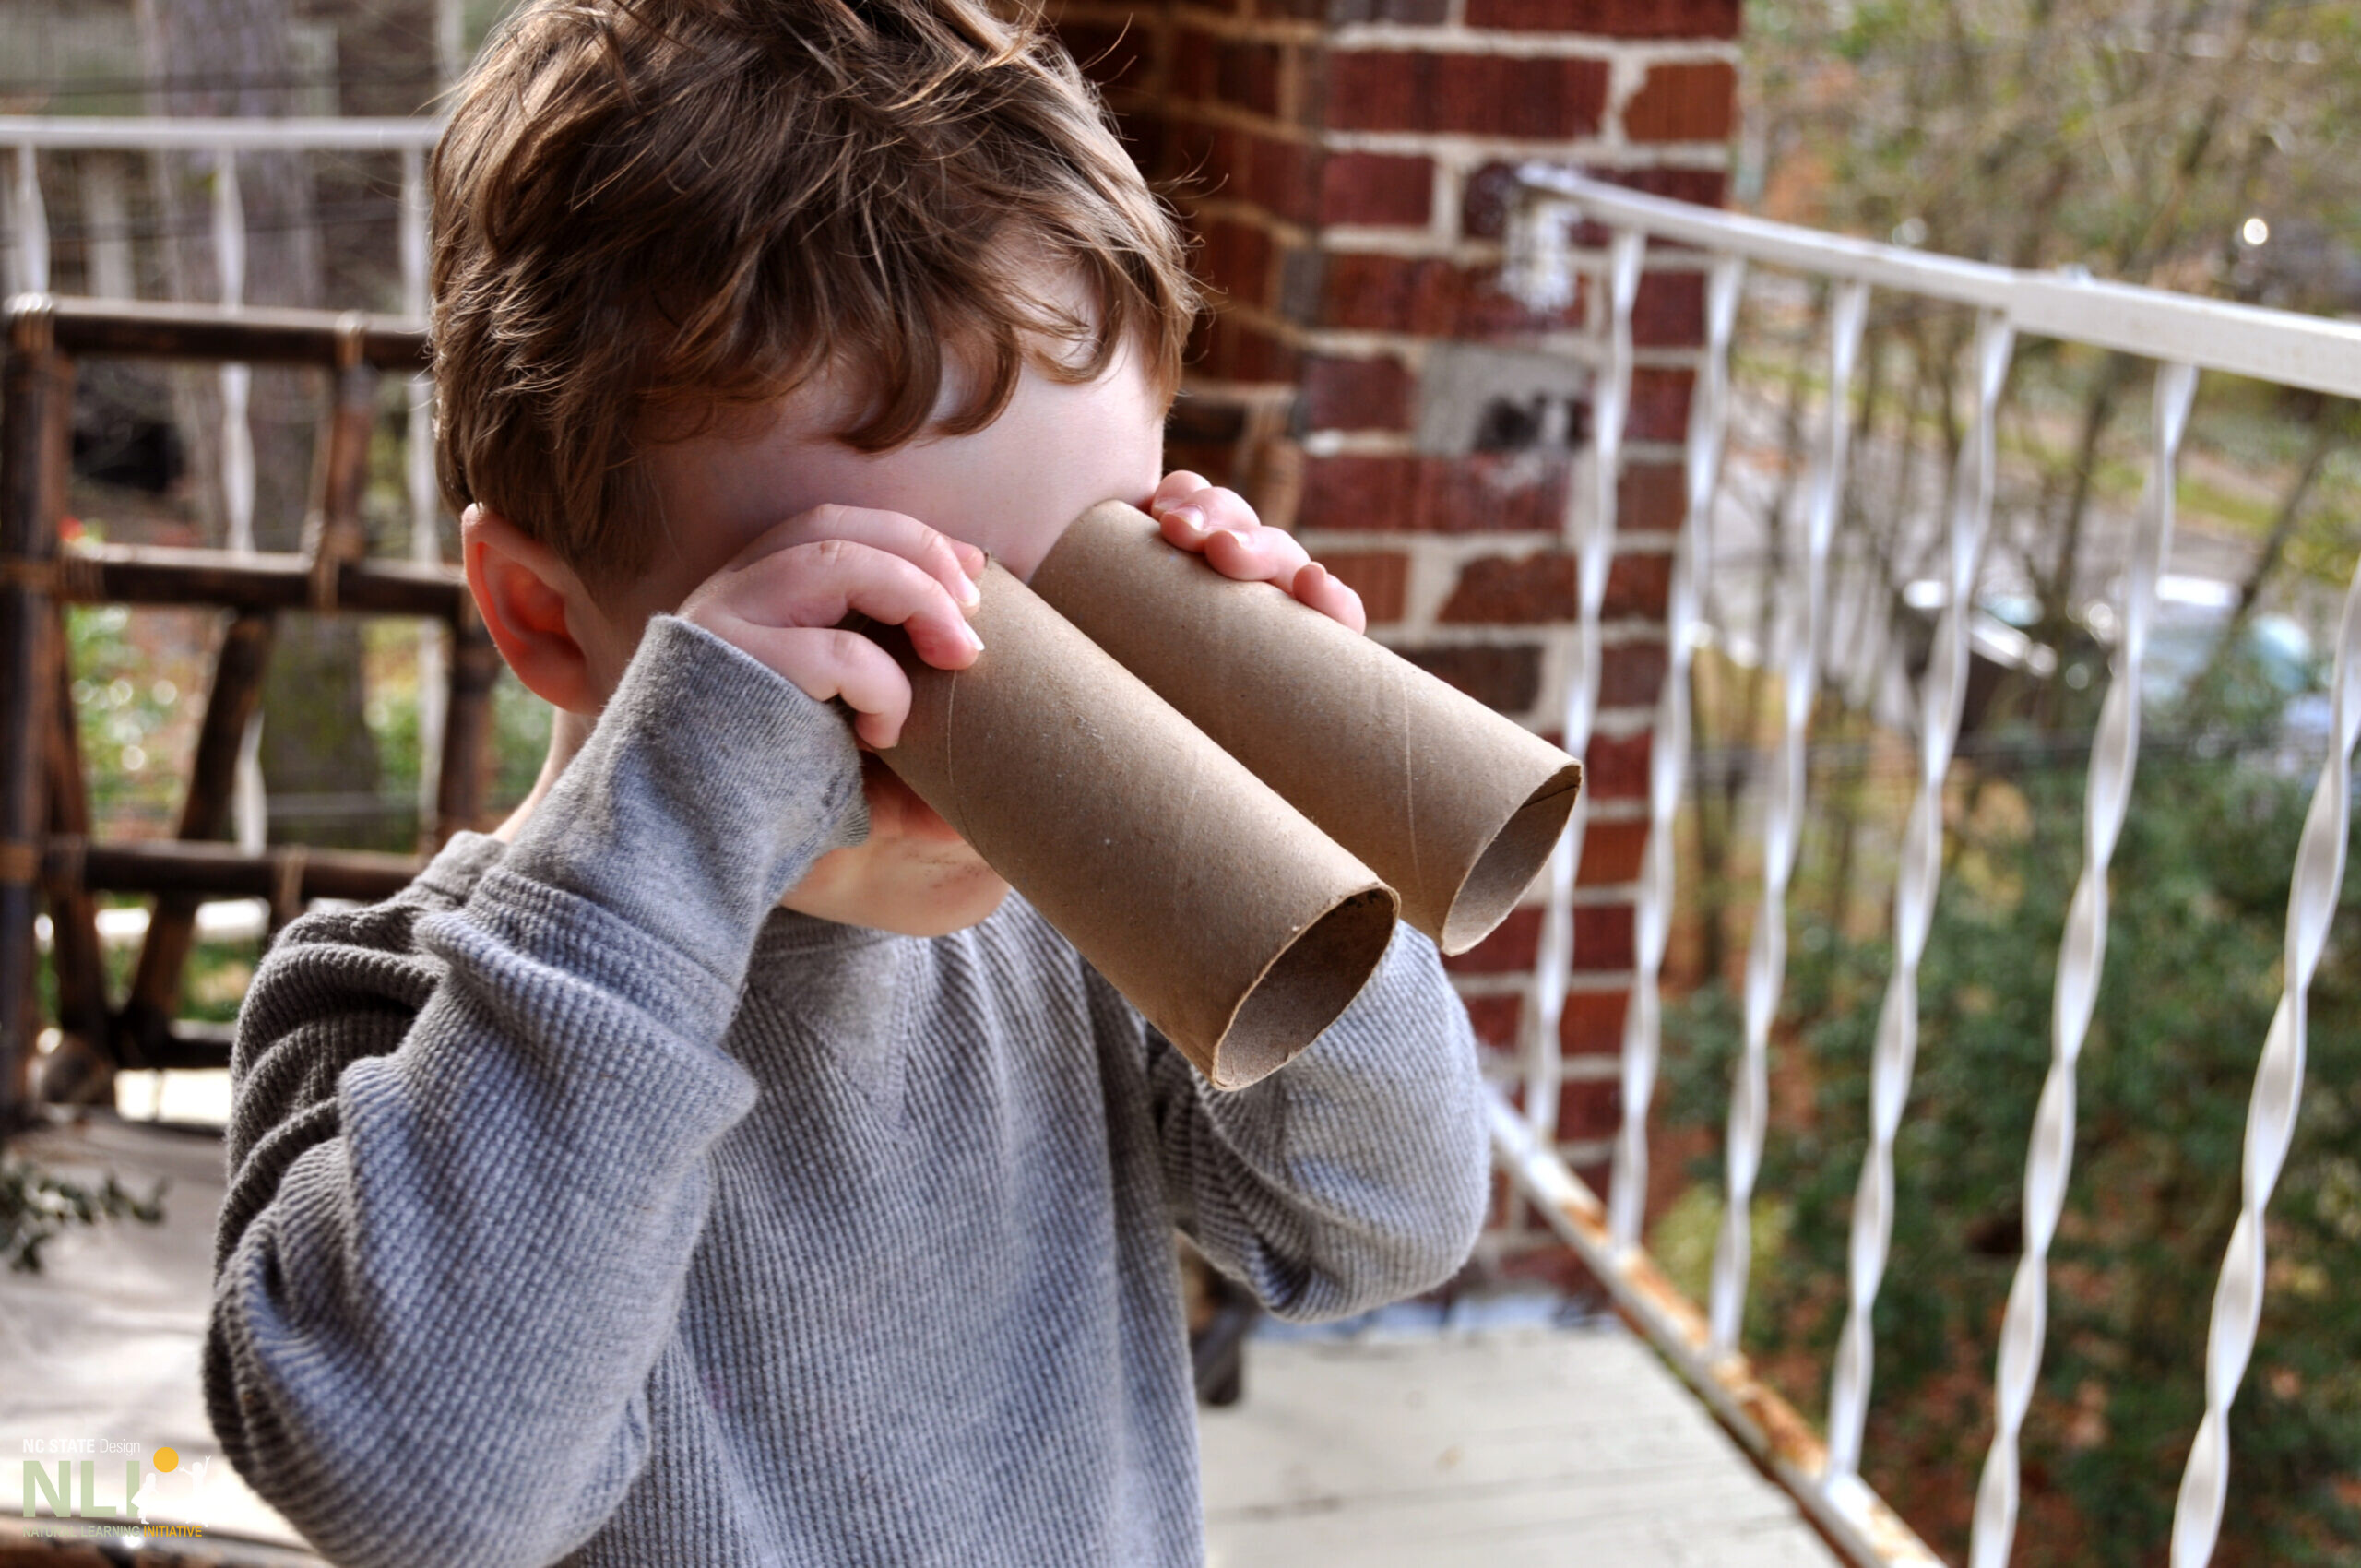
Watching birds is a wonderful way for children to connect with nature. Whether observing them in trees or simply listening for songs, children delight in searching for birds in natural spaces of learning and play. This InfoSheet outlines different strategies for making outdoor learning environments (OLEs) bird-friendly all year round. Encourage children to draw birds they see or make homemade bird feeders, birdhouses, or “binoculars” to get them excited about birds they see and hear!
Disclaimer: The following InfoSheet has been created using information from NC Audubon and the NC Cooperative Extension and is representative of the Southeastern United States.
PLANT IN LAYERS
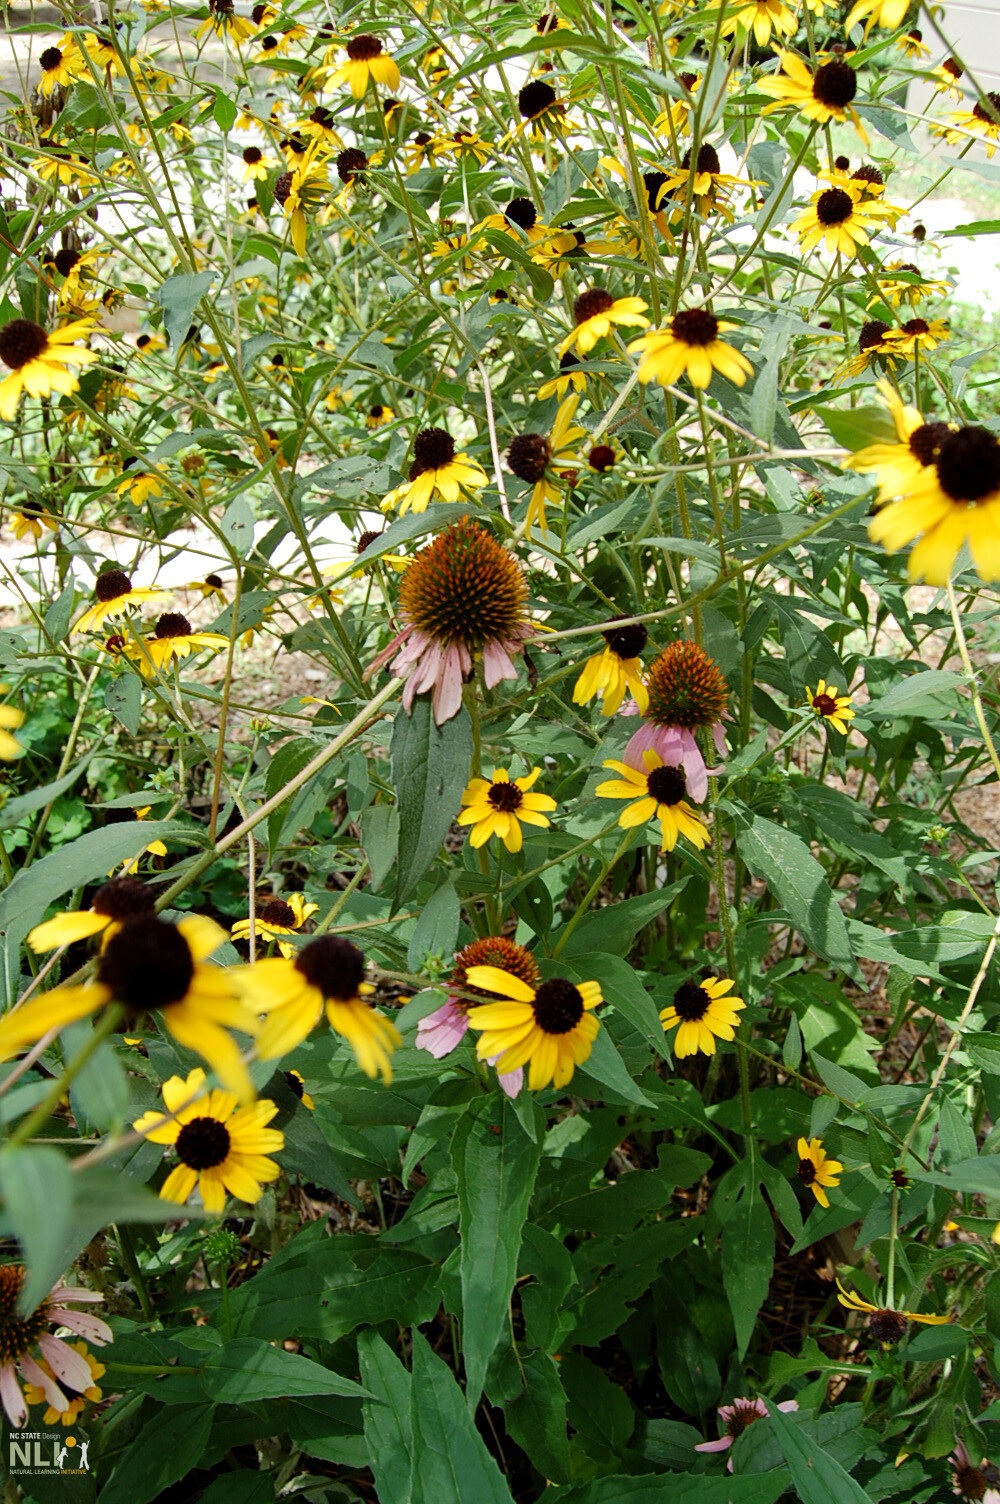
To create the best bird habitat, select a variety of plants with different heights, flowering times, and growth forms. Vertical diversity ensures that different species of birds have food sources and shelter throughout the year. A mix of groundcovers, flowers, grasses, shrubs, and trees will accommodate many bird species with different nesting behaviors.
YEAR-ROUND WILD FOOD
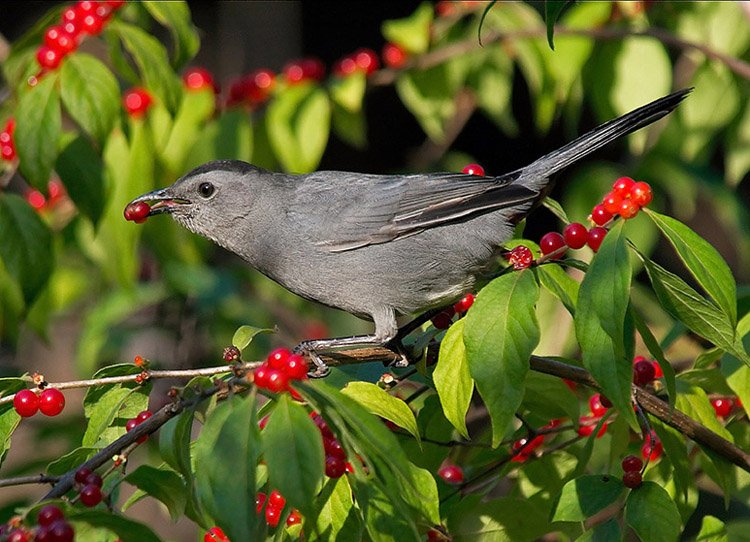
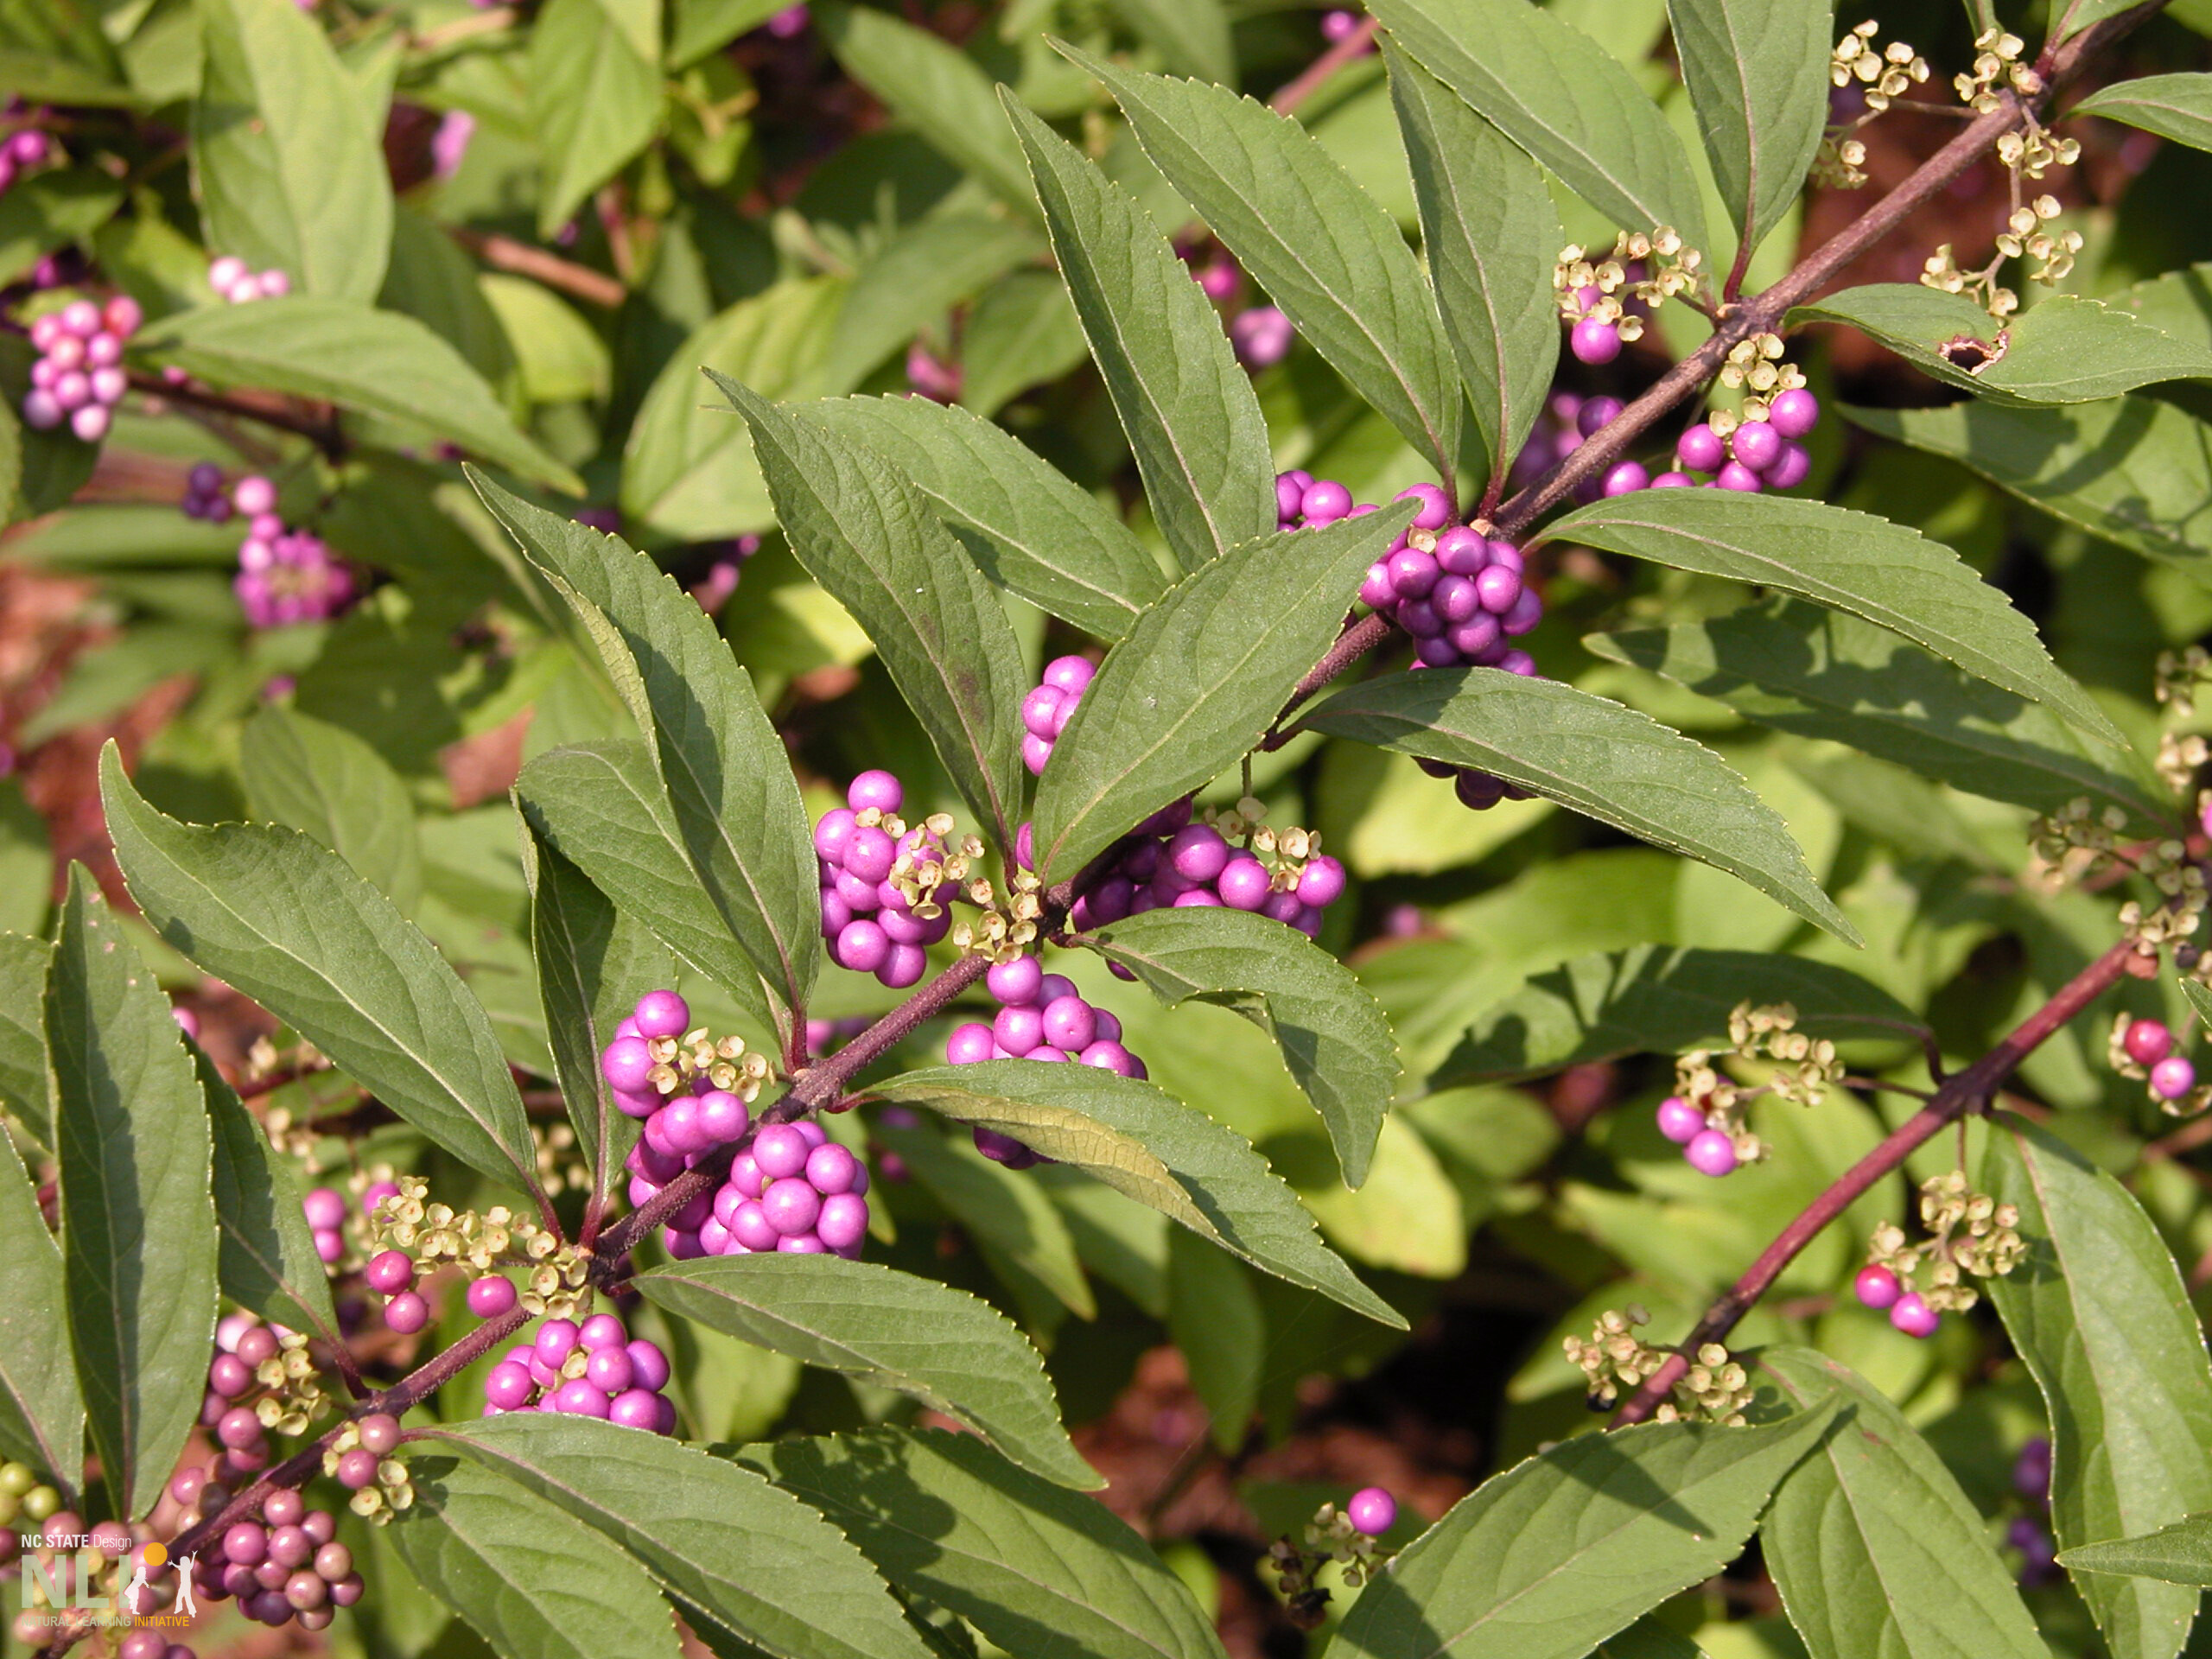
A diverse palette of native plants provides local birds with food sources they need throughout the year. Native grasses and perennial wildflowers provide seeds for birds in the fall and winter. Leave seed heads at the end of the growing season to provide an additional source of winter food.
MINIMIZE PESTICIDE USE
Many birds eat insects throughout the year, especially as other food sources became scarce with changing seasons. When gardens are treated with pesticides, all insect types are affected— pest removal may also remove a vital protein source for native and migrating birds. Rather than relying solely on pesticides, look to integrated pest management practices to keep gardens healthy and happy.
BIRD FEEDERS AND BIRDHOUSES
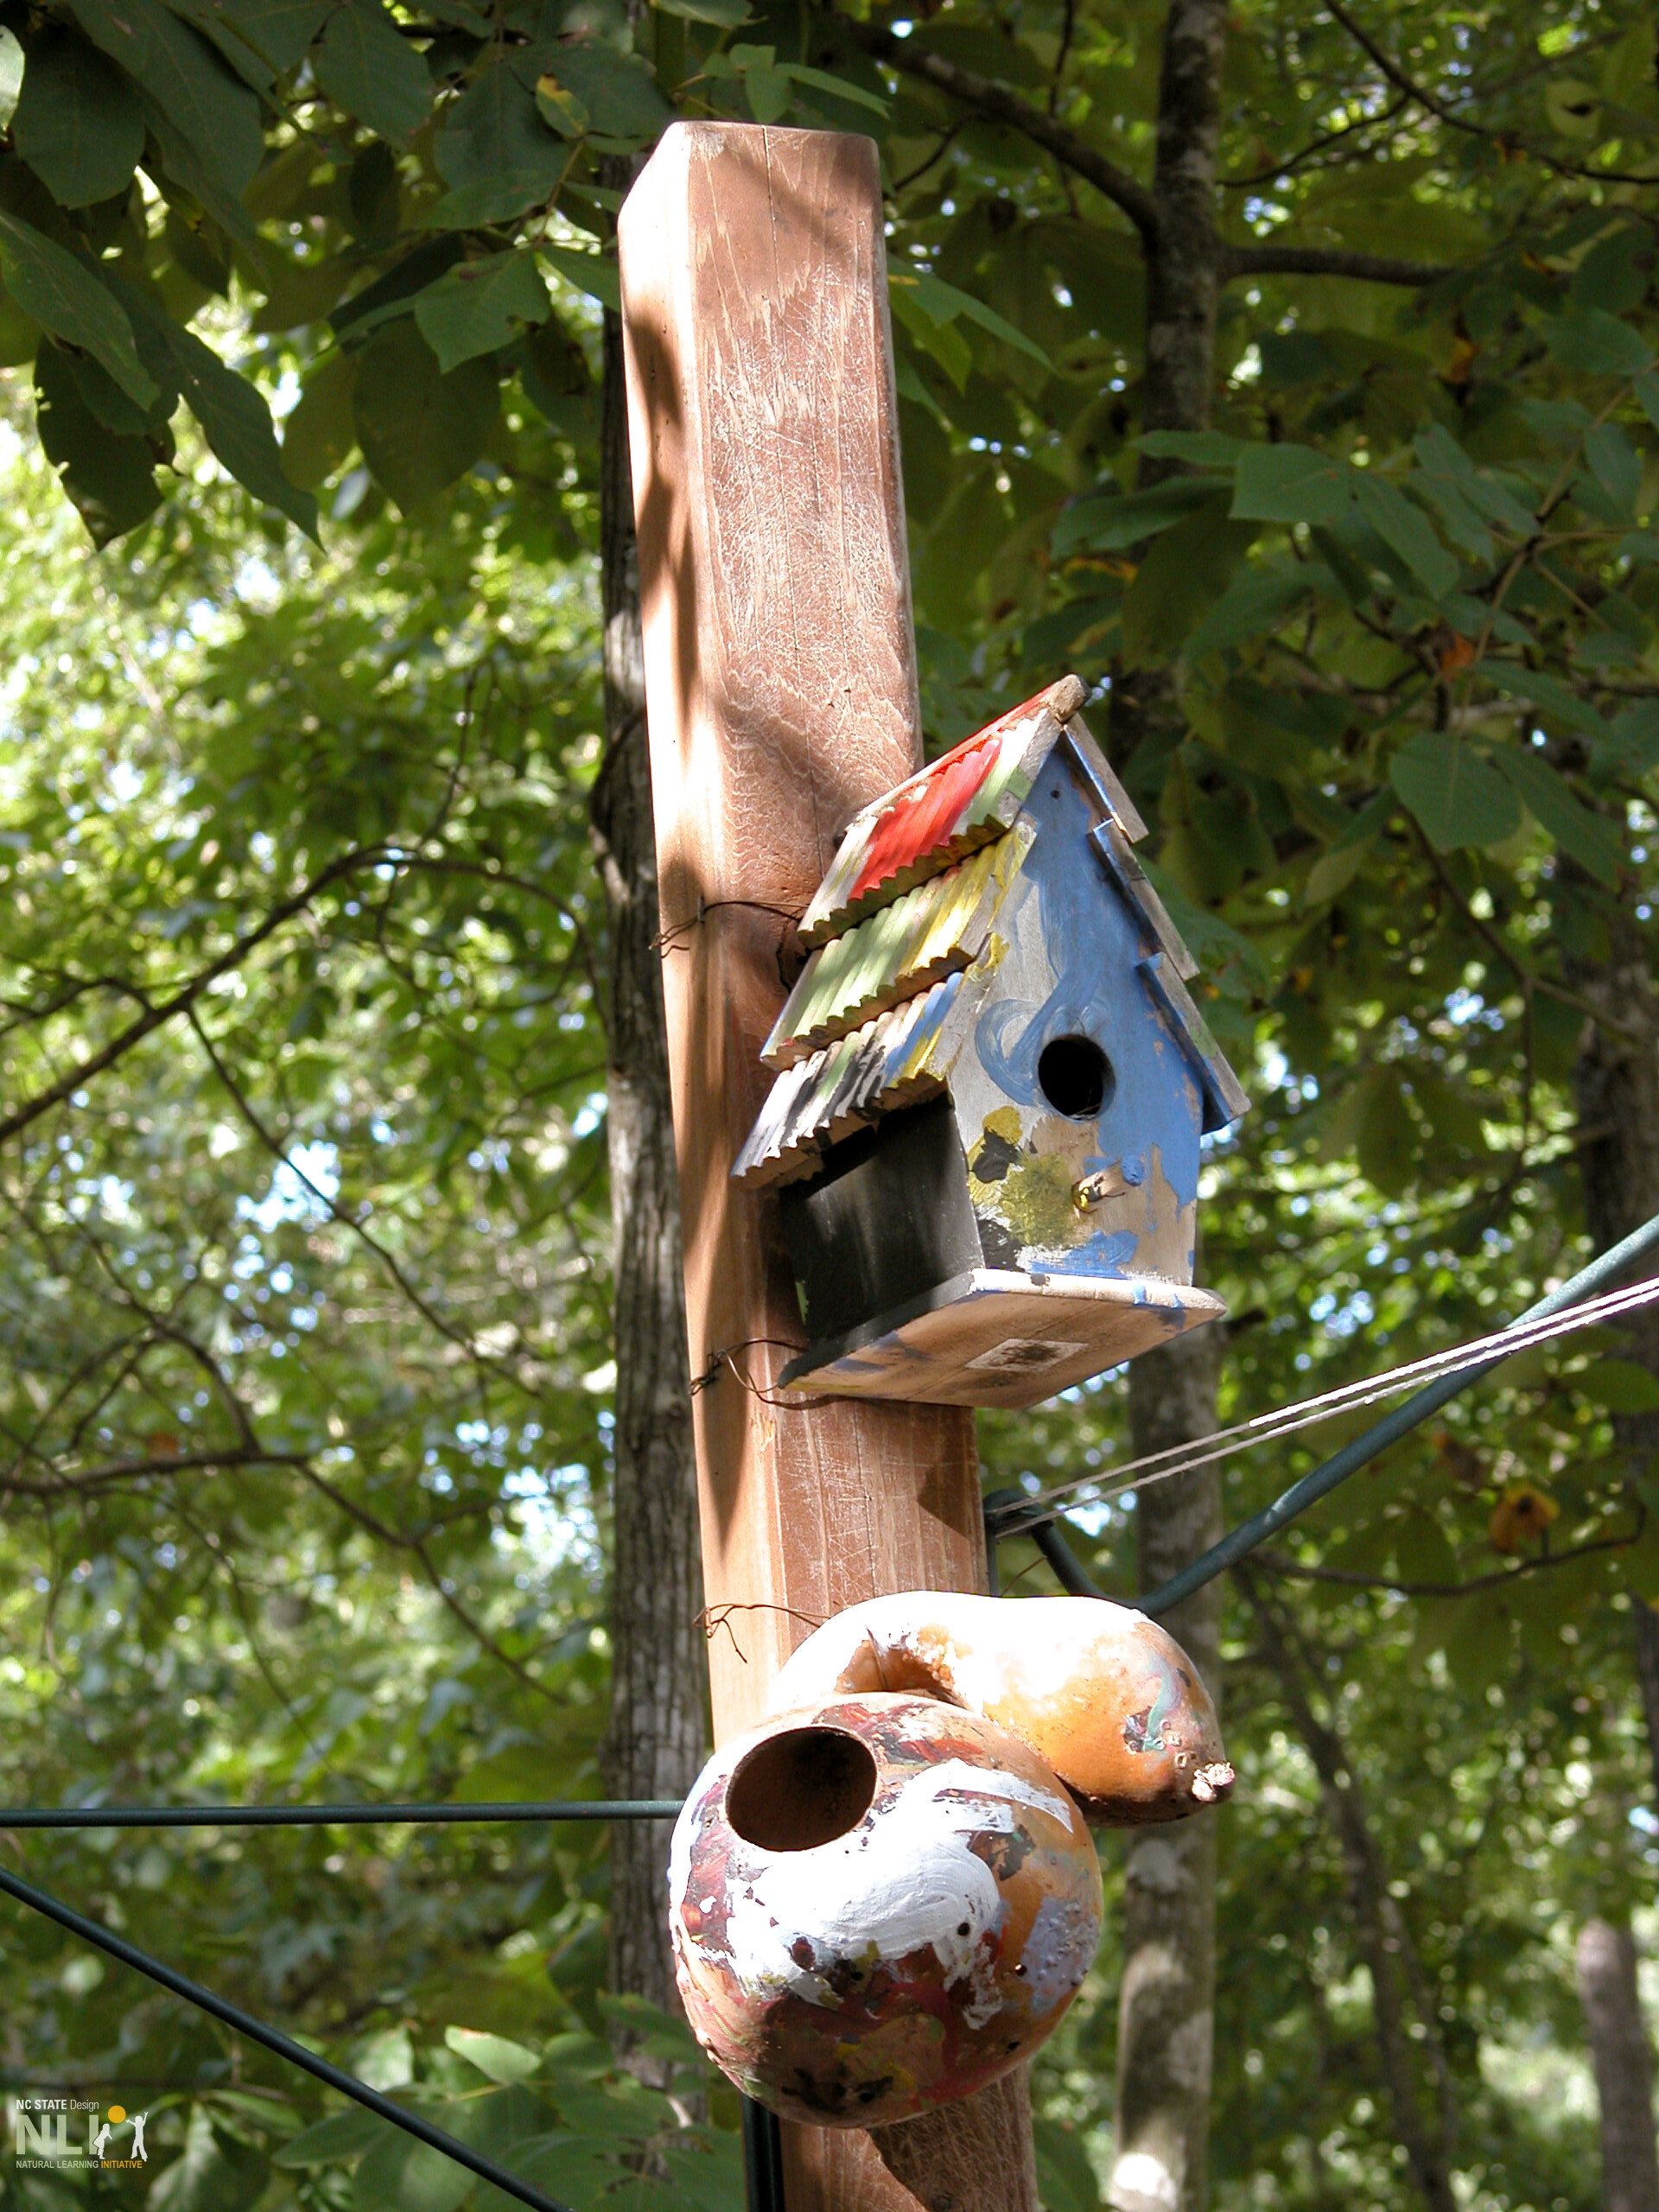
Bird feeders and houses create visible bird activity and easy viewing for children. Feeders and houses should be placed within 10-15 feet of shrubby vegetation, allowing birds to hide from larger predators. Place structures at least 30 feet from windows to minimize window strikes by birds. Decorate windows with children’s art to reduce the chance of bird injury.
Plants are a critical outdoor learning environment (OLE) best practice. Different species can provide shade, visual screens, wind barriers, and enhance seasonal play opportunities. For children, plants create a magical world where imaginations can endlessly roam. Natural loose parts, such as twigs and seeds, are used as props to stimulate imaginative play. Plants improve outdoor comfort, motivate children to spend more time outside, and add cost-effective play and learning value to the OLE.
Plant Types
Understanding different plant types enable wise plant selection, cost-effective purchase decisions, and efficient installation practices. This InfoSheet introduces plant types and guides plant selection to create successful, naturalized OLEs.
Trees provide shade, visual screens, and wildlife habitat. They also serve as key edible landscape components. Specific species, such as fig trees, provide climbing opportunities.
Shrubs provide interesting foliage, flowers, and fragrance close to the ground for children to experience and enjoy. Some shrub species provide edible fruit; many attract birds, butterflies, and other pollinators.
Vines typically grow fast, climbing up and on any surface they encounter—this makes them especially useful for naturalizing fences, arbors, and pergolas. Some vines, such as blackberry or grape, produce edible fruits, adding value to an OLE.
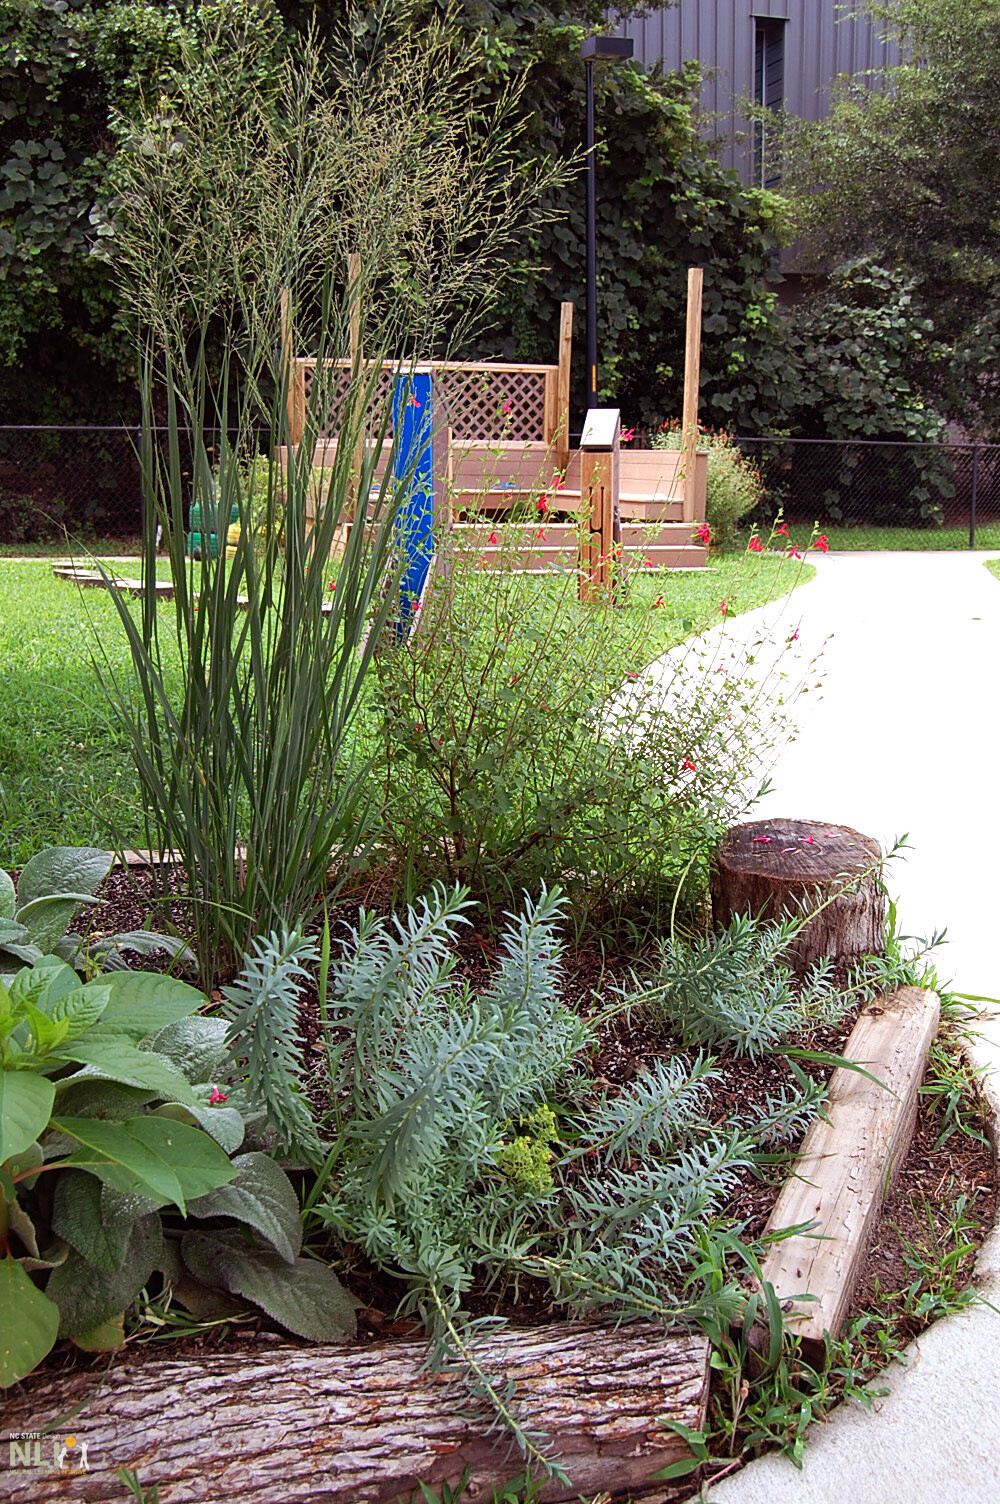
Ornamental Grasses are tough and affordable perennial plants that look good year-round, even during the dormant winter season. They are often used to create informal mazes that can take heavy foot traffic. Ornamental grasses provide textural variety and play props.
Groundcovers can be used to naturalize ground surfaces, including areas under trees and shrubs. Groundcovers include some herbs (“stepables”) that are particularly effective when planted between paving stones.
Perennial flowering plants add a diversity of color, fragrance, and texture to the OLE. Perennials can provide habitat for diverse wildlife, including birds and pollinators. Many perennials produce beautiful flowers and go through fascinating growth cycles. Consider installing a “cutting bed,” supplying flowers for indoor decoration and enjoyment.
Annual flowering plants are a great way to add instant color to the OLE, especially when other plants are dormant. Annuals allow children to experience the life cycle, beginning with planting seeds and ending with cutting flowers or harvesting vegetables. A disadvantage of annuals is that they must be replaced each year, so carefully consider the location and amount of annual planting—fruit and vegetable gardens should be the primary use of annuals in outdoor learning environments.
Plant Characteristics
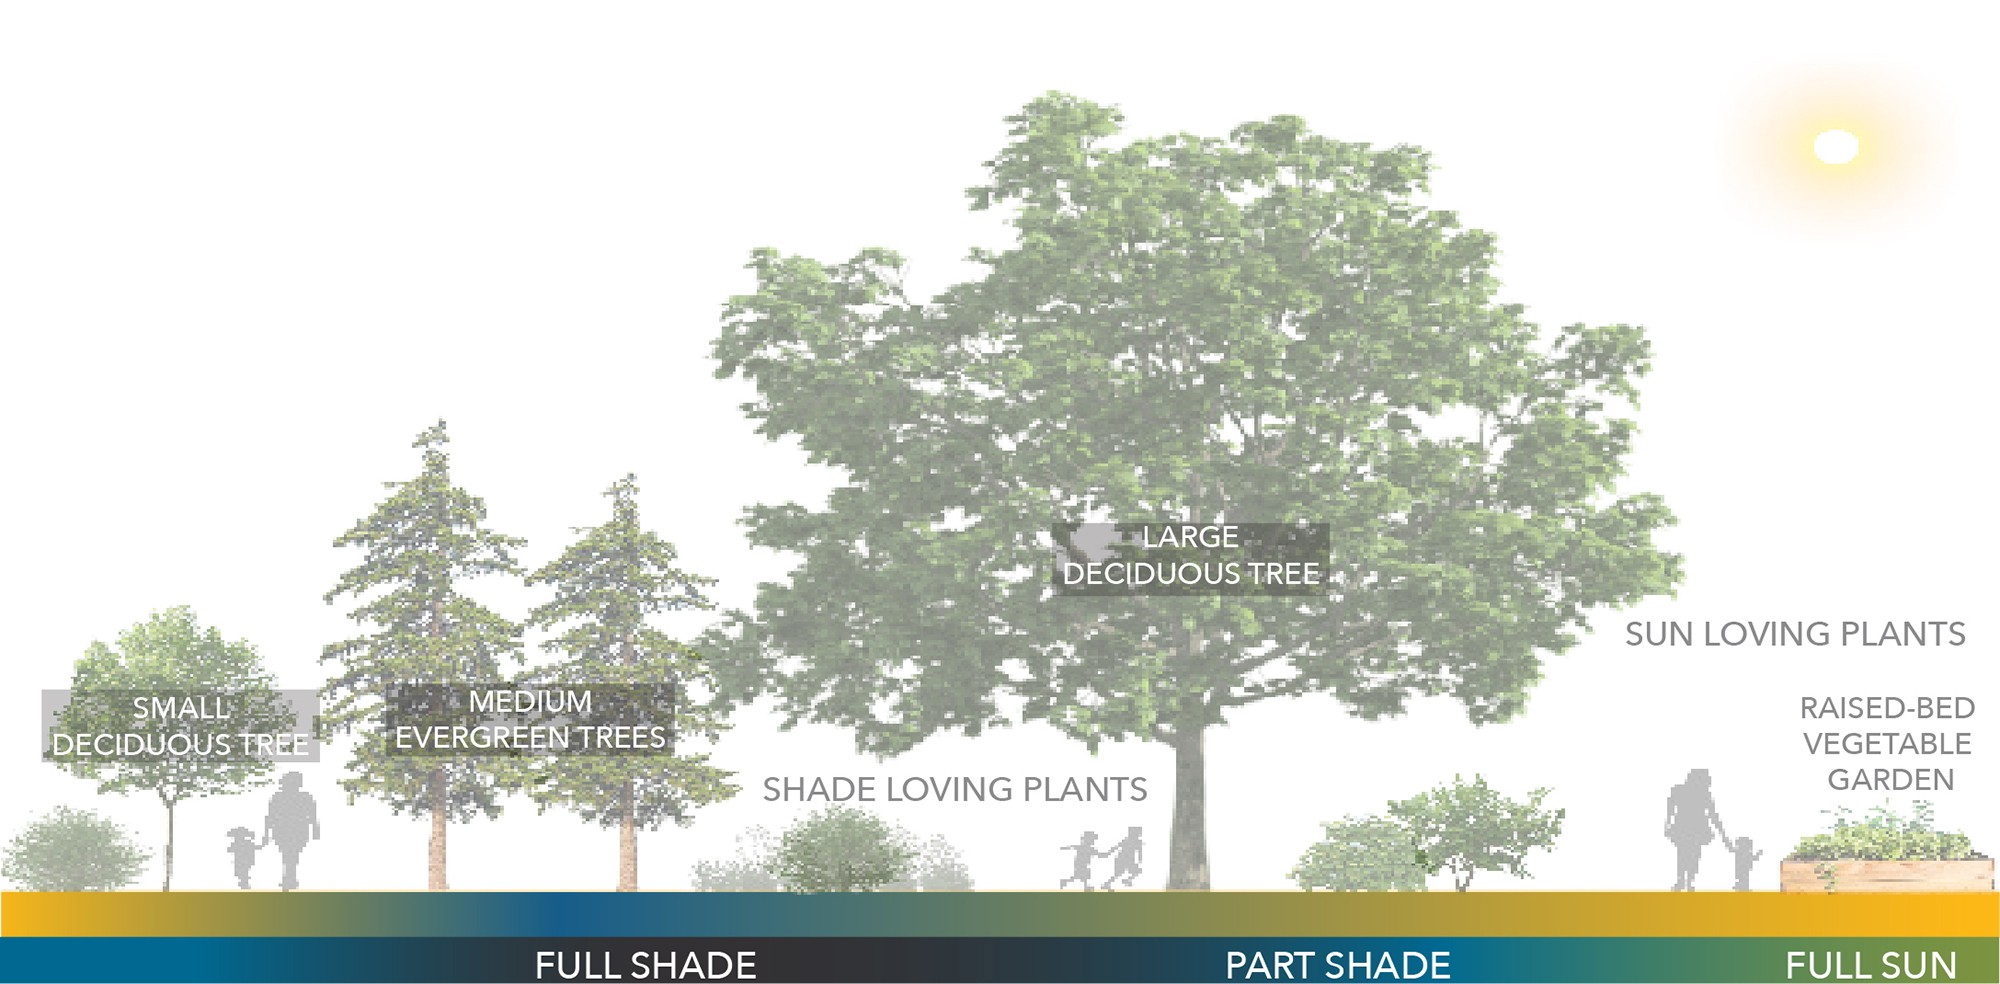
Deciduous plants lose their leaves during the winter. Through continuous cycles of change, deciduous plants provide multiple opportunities for learning: buds, fresh leaves, blooming flowers, and seeds can become props for imaginative and educational play.
Evergreen plants keep their leaves year-round. They provide patches of green after deciduous plants have dropped their leaves, and help the OLE avoid a desolate winter appearance. In summer they provide cool, deep shade.
Perennial plants come back yearly and grow larger until they reach maturity.
Annual plants die at the end of the growing season.
Native plants are indigenous or well-adapted to the region. They tend to be more hardy and drought-tolerant than non-natives and should be used whenever possible.
Edible Plants in the OLE
Research shows that children are more likely to try a new fruit or vegetable if they plant, grow, and harvest it. At childcare centers, edible landscapes offer the potential for children to learn healthy eating habits that will stay with them through life.
Perennial edible plants include fruiting trees, shrubs, vines, and perennial vegetables. Full sun is required for most species and some have specific cultivation conditions, including soil quality and/or irrigation needs. Consider planting in groves or cultivated along a south-facing wall. In spring, fruit trees become magical places as pollinators work busily overhead and petals fall like snow. In summer, fruit trees can contribute shade. Autumn harvests provide curricular and nutritional opportunities. Fruit trees gain in value each year—an investment in healthy enjoyment for generations to come.
Designated vegetable gardens can be installed at ground level or in raised beds containing vegetables and perennial herbs to introduce new scents and tastes. Because annual vegetables grow so fast and dynamically, they provide diverse, hands-on, seasonal learning experiences. Thoughtfully planned annuals can provide opportunities for children to care for the garden almost year-round.
Lush perennial plantings of different textures and height add sensory interest and differentiate settings.
Children playing in lush, tall ornamental grasses.
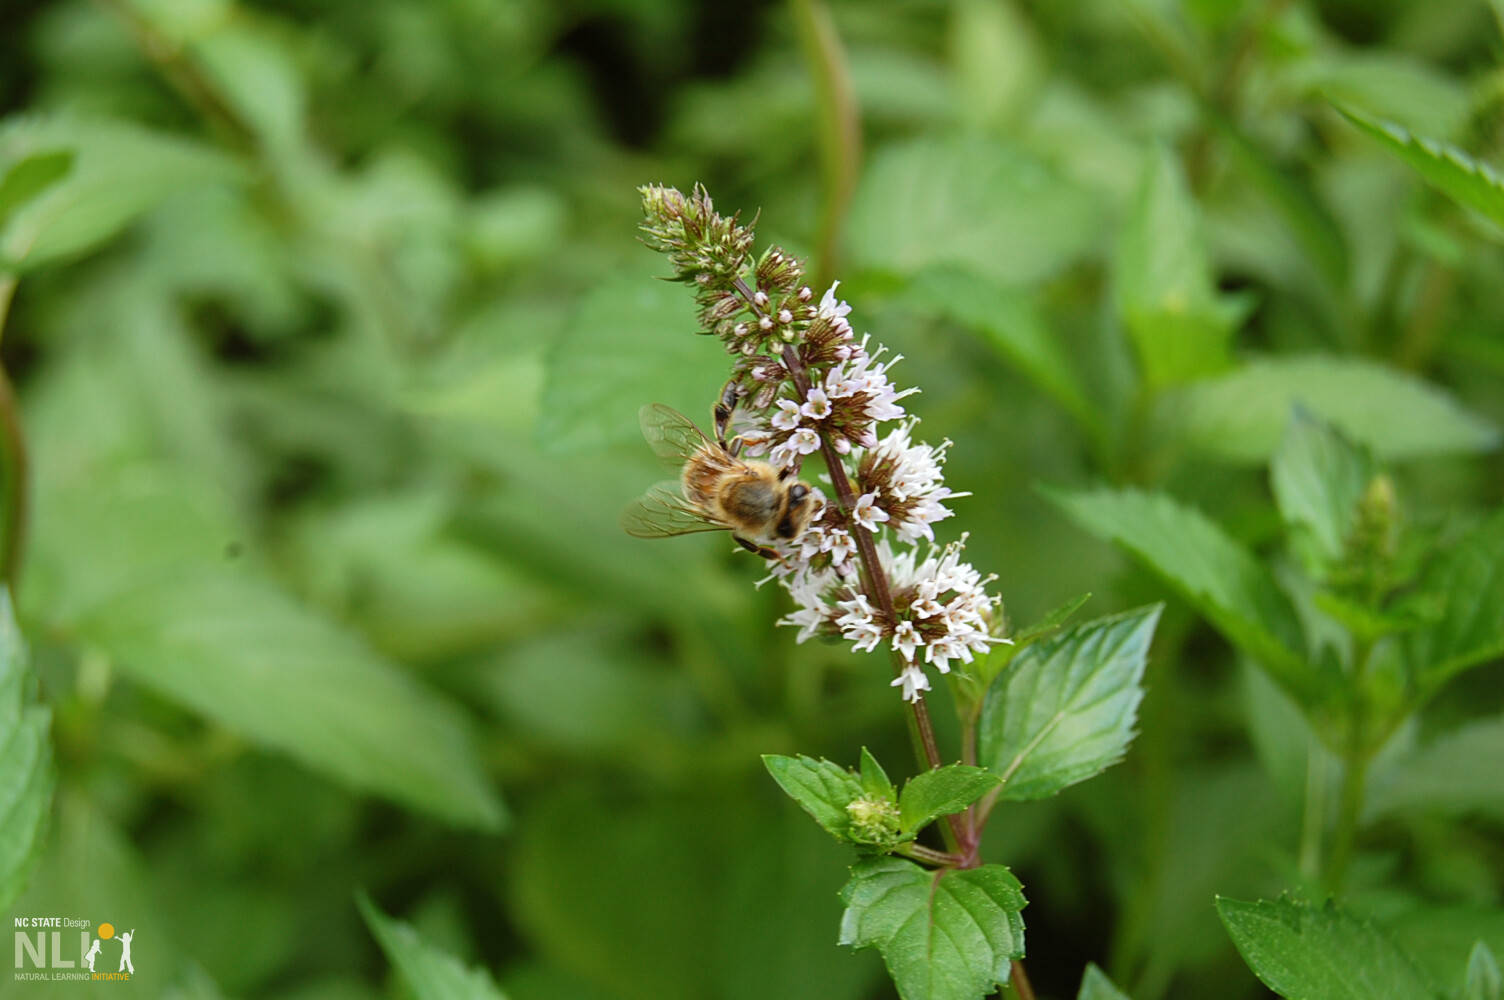
Plants bring pollinators to OLEs, benefiting the natural environment.
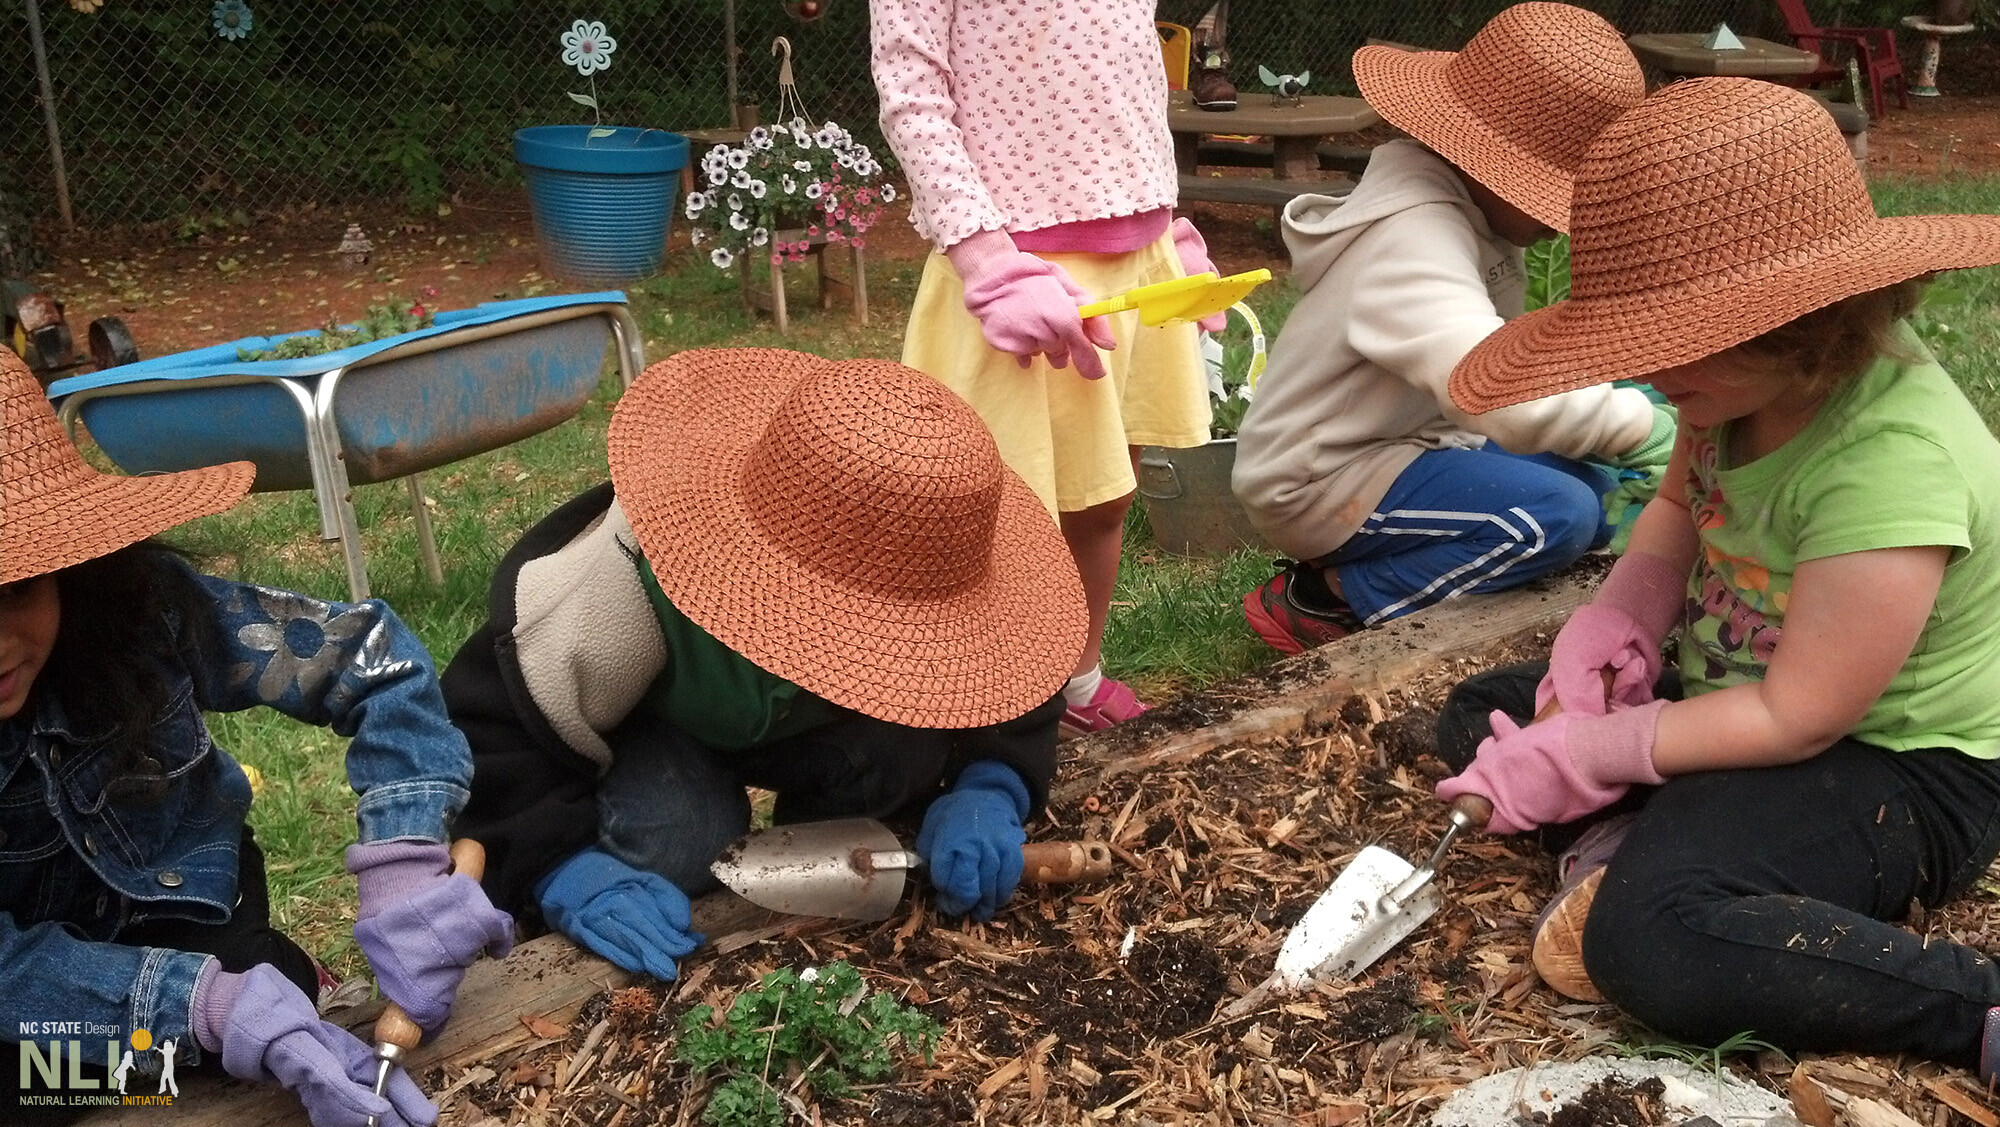
Children planting together reinforces the notion of collective effort to achieve a result that all can enjoy.
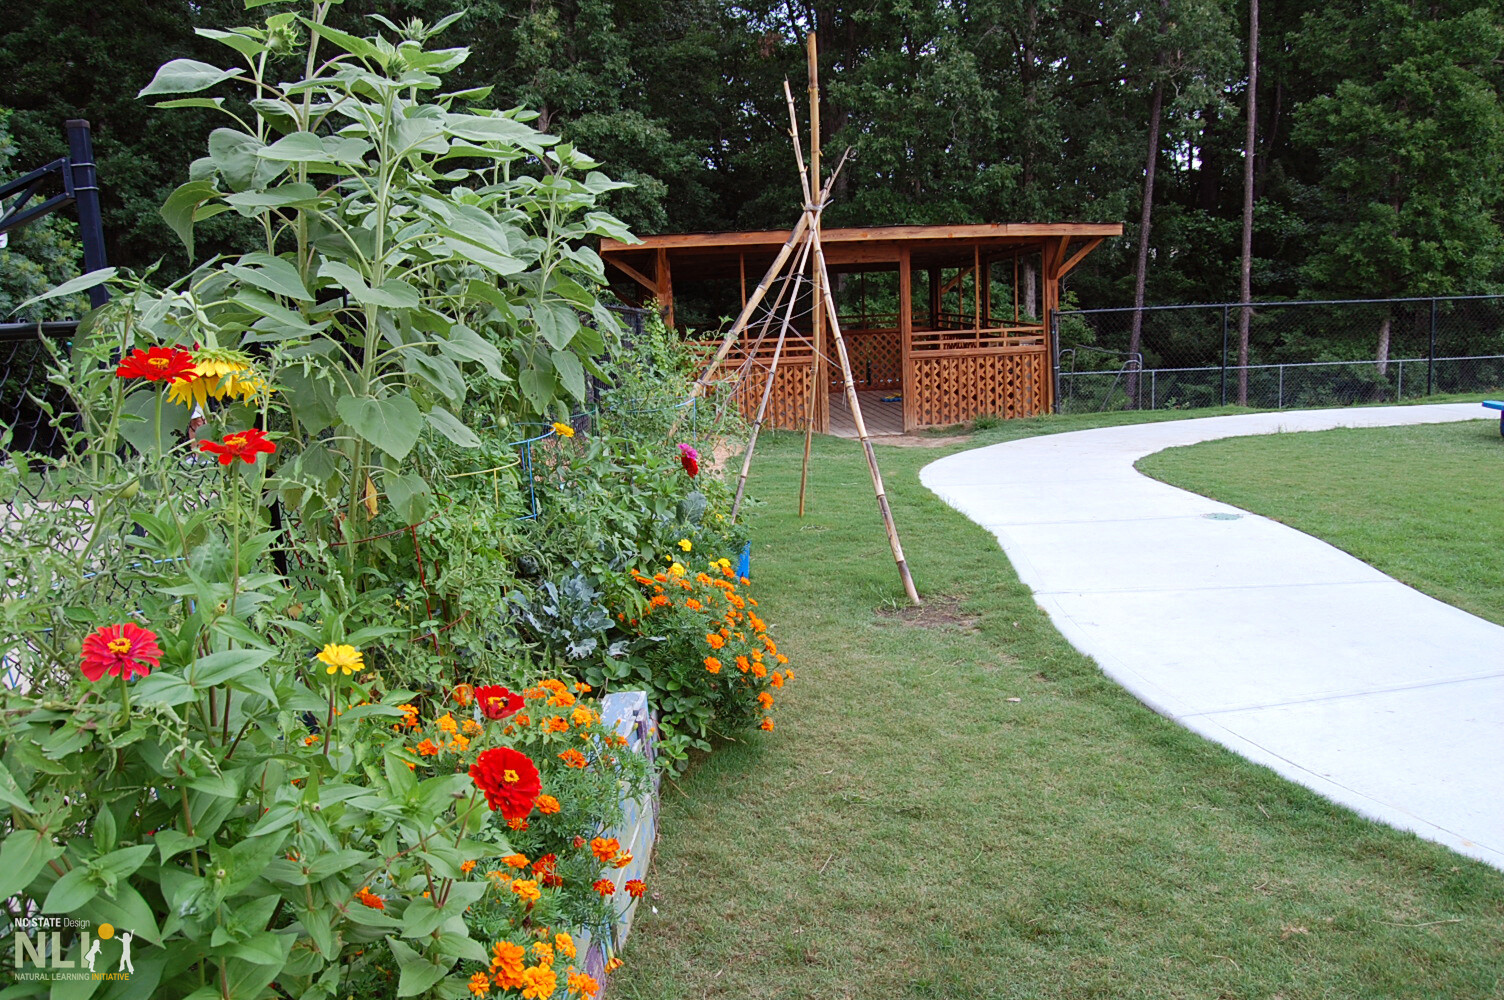
Annual flowers and vegetables are an essential of a high quality learning environment.
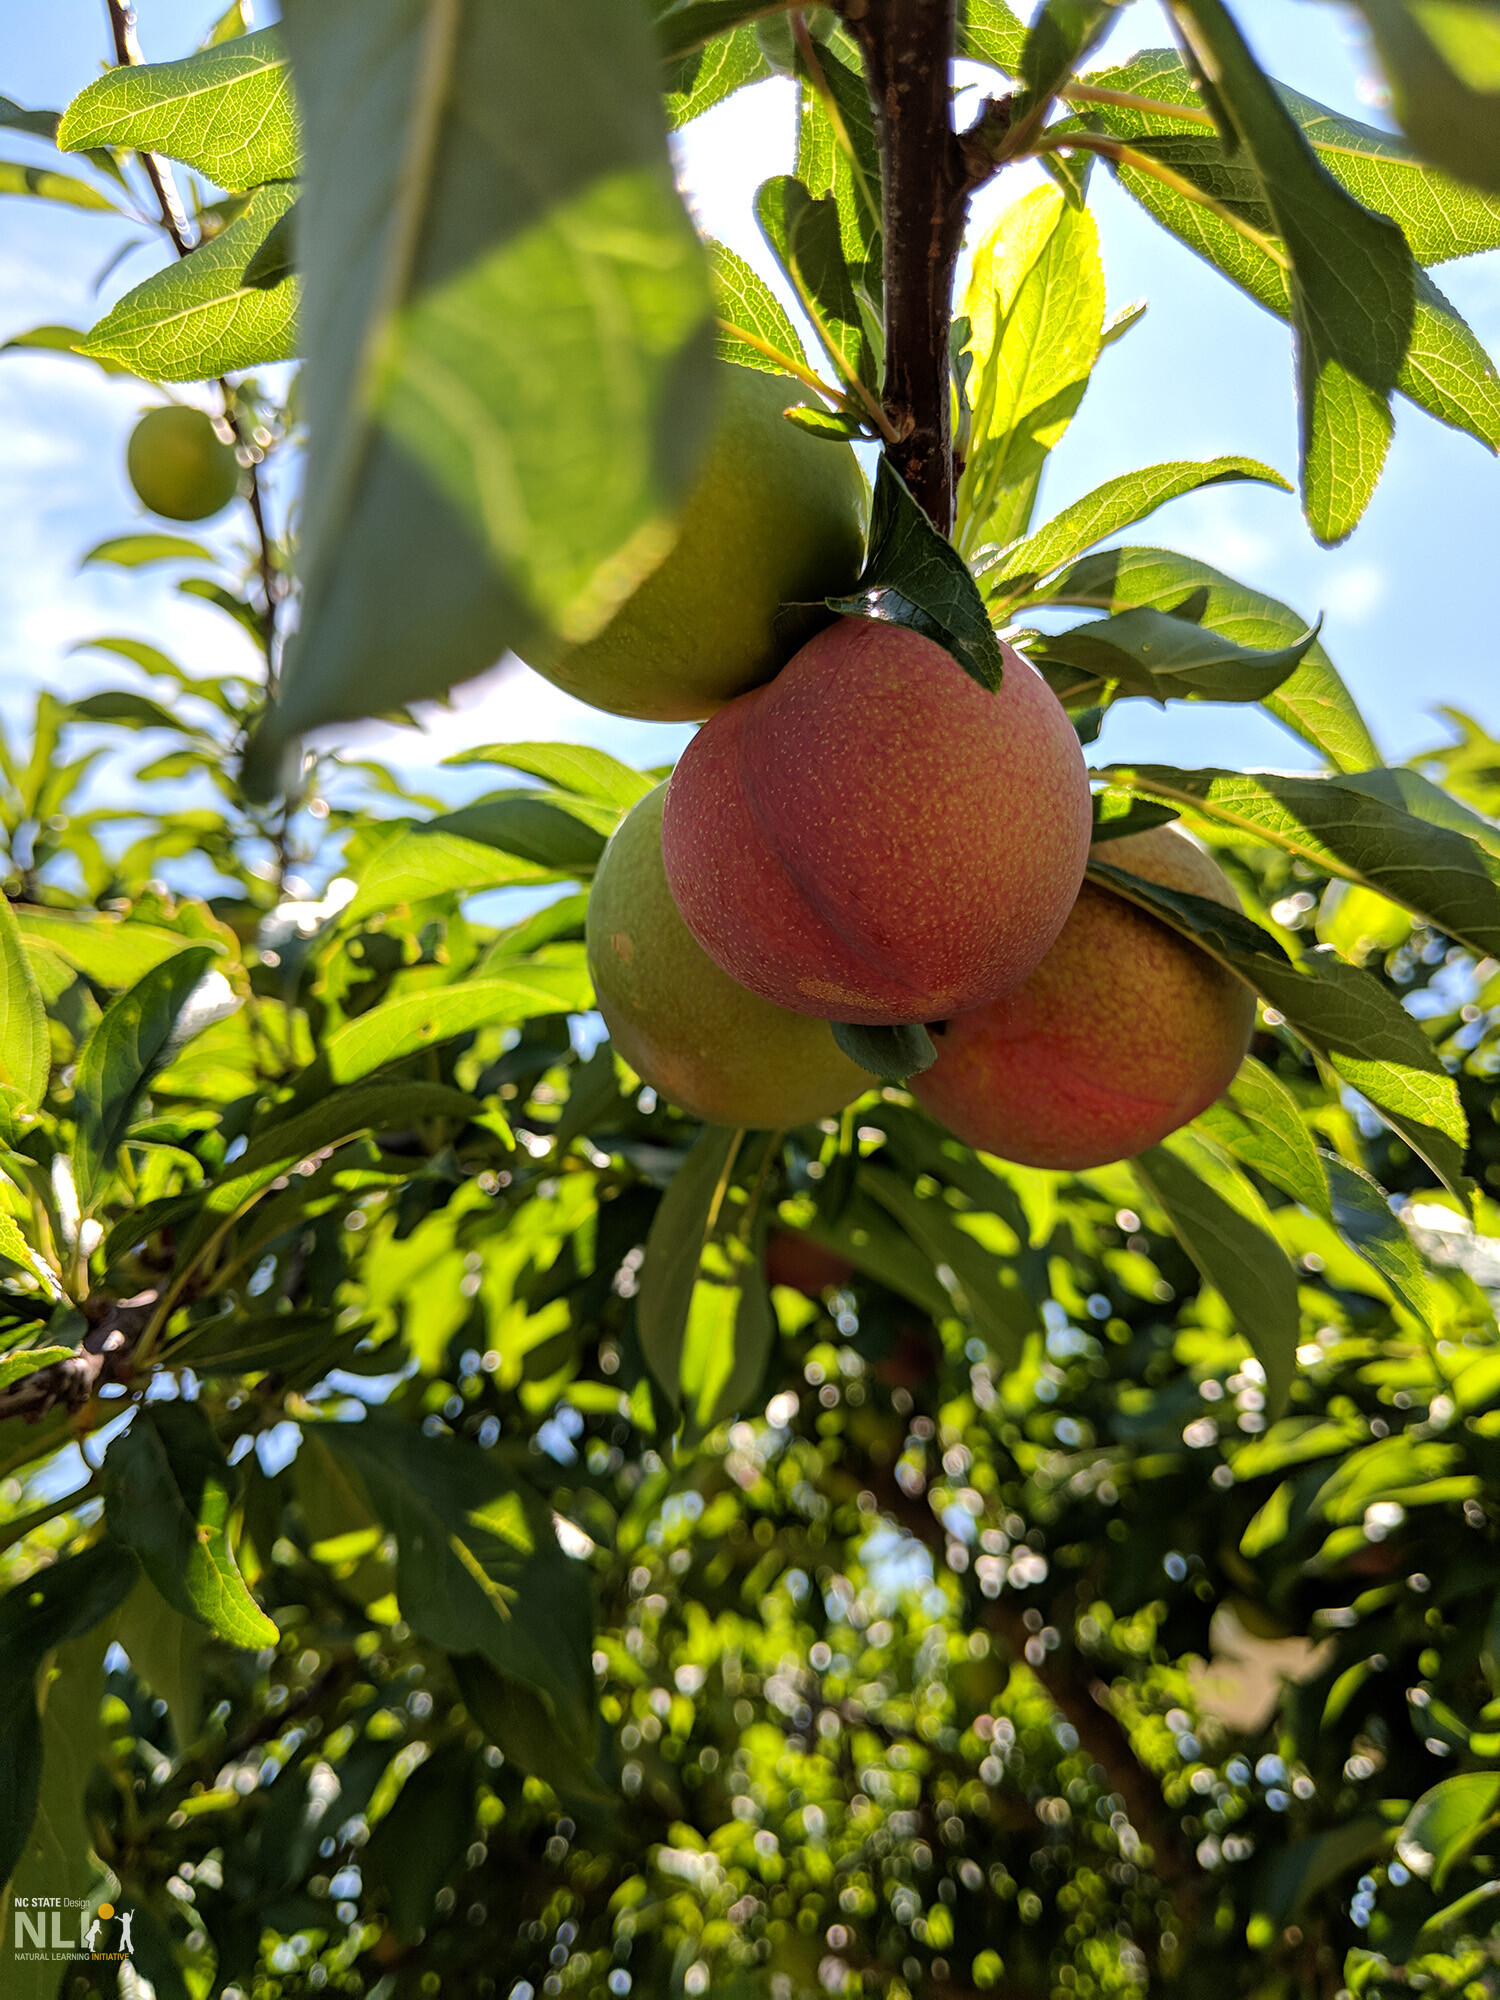
Plums ripening on a tree branch add daily interest for children.
Diagram of plant characteristics and vertical layers of an outdoor learning environment (OLE).
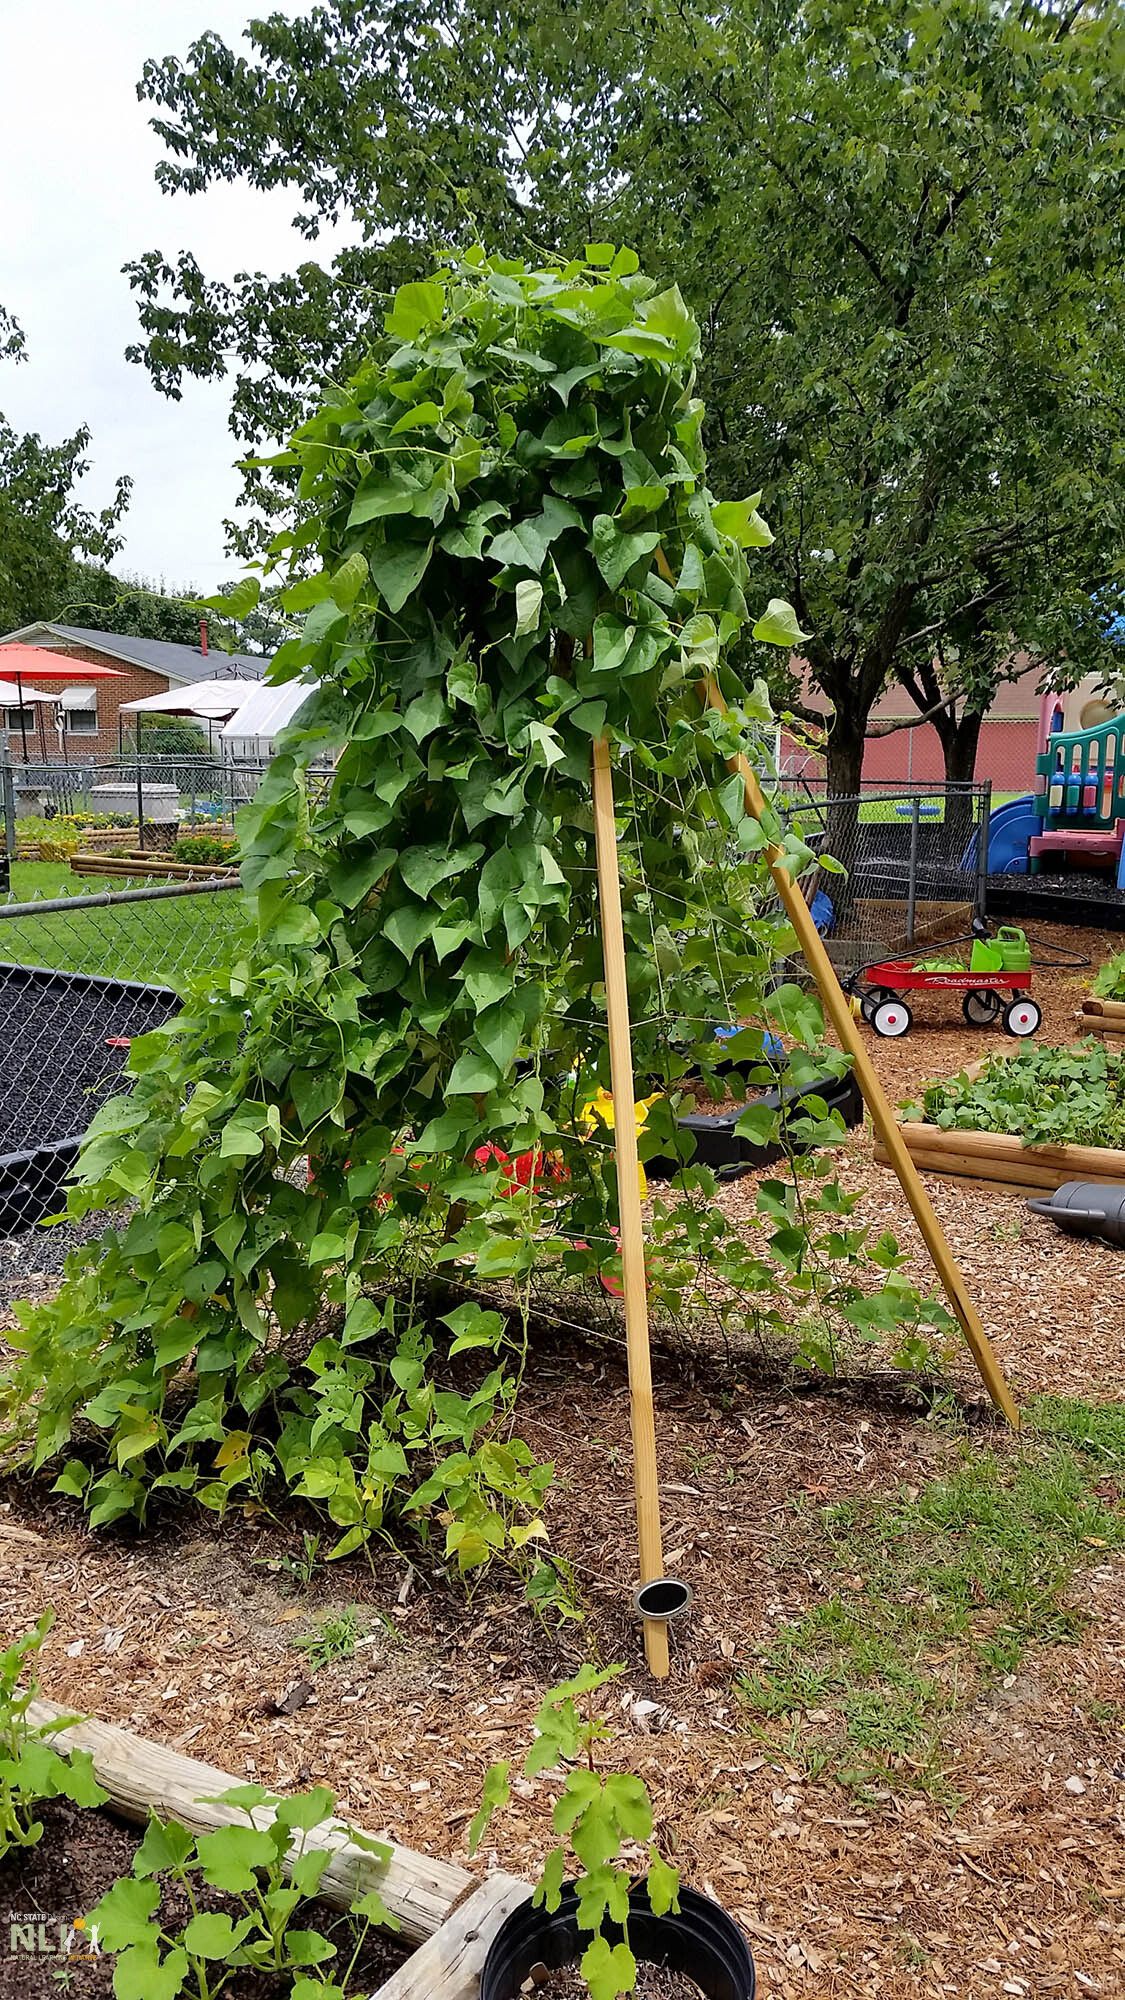
A conical structure covered in vines creates an attractive shady hideaway.
HELPING PLANTS THRIVE
Individual species adapted to grow under particular conditions. Knowing some basics about how plants relate to each other and grow as a unit can guide successful plant placement. Consult a local plant expert for advice on specific growing conditions of a given site.
Sun requirements vary greatly according to species, ranging from full sun to full shade. Be sure to read planting or transplanting instructions and plan accordingly.
Full sun: at least 6 full hours of direct sun
Part sun/part shade: between 3–6 hours of sun each day in the morning and/or early afternoon
Full shade: less than 3 hours of direct sunlight each day with filtered sunlight during the rest of the day
Water. All plants need water, some more than others. Adequate, periodic watering is essential depending on rainfall and season. Install hose bibs close by to avoid long, cumbersome hoses. Group plants with similar irrigation requirements and choose drought-tolerant species. Spread natural, plant-based mulch, such as shredded bark, 2–3 inches deep at the base of newly installed plants—this helps to conserve moisture and reduce weed growth.
Soil. Well-drained, high-quality soil is essential for healthy plant growth. Use potting soil for containers or amend native soil with compost to ensure that plants grow well.
Hardiness. A plant’s designated USDA Hardiness Zone is crucial for understanding environmental requirements, including temperature tolerances. Refer to the USDA Hardiness zone map, referenced below, to learn more about regional hardiness zones.
Weed and pest control. Remove weeds and pests by hand. Avoid the use of pesticides and herbicides in childcare OLEs. They may be harmful to children and other living creatures that use plants as food sources.
Pruning. Most plant types benefit from yearly pruning. The practice of pruning will keep plants healthy and encourage new growth. The optimal time to prune depends on the type of plant. Flowering trees, shrubs, and vines prefer to be pruned in the late/winter and early spring, while some evergreens prefer the early spring or no pruning at all. Consult a local expert or cooperative extension for pruning guidance to ensure that OLE plants look happy and healthy.
SELECTING PLANTS FOR PLAY AND LEARNING
When selecting plants for outdoor learning environments, consider the following best-practice criteria for successful nature-based play and learning. Plants should: be non-toxic; add play value such as sensory qualities or loose parts that engage children; offer year-round interest, including changing leaves and dropping seed-pods; and provide child-scale spaces, meaning they are sized so children can touch and interact with plant material at their height.
RECOMMENDED PLANT LIST
The list below identifies plants that are well suited to outdoor learning environments in the North Carolina Piedmont Region. To learn more about OLE plants for other regions, consult local cooperative extension offices and the wonderful PlayCore Play Value Plant Database.
Small to Medium Trees Amelanchier x grandiflora, Autumn brilliance serviceberry Cercis canadensis, Eastern redbud Lagerstroemia indica, Crape myrtle Magnolia ‘Jane’, Jane saucer magnolia Magnolia grandiflora ‘Little Gem’, Little gem magnolia Magnolia virginiana, Sweetbay magnolia Myrica cerifera, Wax myrtle
Edible Trees Diospyros kaki ‘Fuyu’, Fuyu asian persimmon Ficus ‘Brown Turkey’, Brown turkey fig Malus ‘Gala’*, Gala apple Malus ‘Red Delicious’*, Red delicious apple Prunus salicina ‘Methley’, Methley japanese plum Pyrus pyrifolia ‘Twentieth Century’ Twentieth century asian pear *Apples require cross pollination– Gala and Red Delicious should be planted together for fruit production
Edible Shrubs Vaccinium asheii ‘Climax’*, Climax blueberry Vaccinium asheii ‘Premier’*, Premier blueberry Vaccinium asheii ‘Tifblue’*,Tifblue blueberry Rubus ‘Arapahoe’**, Arapahoe thornless blackberry Rubus ‘Natchez’**, Natchez thornless blackberry Rubus ‘Von’**, Von thornless blackberry *Blueberries perform best when two or more different cultivars are planted **Requires support such as a trellis or fence
Fire ants are a destructive pest that increasingly threaten native species of ants and, as their name implies, can leave painful, itchy “stings.” Although more common in the southeastern United States, fire ants are spreading northward encouraged by climate change. The presence of fire ants in childcare center outdoor spaces can disrupt lawn activities, limit play and learning, and increase anxiety about extended time outdoors. The aim of this InfoSheet is to help identify fire ant mounds; discuss nest and sting prevention, sting reactions; and suggest safe methods for removing fire ants from outdoor play and learning spaces.
IDENTIFYING FIRE ANT INFESTATIONS
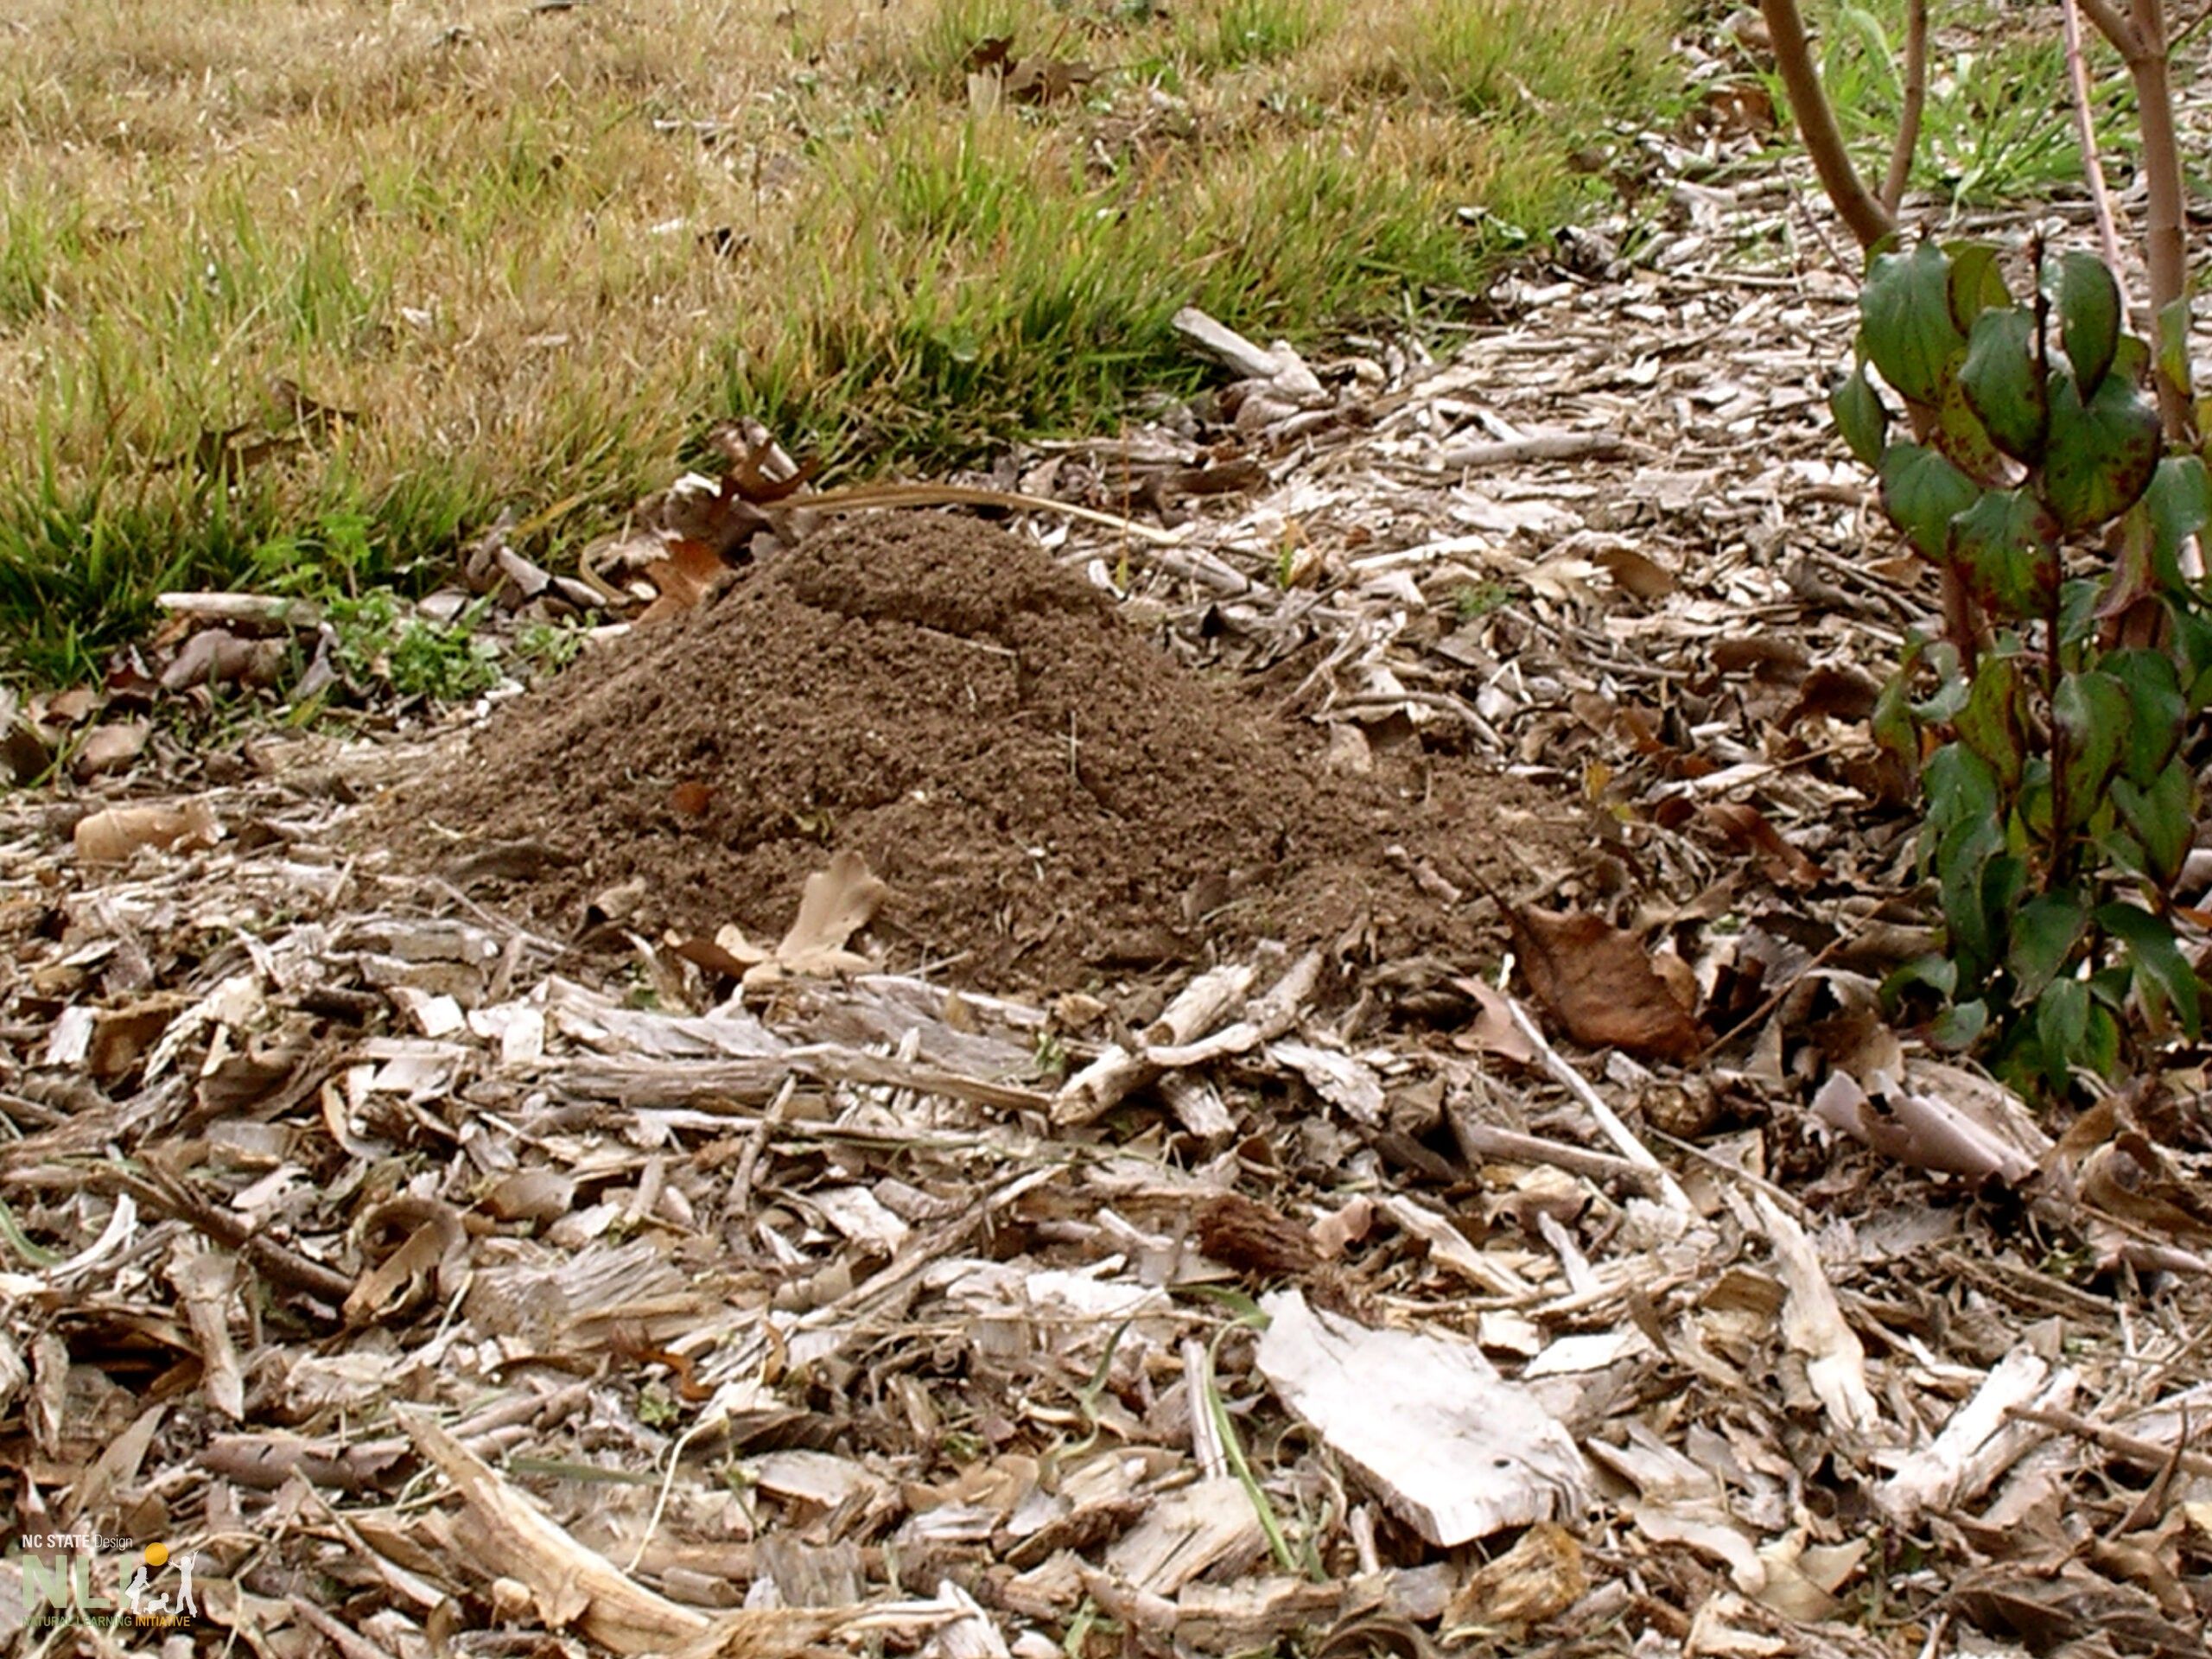
Mounds. Fire ant nests are easily identified. They have a distinct dome-shape, with no discernible opening at the top (NCSU Cooperative Extension). From a distance, they look like disturbed earth or small mounds of dirt. Mounds are typically located in open, sunny areas. When disturbed by an unassuming foot or unsuspecting child, fire ants emerge and can repeatedly sting. Identifying mounds and pocking them with a stick to see if they are alive is the simplest way to identify a fire ant infestation.
NEST PREVENTION
Preventing nest establishment in the first place is the most successful prevention strategy. Recommended preventive actions include:
Keeping areas near trash cans clean. Ensure trash is taken out at the end of each day. Outdoor trash cans should be regularly cleaned to remove a potential fire ant food source.
Turn over mulch beds twice a month to discourage nest establishment.
Throw away ripened fruit that has fallen from fruit trees.
STING PREVENTION
To avoid fire ants becoming established and to reduce the risk of getting stung, implement the following preventive measures:
Inspect outdoor spaces regularly between late spring and early fall, when fire ants are most active. If mounds are identified, rope them off or otherwise identify with signs.
Protect feet by wearing socks and closed-toe shoes (children and caregivers) where fire-ant mounds have been identified.
Help children to recognize fire ant mounds and alert them to the risks of getting stung. Ask children to report any fire ant mounds they see to a teacher or caregiver. Make fire ants a learning project!
SYMPTOMS
Symptoms of fire ant stings are severe pain or “burning” sensation at the sting site that lasts 5-10 minutes. A hive- like bump (red spot with raised white center) appears within 30 minutes. Itching follows the pain and can last a week, along with swelling. Redness is common and may last 3 days. Small pimples (pustules) form over the sting within 24 hours. Left alone, they dry up within 4 days. Avoid scratching as they can open and become infected.
For detailed information on sting treatment, including what to do in rare cases of severe reactions, refer to the Seattle Children’s Hospital Fire Ant Sting webpage. If a stung child has trouble breathing, swallowing, or is covered in hives, call a doctor immediately.
NEST REMOVAL: THE HOT WATER METHOD
The hot water method does not use chemicals but can still severely disrupt fire ant activity; however, it requires persistence to treat “satellite mounds” that may appear around the original nest. This method has been reported
to work nearly 60% of the time with repeated applications. Attempt with caution. To reduce risk, avoid carrying hot water over uneven terrain. Recognize that hot water may damage surrounding vegetation and lawn grasses. Treatment steps are described below:
Identify fire ant mound for treatment. Ensure that it is possible to carry near-boiling water from an adjacent building to the mound.
Recruit multiple adults to carry hot vessels to the mound site. Plan the treatment sequence of first heating water, transfer- ring to carrying vessels, and delivering for mound treatment.
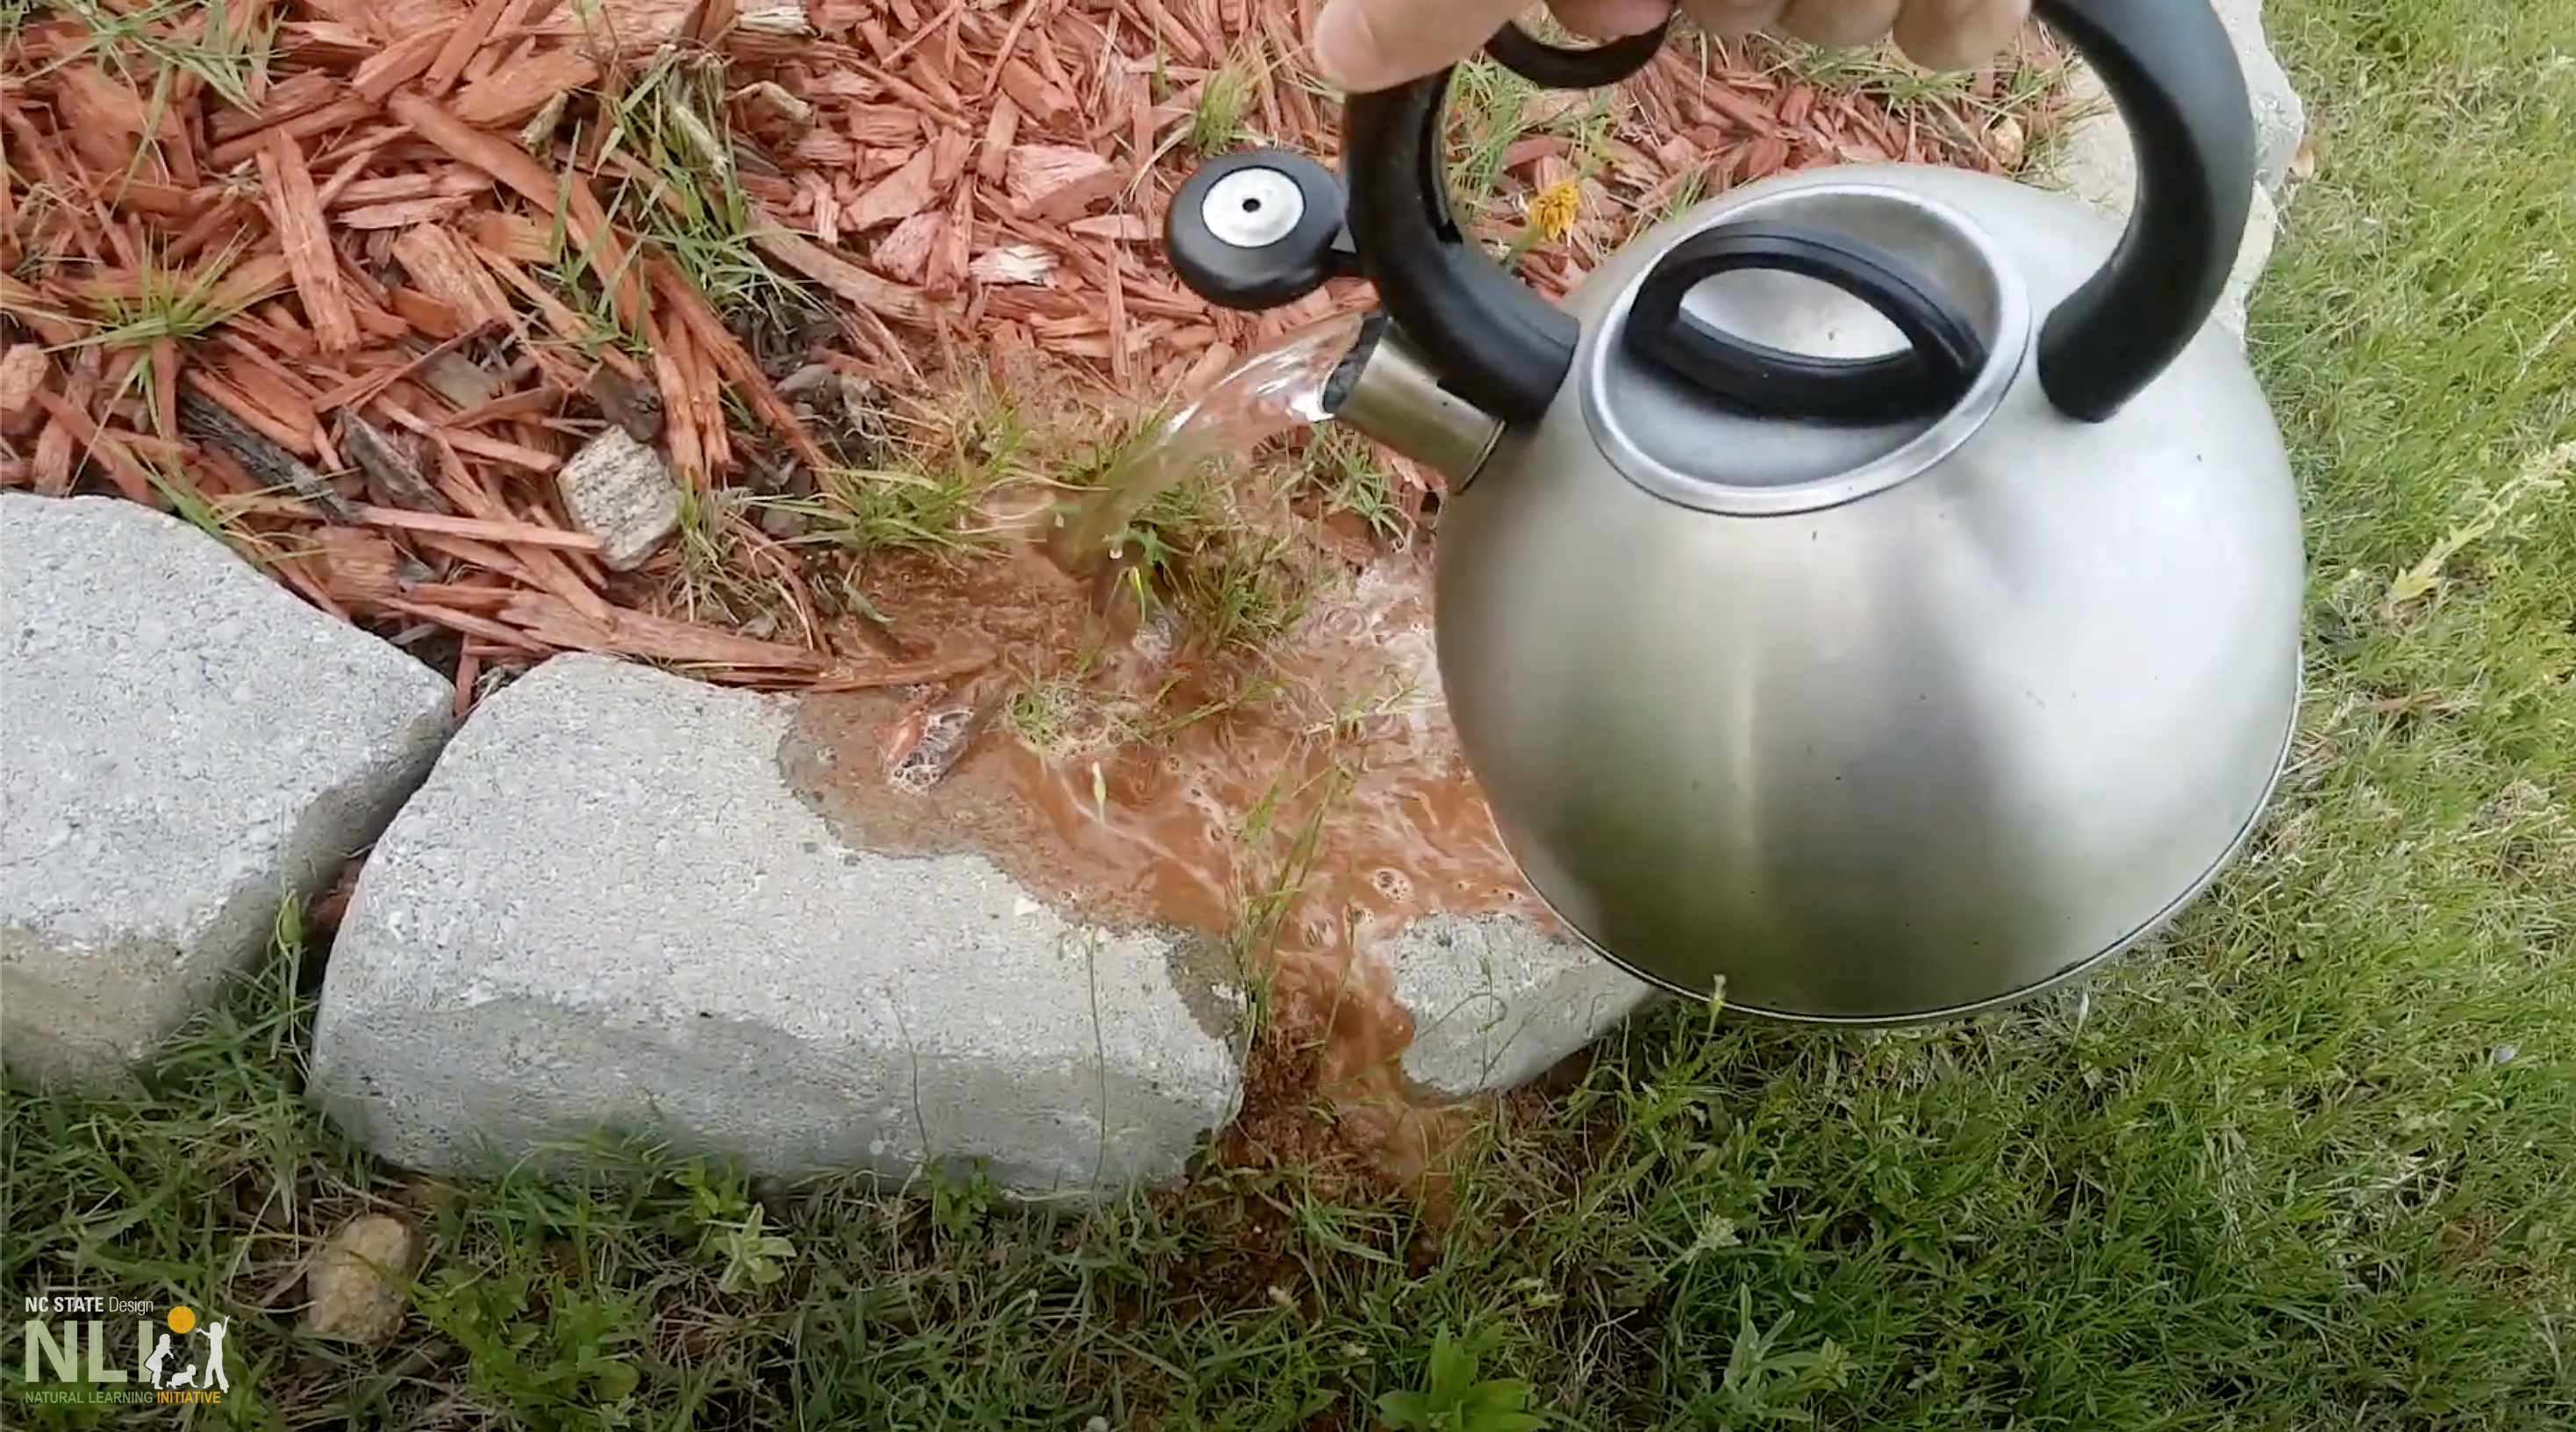
Heat 2-3 gallons water to boiling point using available vessels, including tea kettles, which allow for more control of hot water while pouring on mounds. Sufficient hot water may also need to be transferred to milk jugs and/or heavy-duty watering cans for delivery.
Slowly pour hot water on the mounds, being careful to avoid getting scalded. Several applications may be required before lack of ant activity is observed.
NEST REMOVAL: ORGANIC BAIT
Products containing an organic pesticide bait called spinosad are recommended by NC State University Cooperative Extension. The bait is a natural substance made by a soil bacterium that can be toxic to insects.
Usually in granular form, it is sprinkled on fire ant mounds. Select a product containing spinosad that is labeled safe for use on fruit and vegetables. Make sure to follow the instructions on the label, including application steps, health and safety precautions, and exposure avoidance. As organic pesticide products using spinosad may be more difficult to find, check agriculture stores and online sources.
NEST REMOVAL: ORANGE OIL AND DISH SOAP
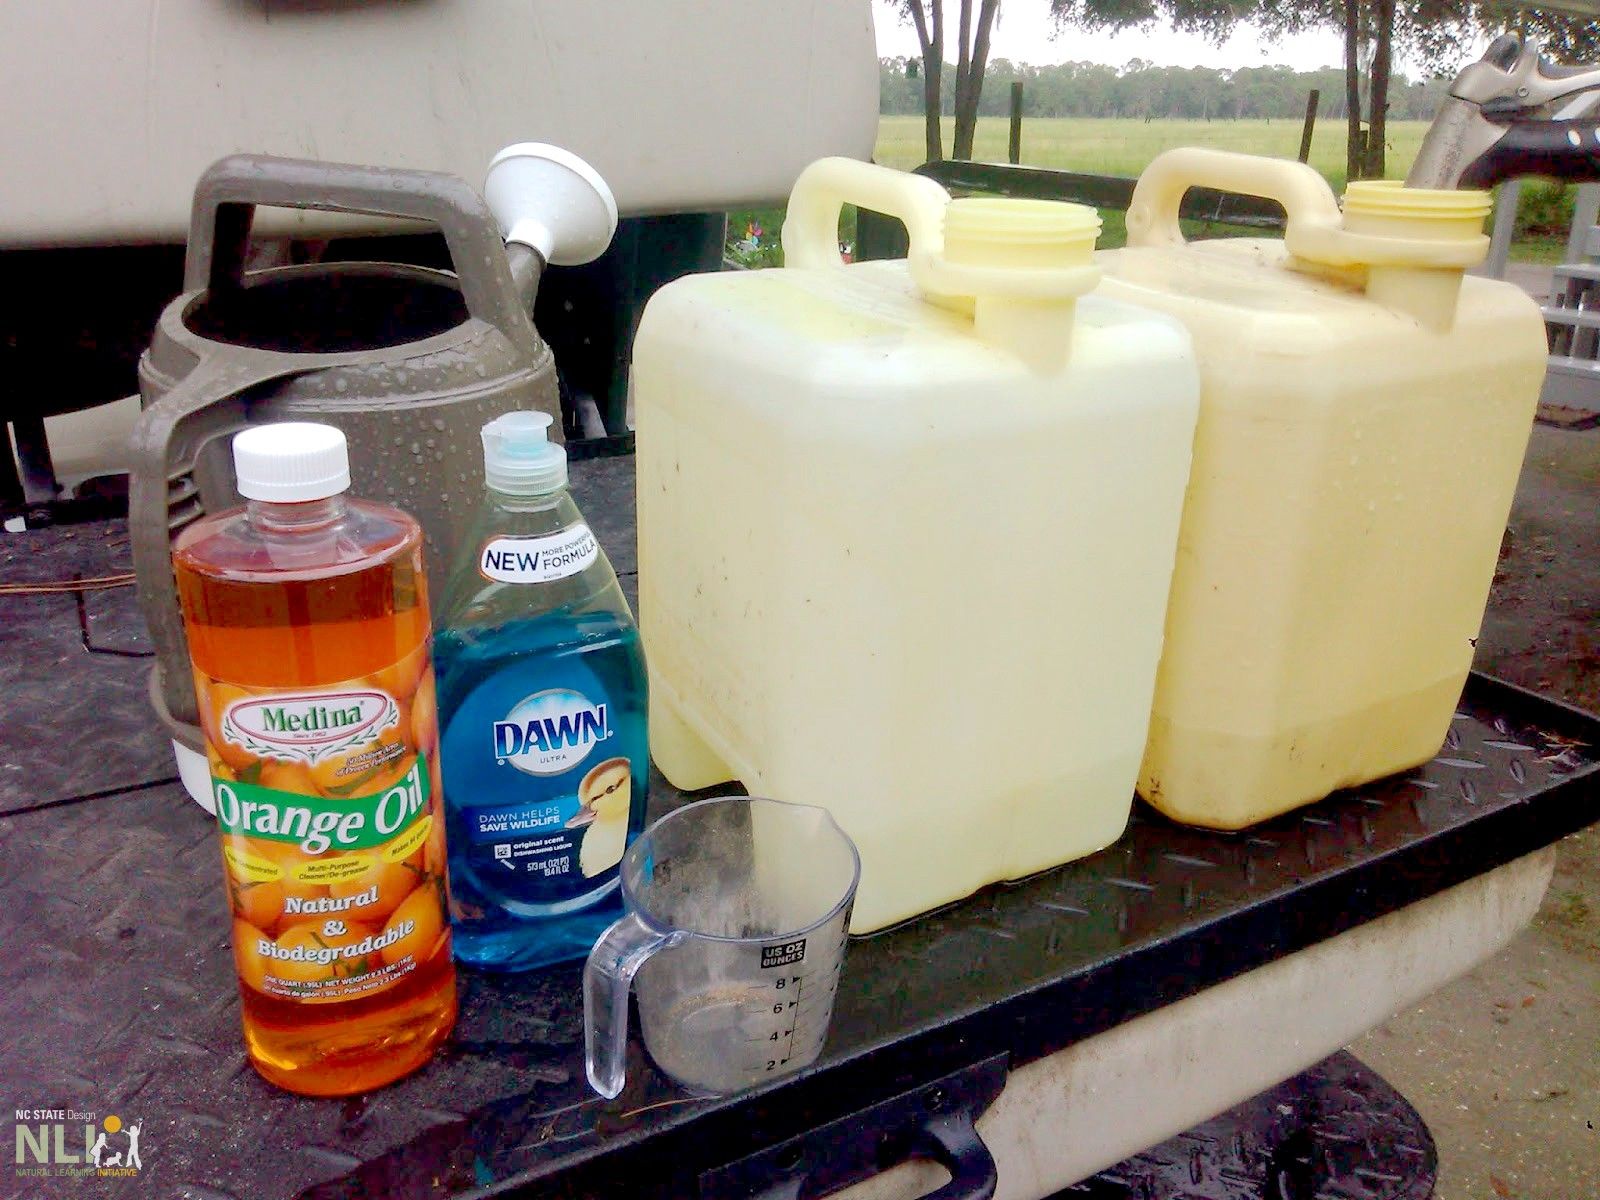
As an alternative to pesticides, try the treatment studied by Texas Agrilife Cooperative Extension, using 1.5 fluid oz. of orange oil mixed with 3 fluid oz. of Dawn dish soap per mound. Treatment results were significantly better than hot water for decreasing fire ant activity.
For treating multiple mounds, mix ingredients in greater quantities while adhering to the above ratio. See additional listing of potential fire ant treatments by Texas AgriLife (link below).
HEALTH AND SAFETY
Call a doctor immediately if severe reactions to a fire ant sting occur.
Inspect outdoor spaces regularly for fire ant mounds to avoid fire ant stings.
Execute the “hot water” method when no children are present as it can be hazardous. Attempt at your own risk.
Follow all instructions on product labels closely.
Note: Research on fire ant treatments is still evolving, and methods often have mixed results. If you’ve tried any of the methods listed here and achieved success, or know of other successful treatments, please share your experiences with NLI: [email protected]
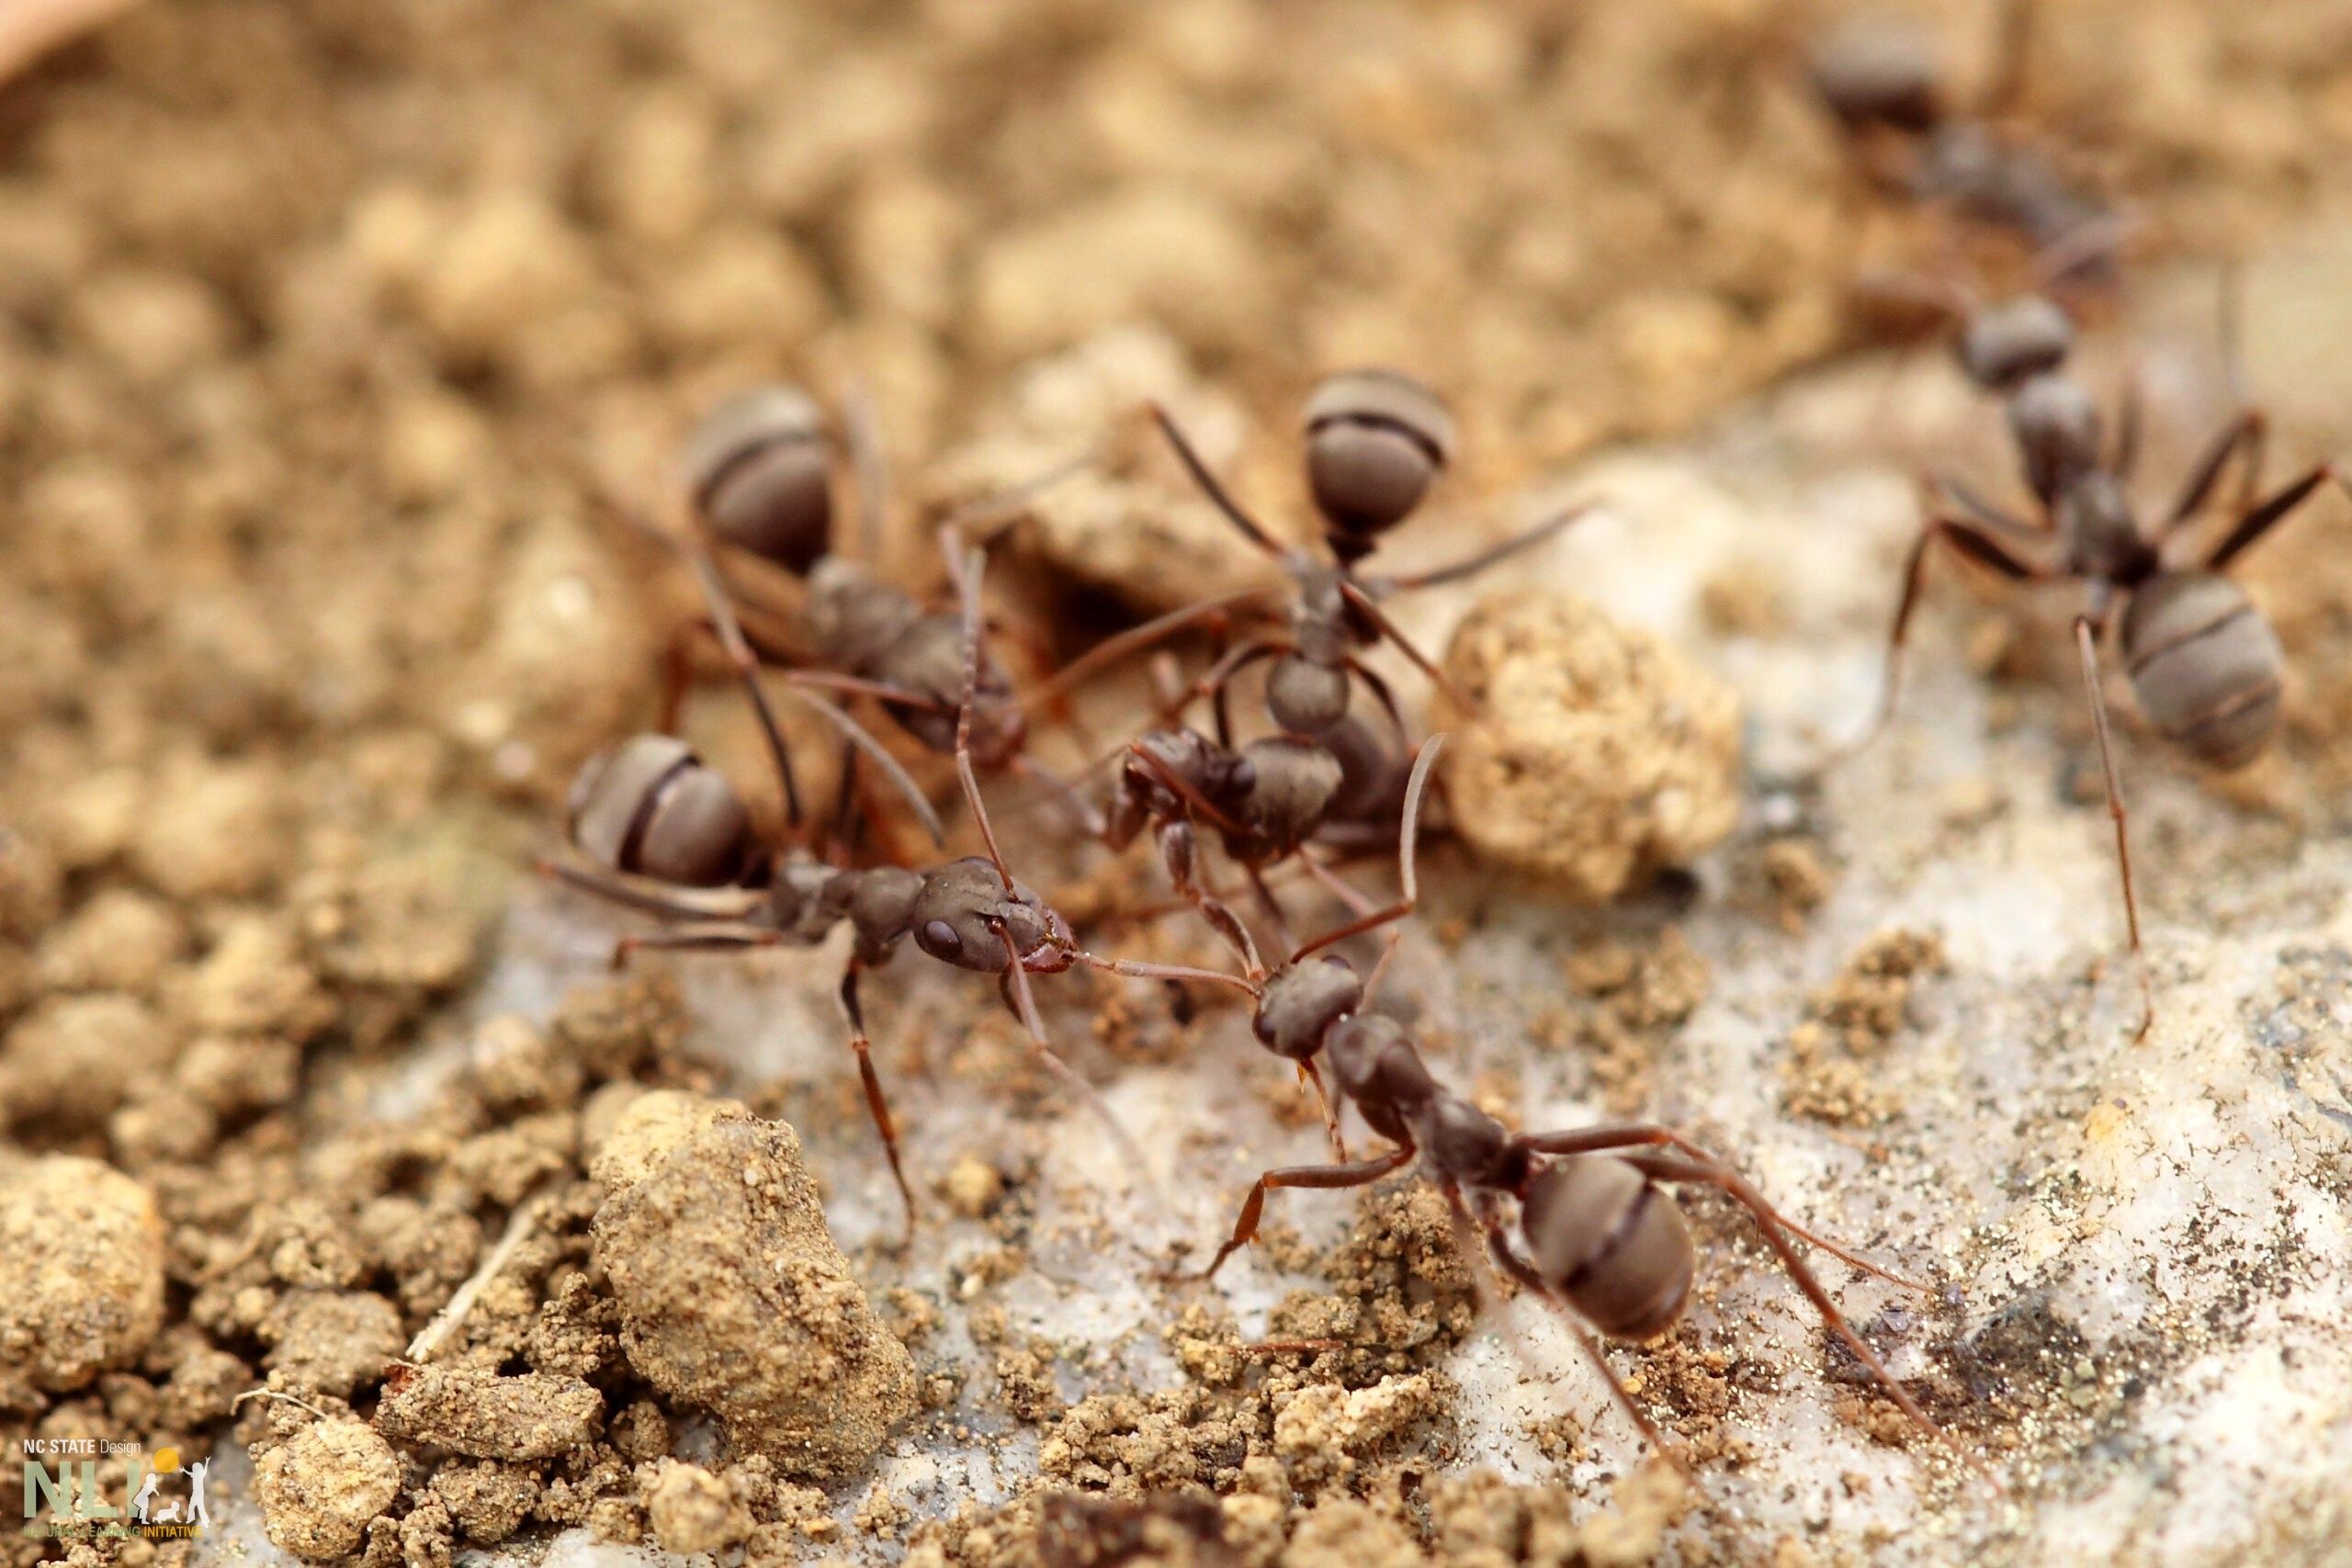
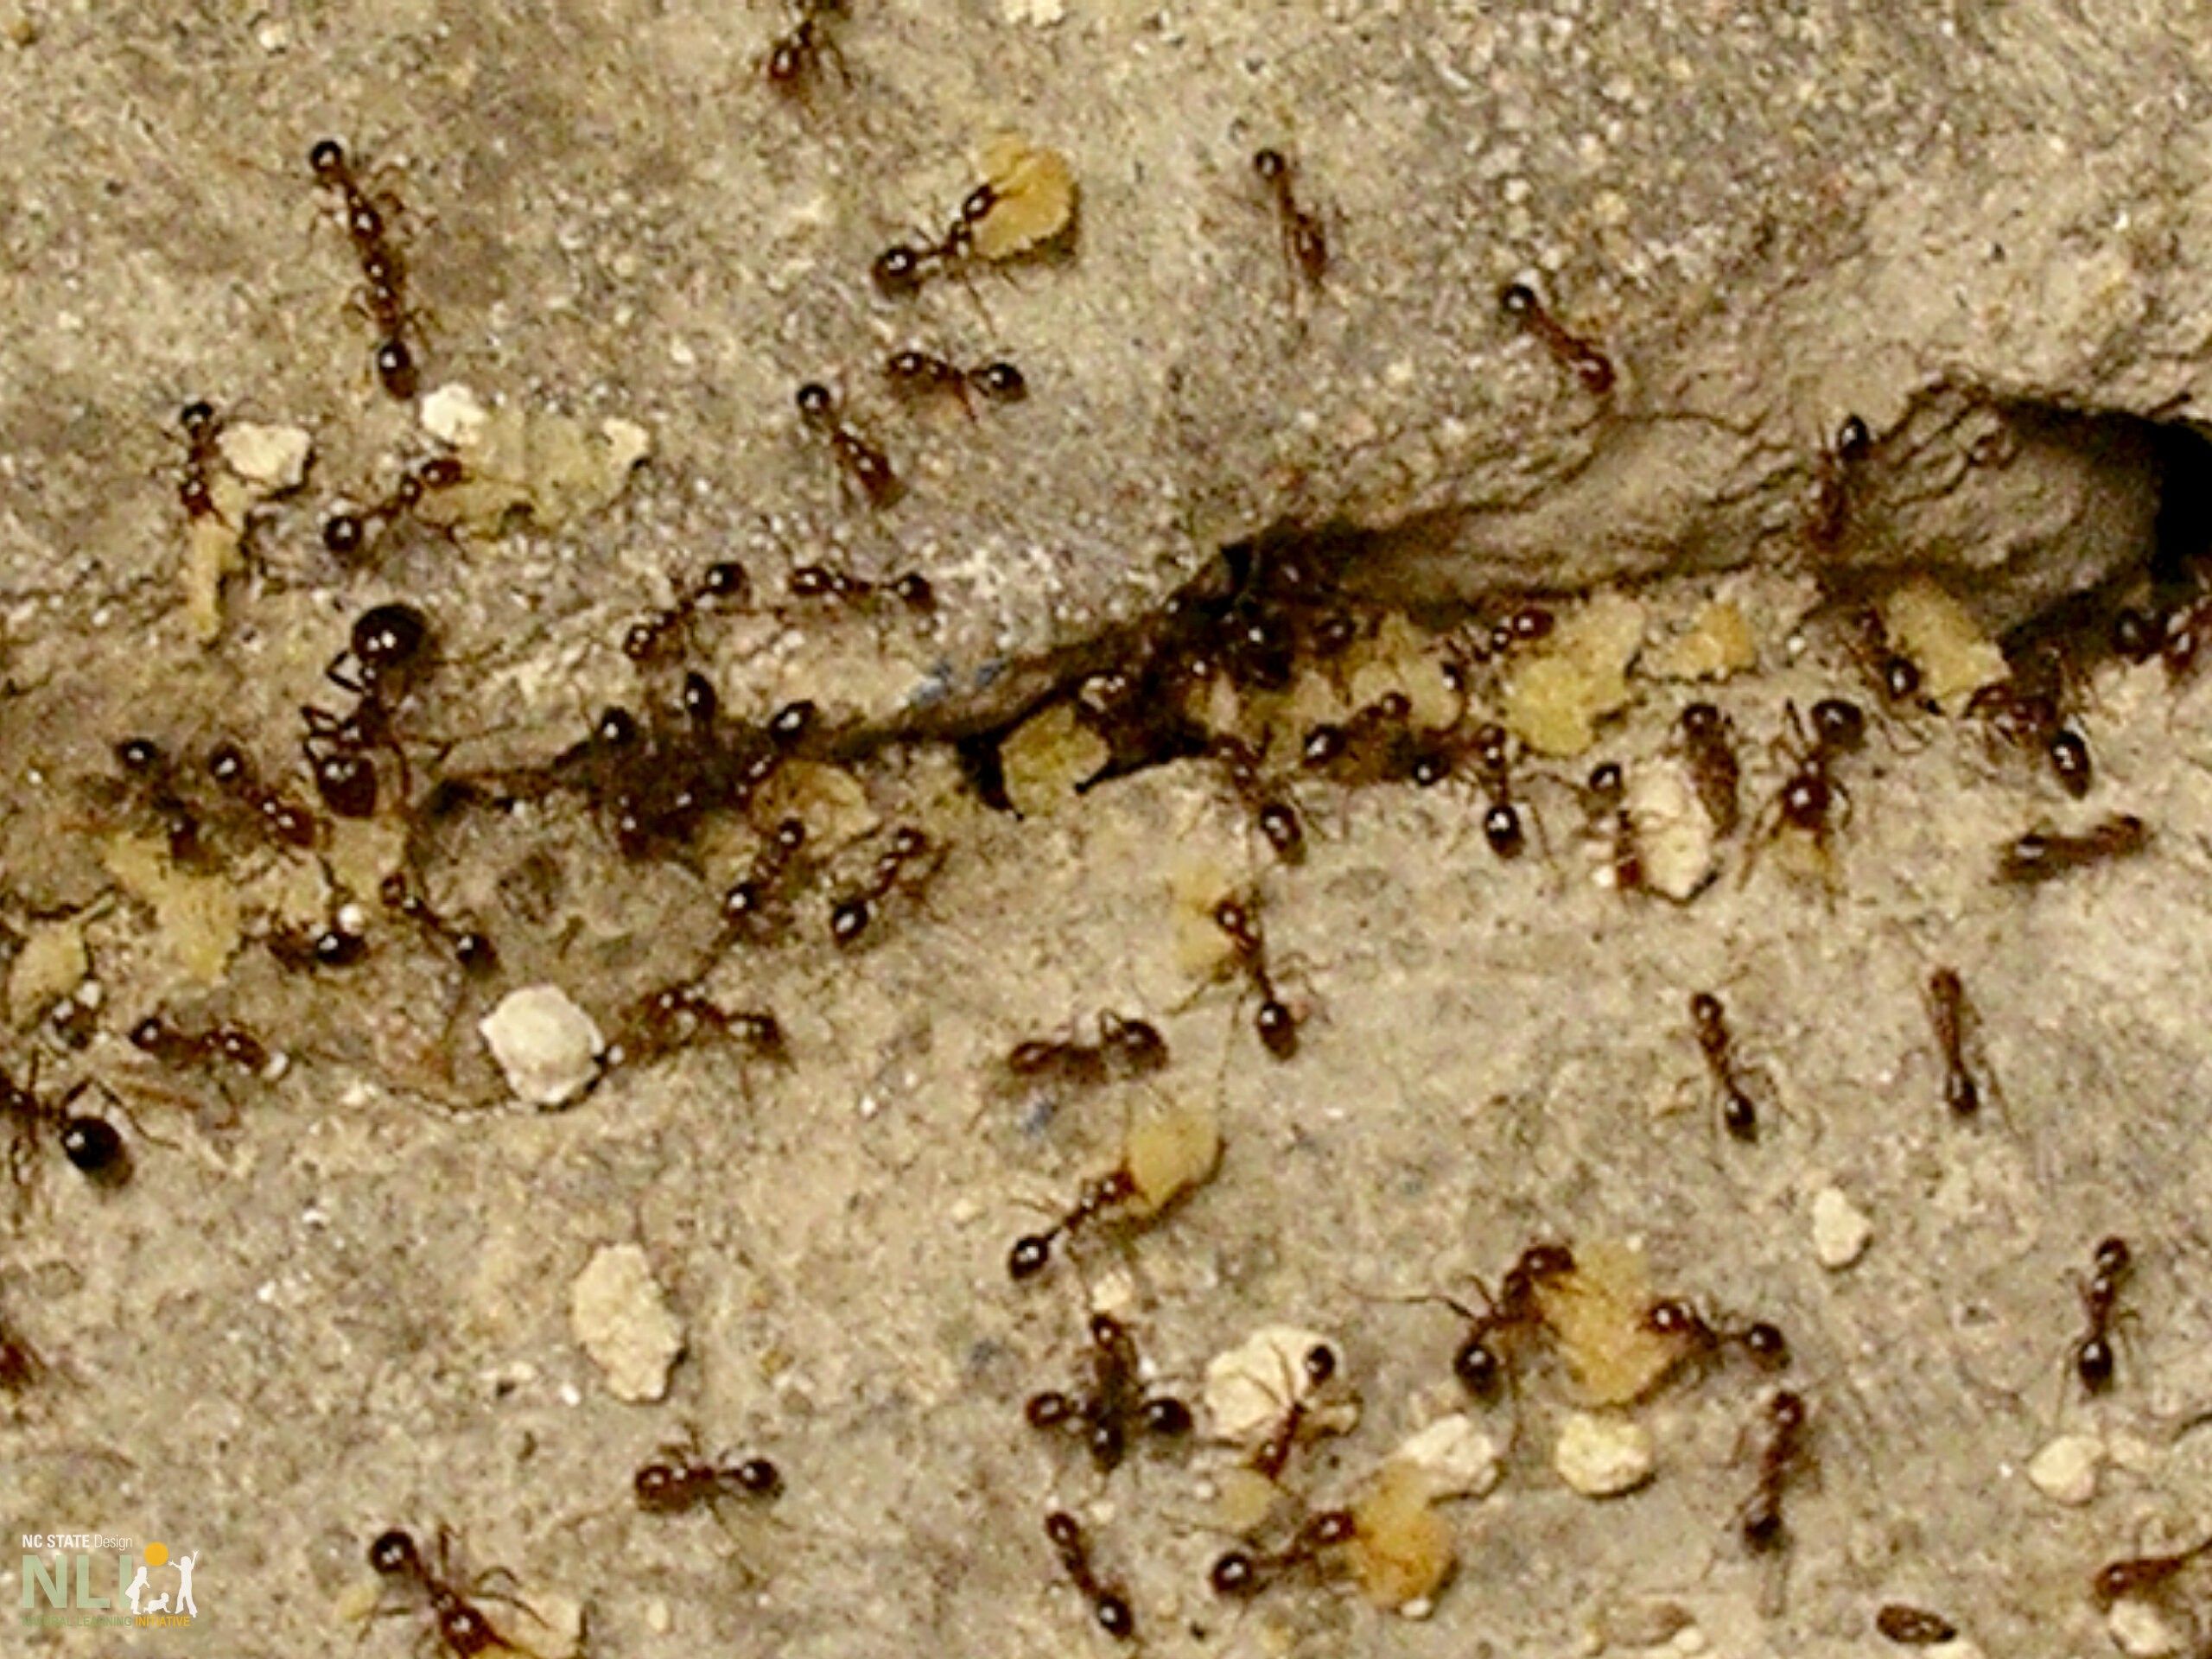
Fire ants close up! Color can vary from bright red to reddish brown.
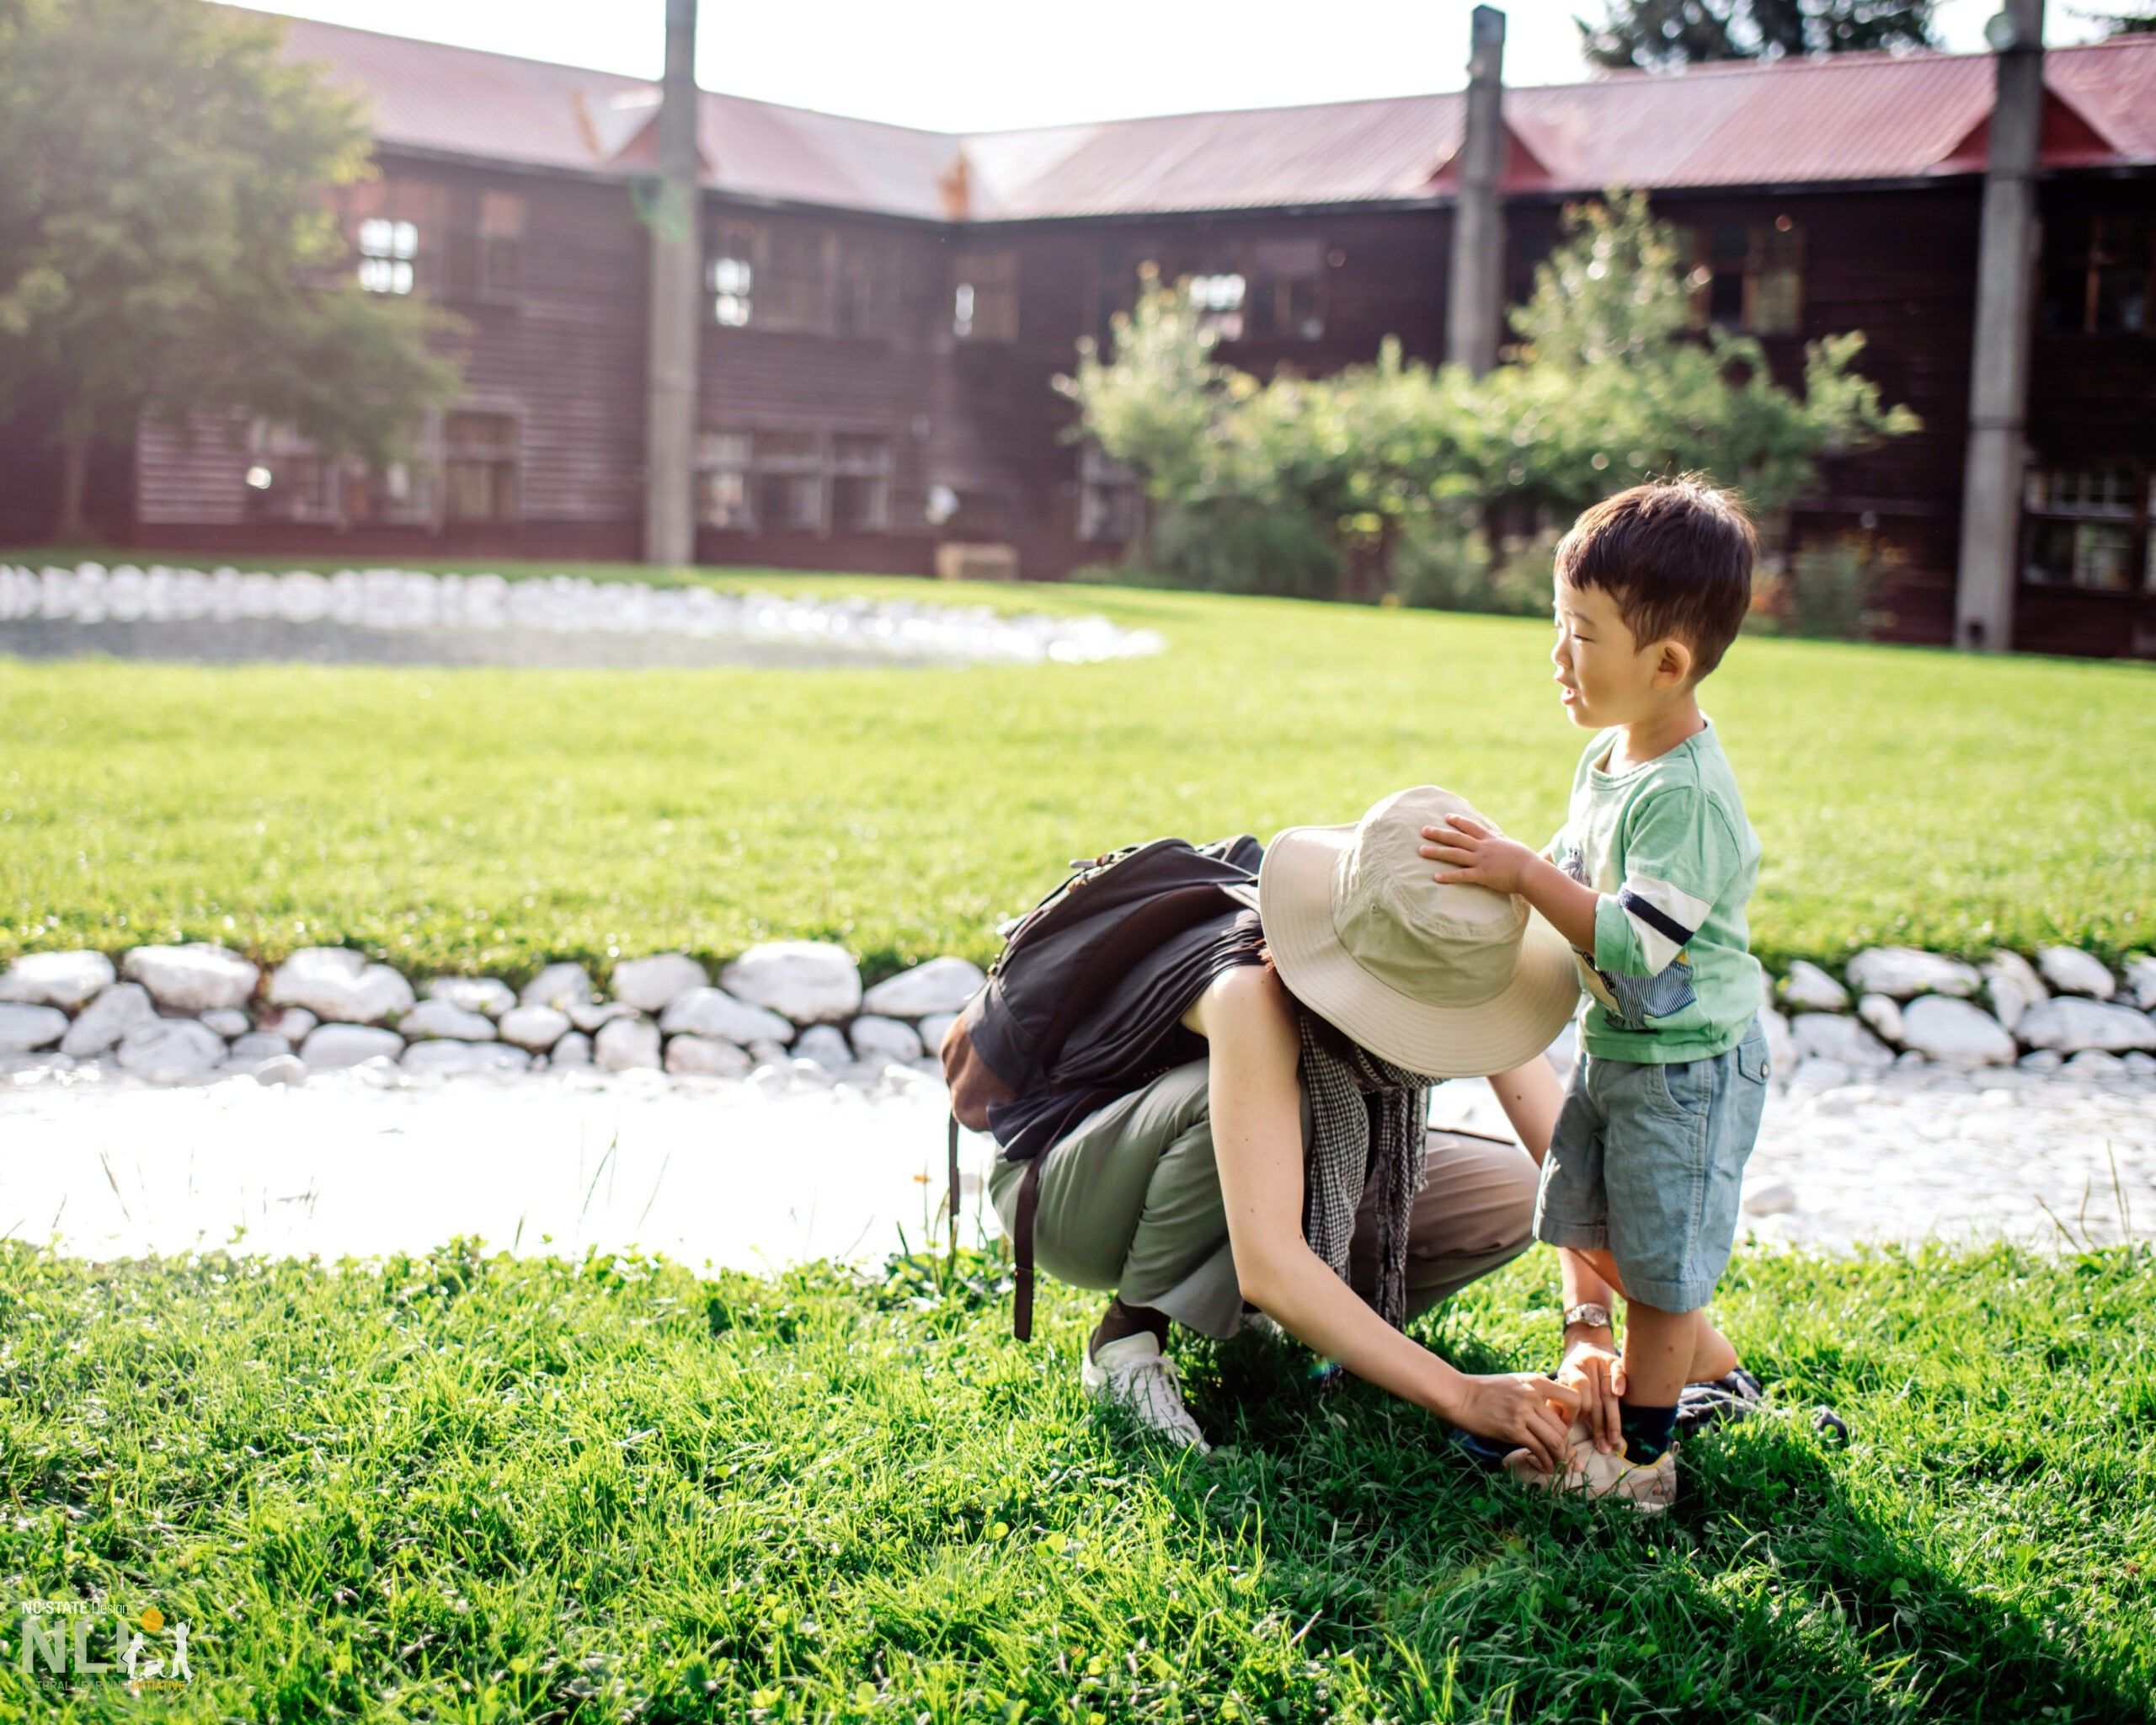
Feet are the most vulnerable target for red ant stings. Make sure they are protected by closed shoes and socks—preferably extending part way up the shin.
Typical appearance of a fire ant mound – here in mulch at the edge of a lawn.
Fire ants taking the bait!
Tea kettles are a safer way to transport hot water to a red ant mound
Ingredients and equipment for the “orange oil + Dawn soap” treatment.
Earth play stimulates dramatic play and provides children with opportunities to dig and sculpt. Enclosed by logs or rocks and filled with a prepared “earth play mix,” earth play settings may contain natural loose parts or manufactured items to add play value. This low-cost play setting solution can be easily installed with a few materials and a handful of volunteers. Encourage children to get their hands dirty and explore the sensory qualities that earth play has to offer.
shape, size, and location
Earth play setting shape and size are flexible, easily aligning with the boundaries of adjacent settings. Typically, earth play settings are circular and 6–10 ft. wide. A large, flat stone in the center adds play value but may increase size.
Locate the setting. Choose flat, level ground with sufficient space to move around the setting perimeter. Locate close to a primary pathway that links to other settings and, if possible, under an existing shade tree or shade structure. If neither exists, make sure to include shade provision as part of the project.
Earth play settings are usually bounded by a continuous line of partially buried logs to create a sittable/playful setting edge, a sense of enclosure, and to keep the earth play mix from migrating. Logs can often be found for free or at low cost locally. Cedar, locust, or other hardwoods are recommended for their pest and rot-resistance.
Excavate a pit 12–18 inches deep in the designated setting area. Include space for installing boundary logs.
For boundary logs, dig a trench 4 in. wider than the logs and deep enough to keep the logs stable after installation. Allow for 2 in. of pea gravel below the logs. Calculate log lengths to include 12–18 in. above grade of external ground surface. Add 2 in. of pea gravel, for drainage, to the bottom of the hole, around each log base, and behind the logs.
If the vertical logs are low in relation to the external ground surface, add treated horizontal logs, 12 inches or more in diameter, adjacent to the outside edges of the vertical logs.
Add landscape fabric, if needed, to keep native soil from mixing with the earth play mix. To install, cut fabric to the edge of the logs to cover the excavated earth surface.
Prepare earth play mix. Calculate volume required. Mix equal parts sphagnum moss and certified play sand. Play sand is graded and washed to make it safe for play. Mini pine-bark nuggets can be a substitute for spangham moss (considered a nonrenewable resource), but will take a while to break down to create an integral play matrix. All three materials are available at home improvement stores and garden centers.
Install earth play mix, 12–18 inches deep, on top of native soil or landscape fabric.
Populate with suitable “earth play toys”—dinosaurs are a favorite. Many other molded plastic animal reproductions are available to stimulate socio-dramatic nature play.
If large, smooth stones or rocks are available, they can be used instead of vertical logs as an alternative method of enclosure. Install them directly on landscape fabric and cut to the edge of excavation, which will need to be wide enough to accommodate the boundary edge. Smooth rocks or stones may be donated at low or no cost, or can be purchased from a landscape materials supplier.
Provide sufficient shade by planting small or medium sized trees adjacent to the earth play setting. As trees need to mature before providing adequate shade, consider installing a temporary shade structure or shade sail.
Plant shrubs and/or hardy perennials around the earth play setting to add sensory enhancement and a sense of enclosure.
Distribute excess soil elsewhere on the site.
health and safety
Before digging, call 811 ahead of time to check for underground utilities. The service is free, but it can take the agency several days to verify information.
Wear sturdy boots and gloves during installation.
Make sure boundary logs are not more than 18 inches above surrounding grade.
Regularly inspect logs for signs of decay. If unstable, replace before they become a possible hazard.
Materials & Tools
Log segments and/or fieldstone
Certified play sand
Sphagnum Moss
Landscape fabric (optional)
Shade trees or shade structure
Shovel
Pea gravel (if installing partially buried, vertical logs)
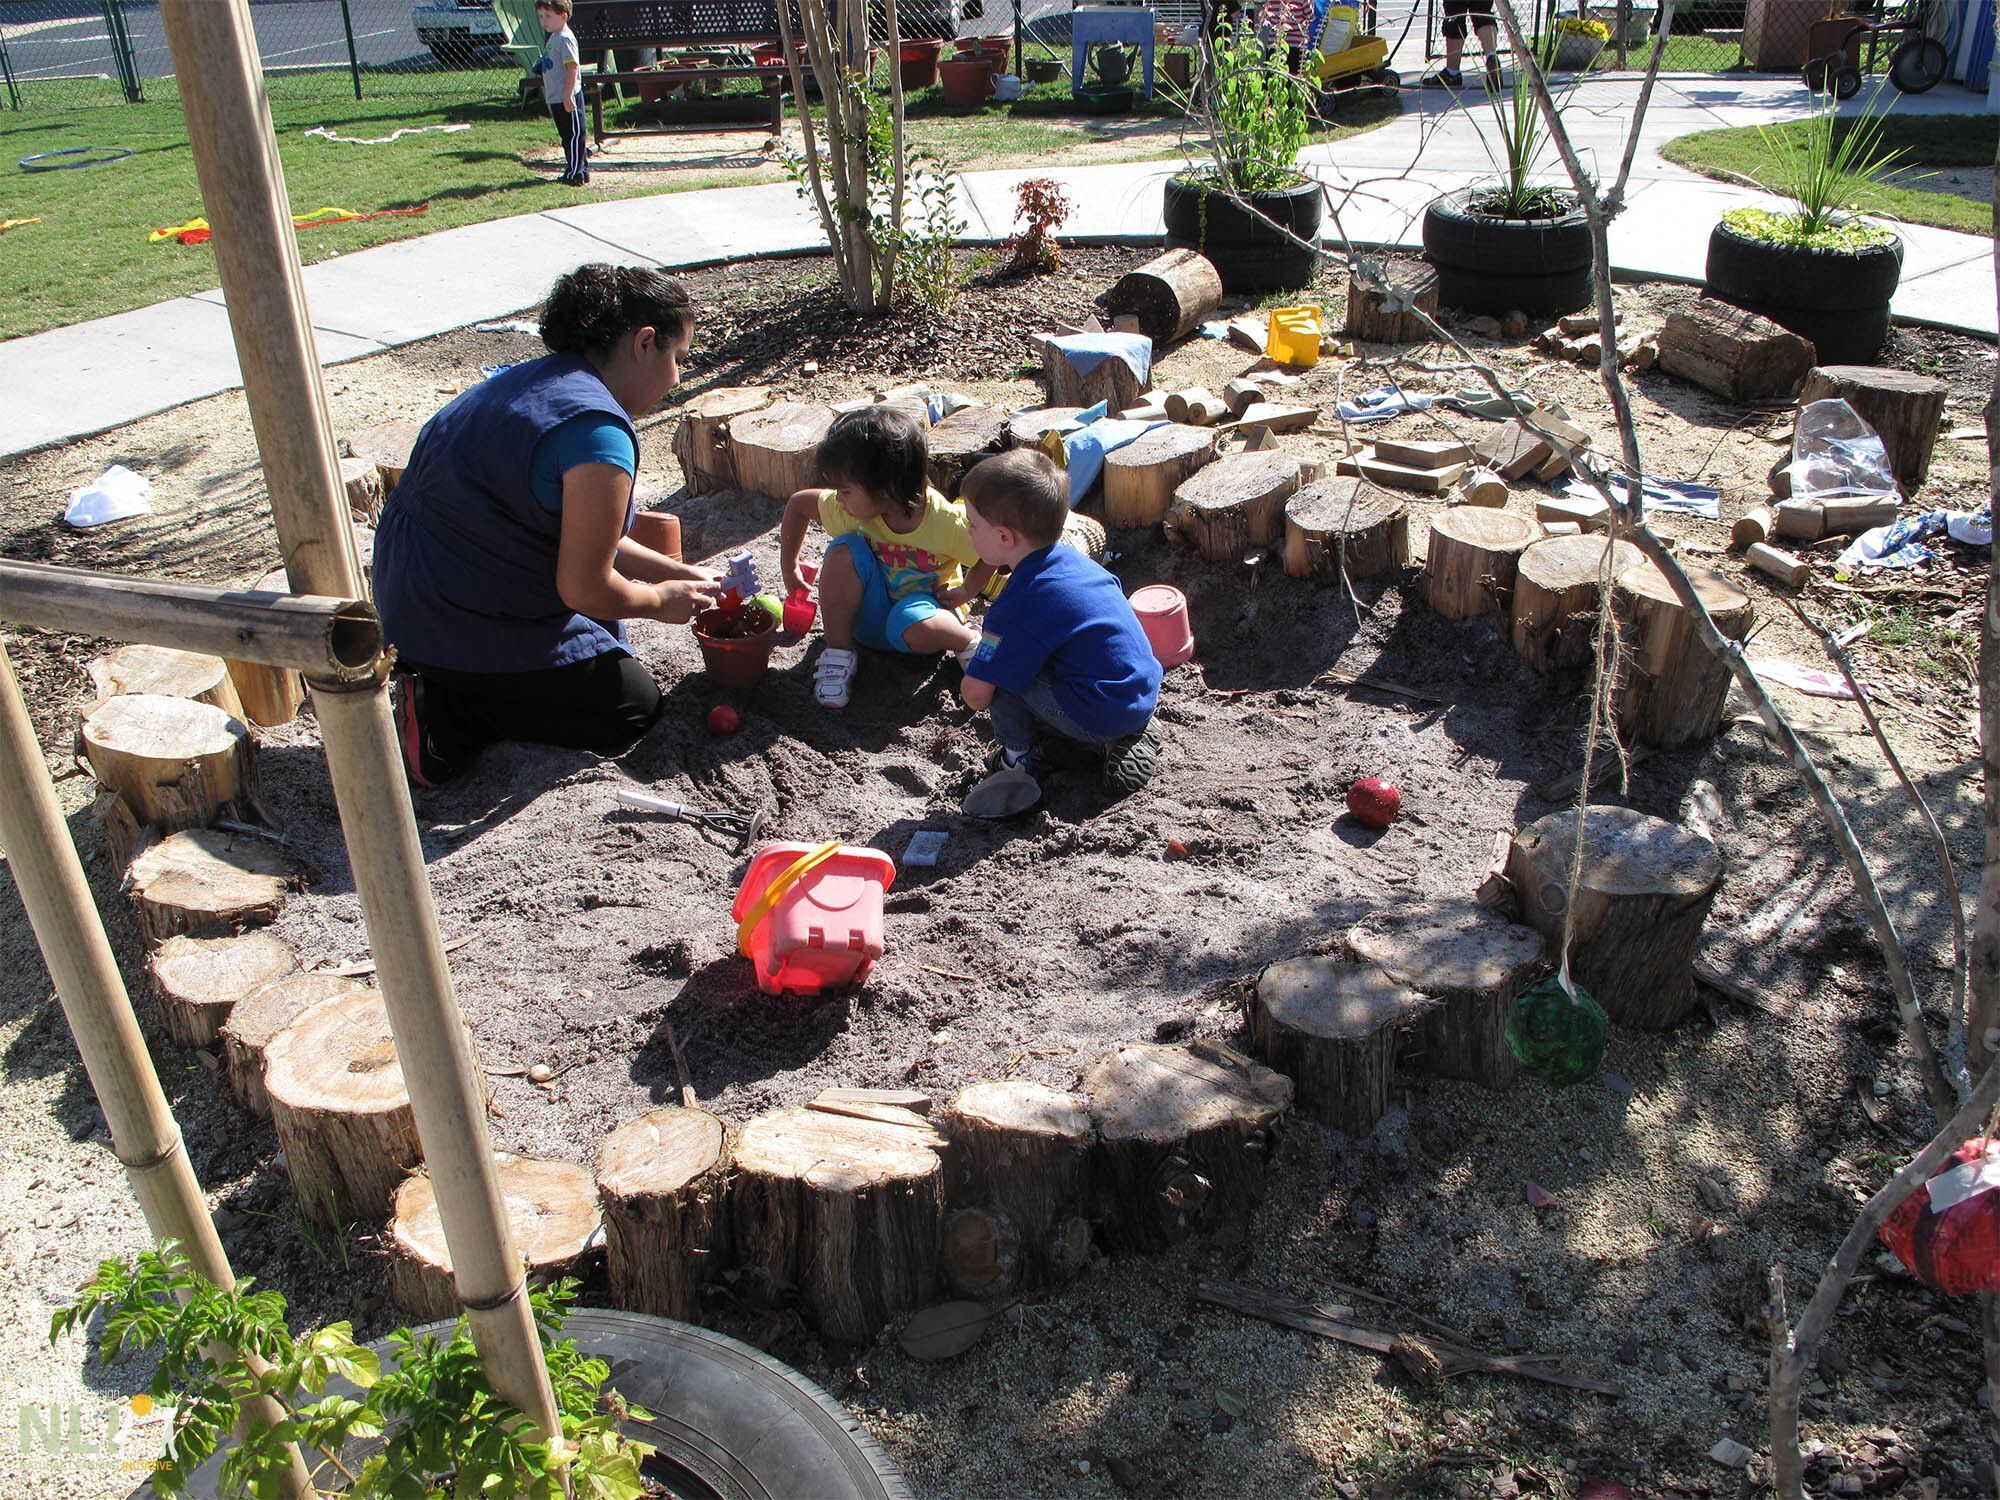
Teacher engaged with children, exploring the properties of “earth” with a mix of loose parts.
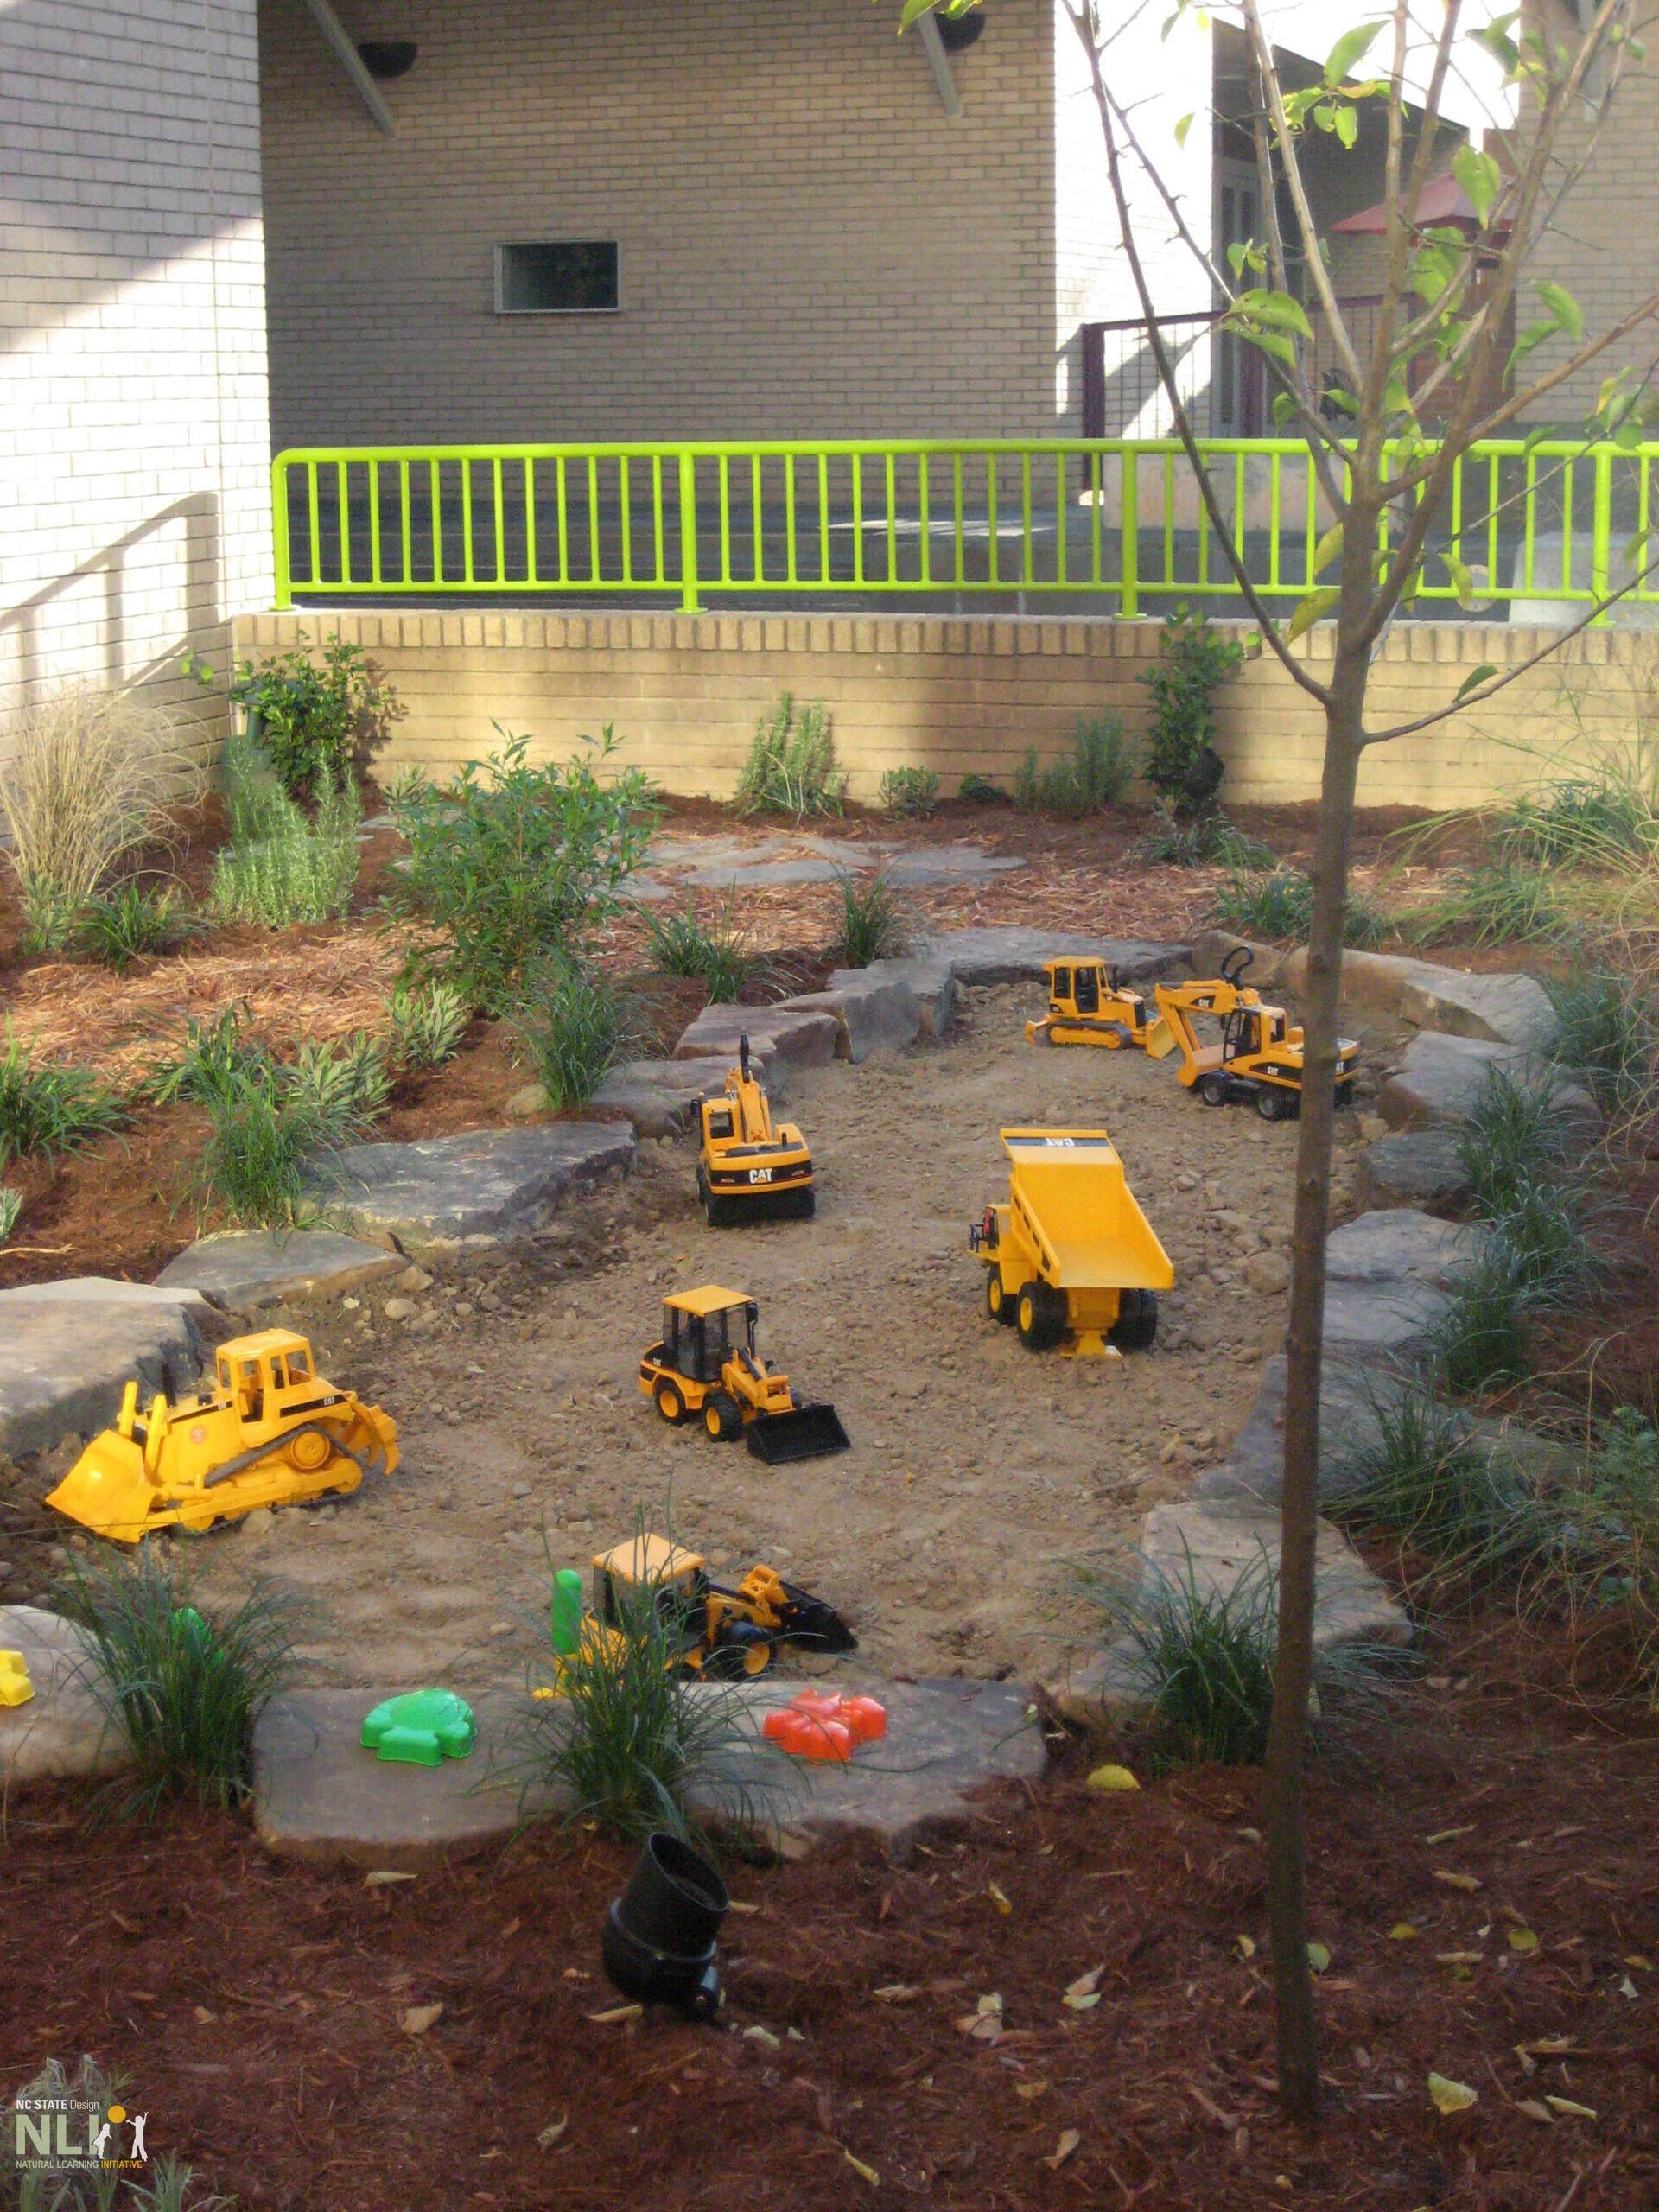
Not strictly earth play, this setting is an excellent example of a stone-edged setting with gravelly play matrix supporting construction toy play—and/or related STEM activity.
Small earth play setting under a shade tree. Semicircle of partly buried logs at variable heights enclose the space, together with play shelf. Intentionally prepared with basic tools, the setting entices children to interact .
Extensive earth play setting with crates of related loose parts stored just beyond the log boundary. A fragile cosmos flower happily survives in the foreground!
A great variety of play props and loose parts, both manufactured and natural, add play value to earth play.
The most appropriate location is where water flows naturally during a rain or from water play. Mark the natural flow, which may be eroded, with landscaping flags. Make sure the grade is steep enough to avoid ponding. Check that the stream bed does not “empty” into adjacent private property and that water travels away from buildings.
materials
Rocks. Acquire smooth, rounded river rocks from a local landscape supply company. Rocks should vary in shape and size, ranging from 8–18 inches, and sized so that children can turn them over but not pick them up. Consult with suppliers regarding how many stones will be required based on the square footage of the stream bed.
Border plantings. For stream bed edges, hardy perennial grasses such as muhly grass will add texture, a sense of enclosure, and play value. Native grasses can provide much-needed shelter and food sources for bird species. The soft reed juncus is highly recommended for stream bed planting due to it’s hardiness and play high play value.
Landscape fabric is an optional trench treatment. Fabric controls unwanted weeds and prevent rocks from settling too deep into the soil. Landscape fabric can be purchased at local hardware stores.
installation
Dig a trench no more than 12 inches deep in the center, varying from 2–4 feet wide. Design the trench with curves to create a naturalistic look. Ensure that the sides are gently sloped so that children can independently exit.
If landscape fabric is used, lay across in the trench, cutting it to fit the edges. Hide fabric edges with rocks for a natural look. Cut pockets in the fabric to plant juncus between rocks if desired.
Place the largest rocks along the edge of the creek bed. Dig out small depressions and pack them in with soil to prevent movement. Space rocks with gaps in between to accentuate edge.
Place the remaining medium-sized rocks, expanding from the edge of the stream bed and filling in the center around plants (if any). Arrange rocks of different sizes and colors together to create variation.
Install perennial grasses along the edge of the stream bed. Highlight curves and entry points with plantings while ensuring that visibility into the stream is not impaired. Grasses and juncus will do best in full sun. When planting, dig a hole as deep as each plant’s container and 1.5 times as wide. Add a 1–3-inch layer of mulch at the base of the plant without covering the plant itself.
CONNECTING TO A WATER SOURCE
Dry creek beds can be connected to a potable water source, such as a hose or tap, to integrate water play. Standing water is not permissible in most state licensing regulations, so dry stream beds intended for water play need sufficient drainage. Consult with a local landscape architect or engineer to ensure slope is adequate.
HEALTH AND SAFETY
Before digging on site, call 811 to check for underground utilities. The service is free but can take several days, so call in advance before starting installation.
Dry stream beds should not be located in infant/toddler play areas. Children must wash hands after coming in contact with “gray water” or other run-off after a storm.
Grasses for dry stream Beds:
Common rush, Juncus effusus
‘Karley Rose’ or ‘Hameln’ Fountain Grass, Pennisetum
‘Karl Foerster’ Feather Reed Grass, Calamagrostis x acutiflora
Little Bluestem, Schizachyrium scoparium
Muhly grass, Muhlenbergia capillaris
River Oats, Chasmanthium latifolium
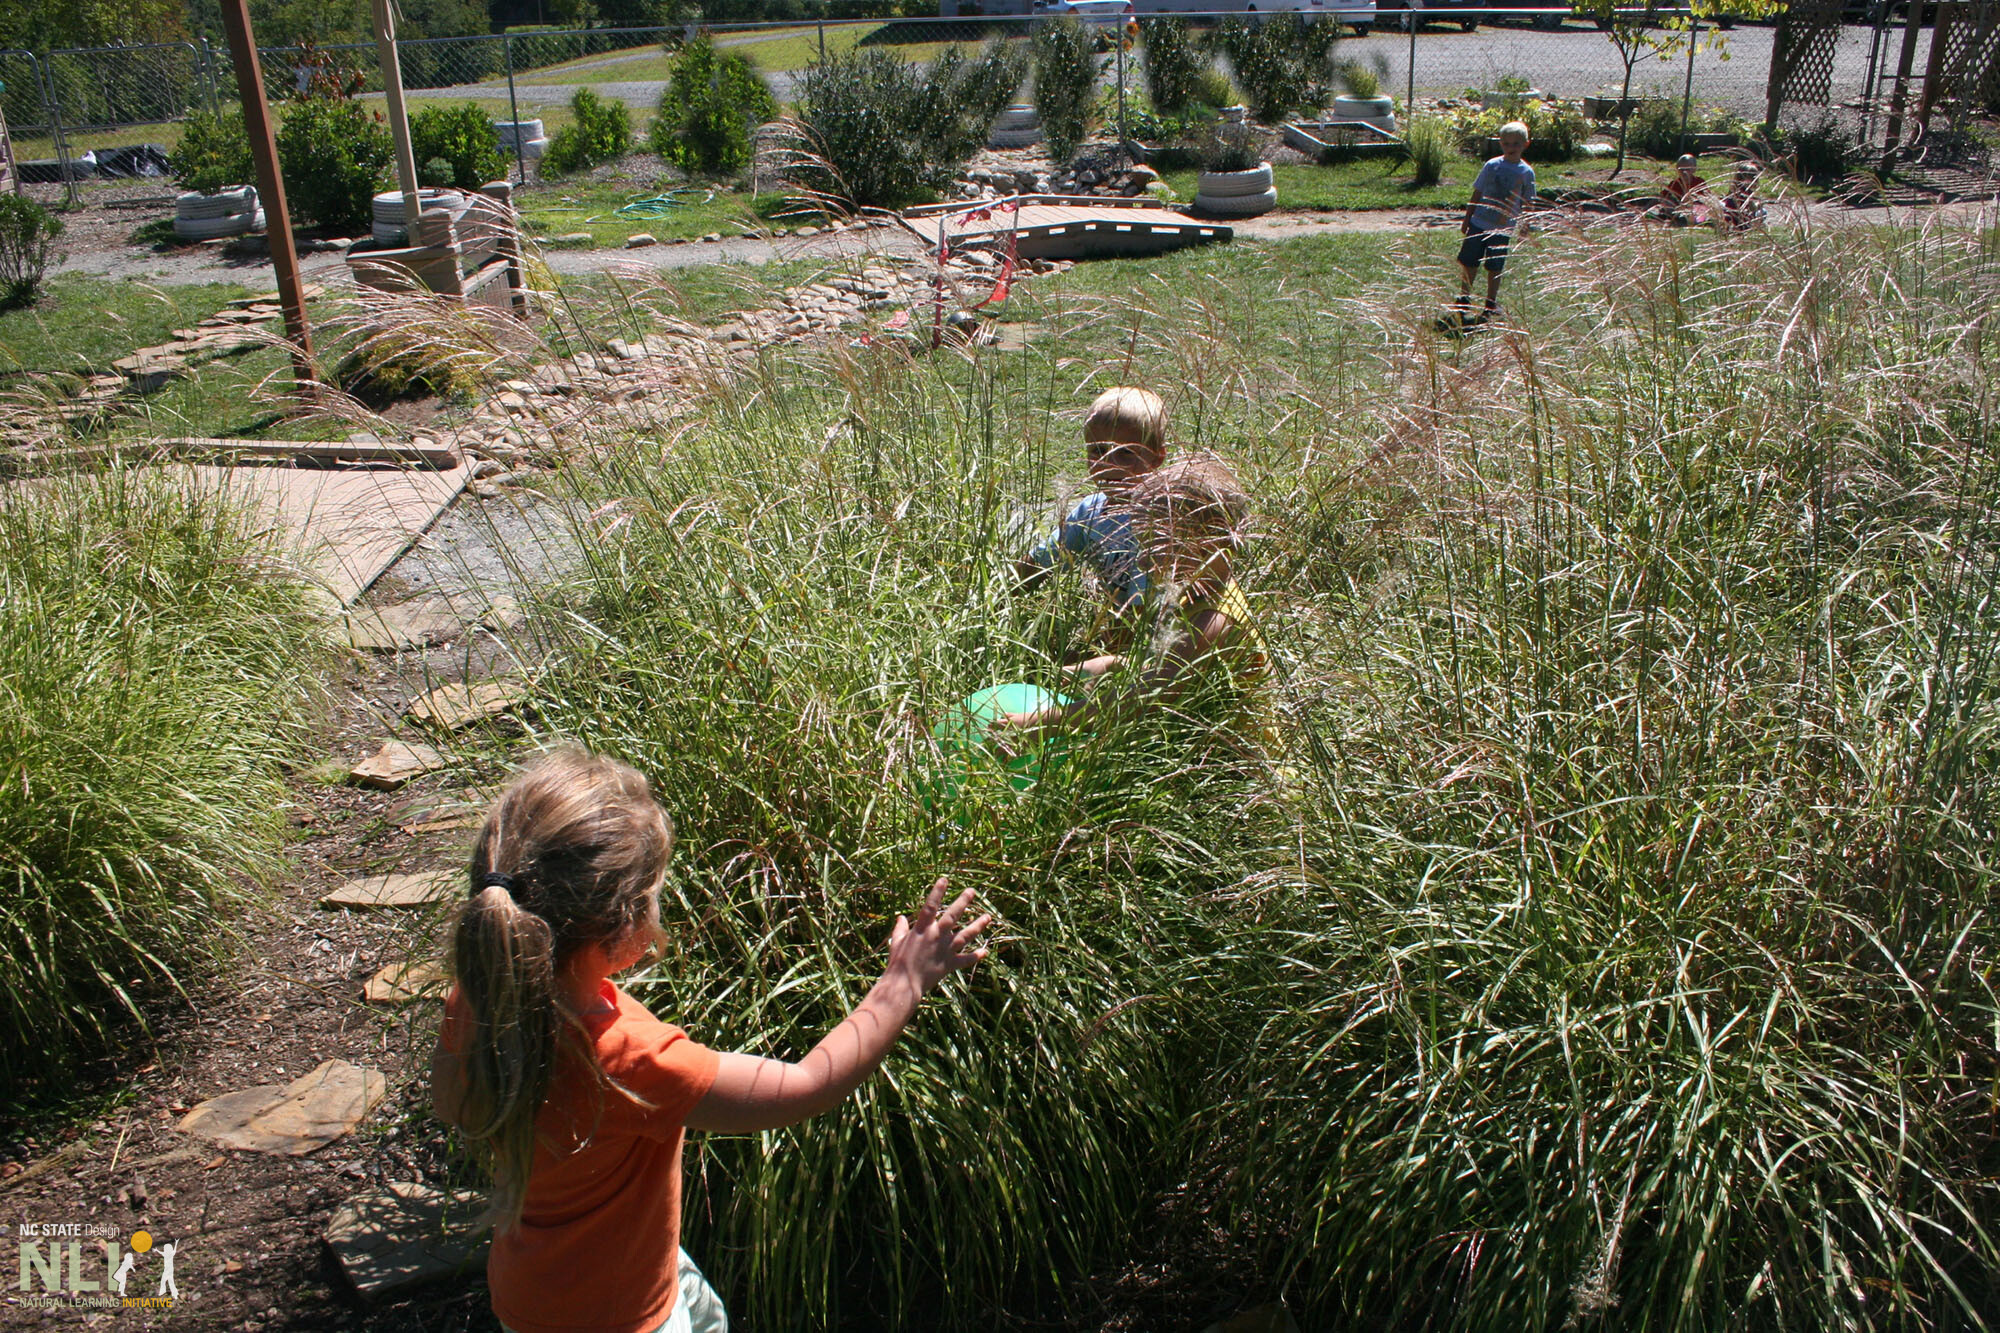
Child playing in native grasses.
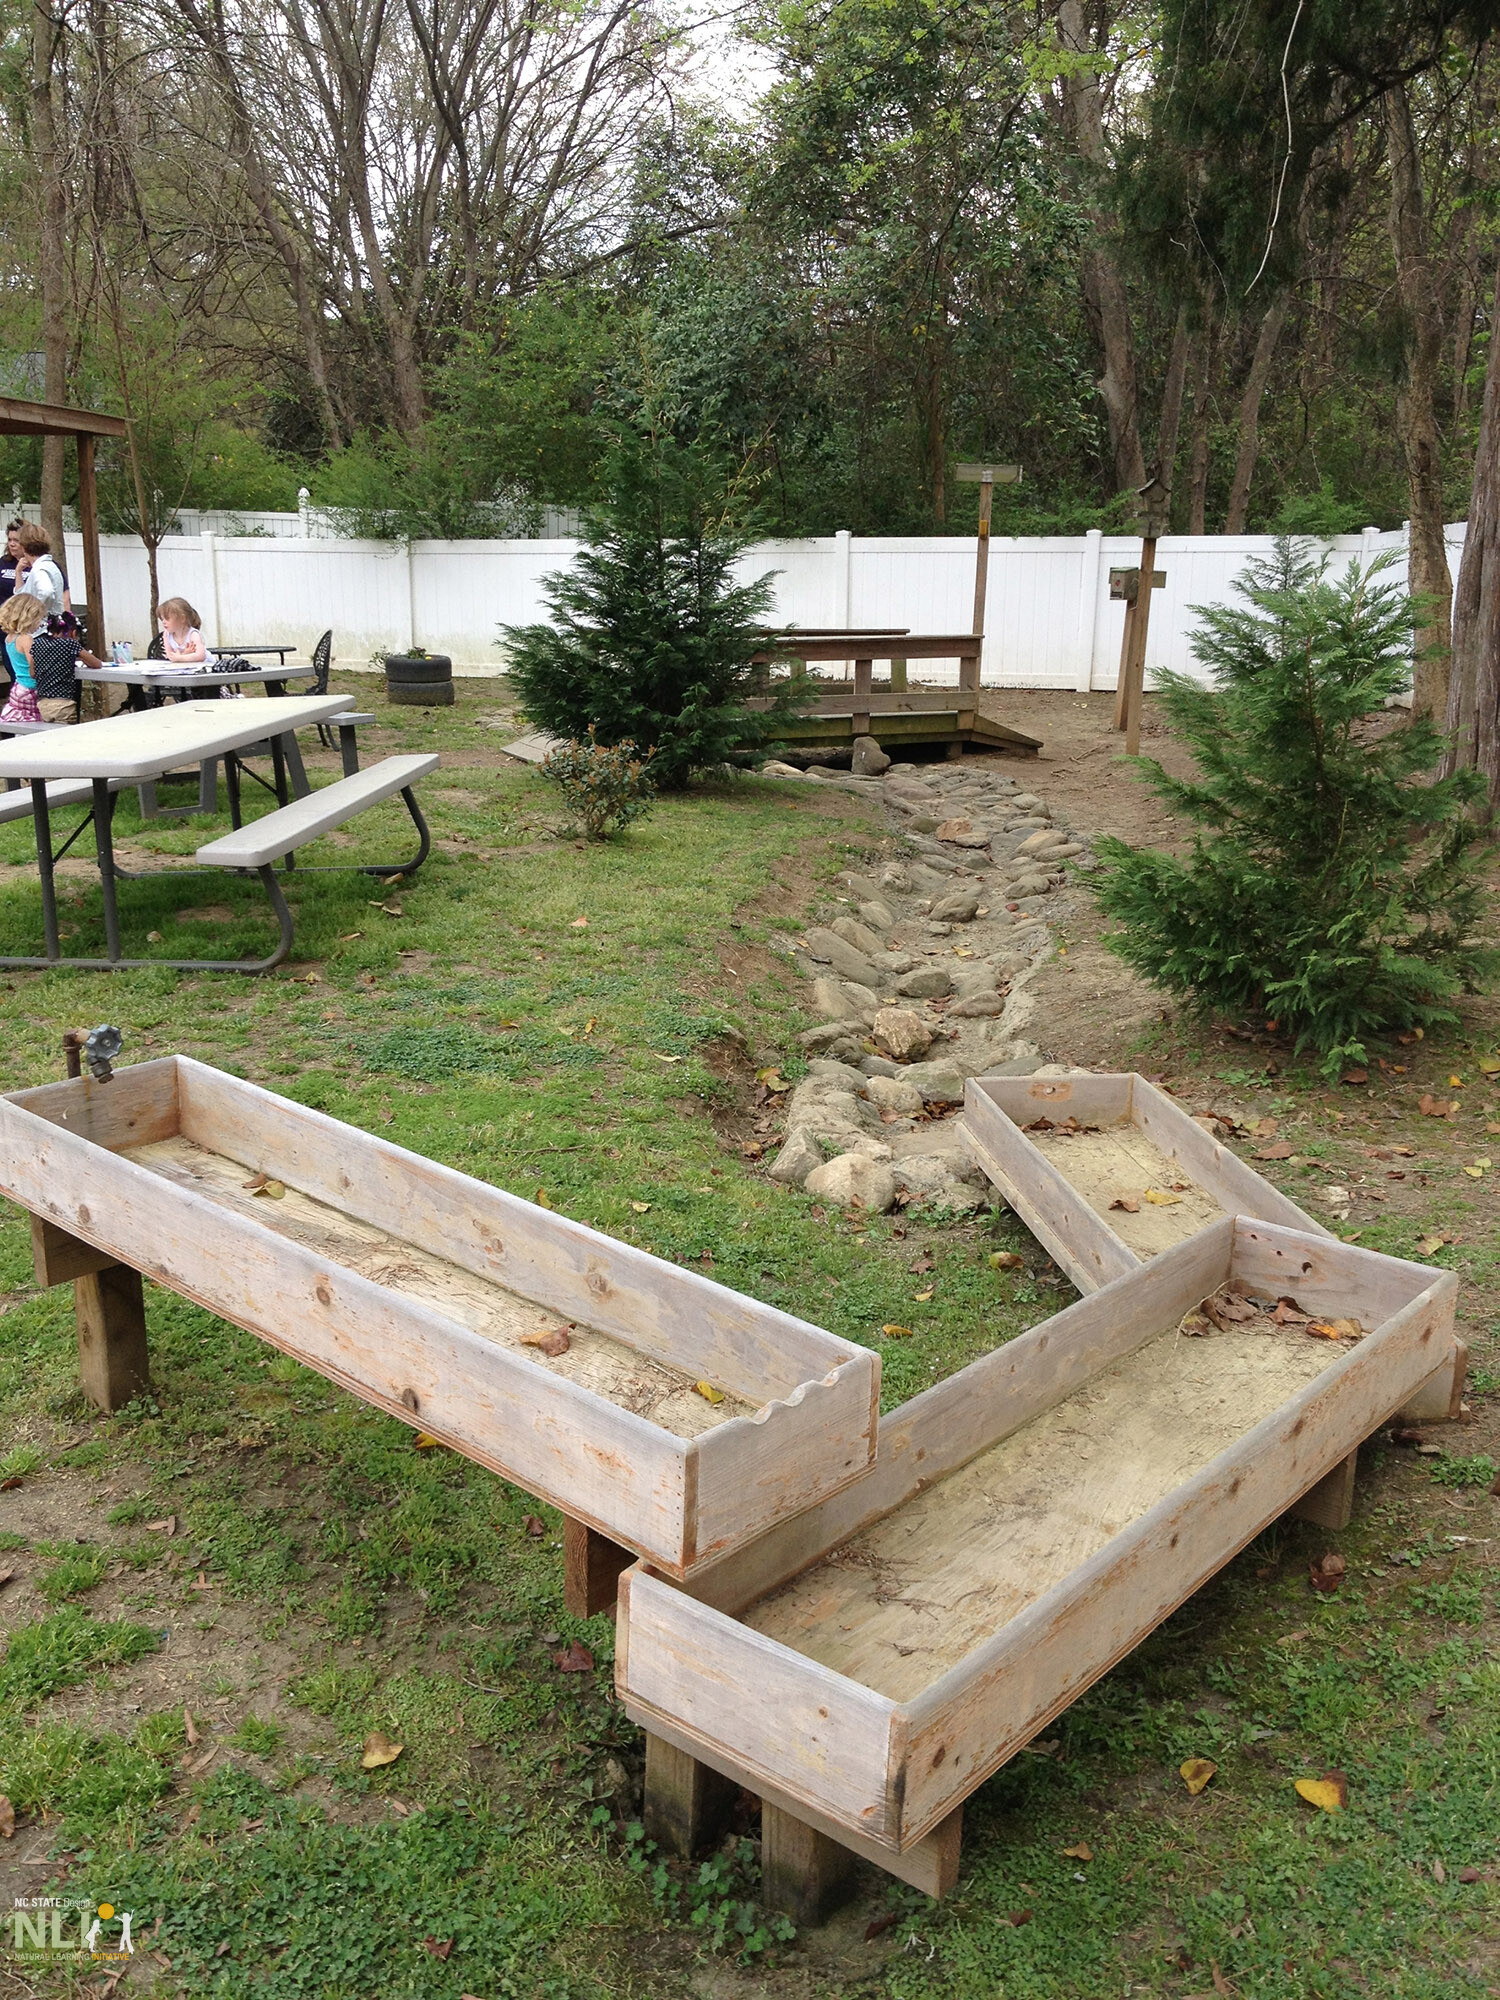
Stream bed remediation of erosion gully. Stones are cemented into channel. Water drains from a series of “hands-in” water troughs fed by faucet.
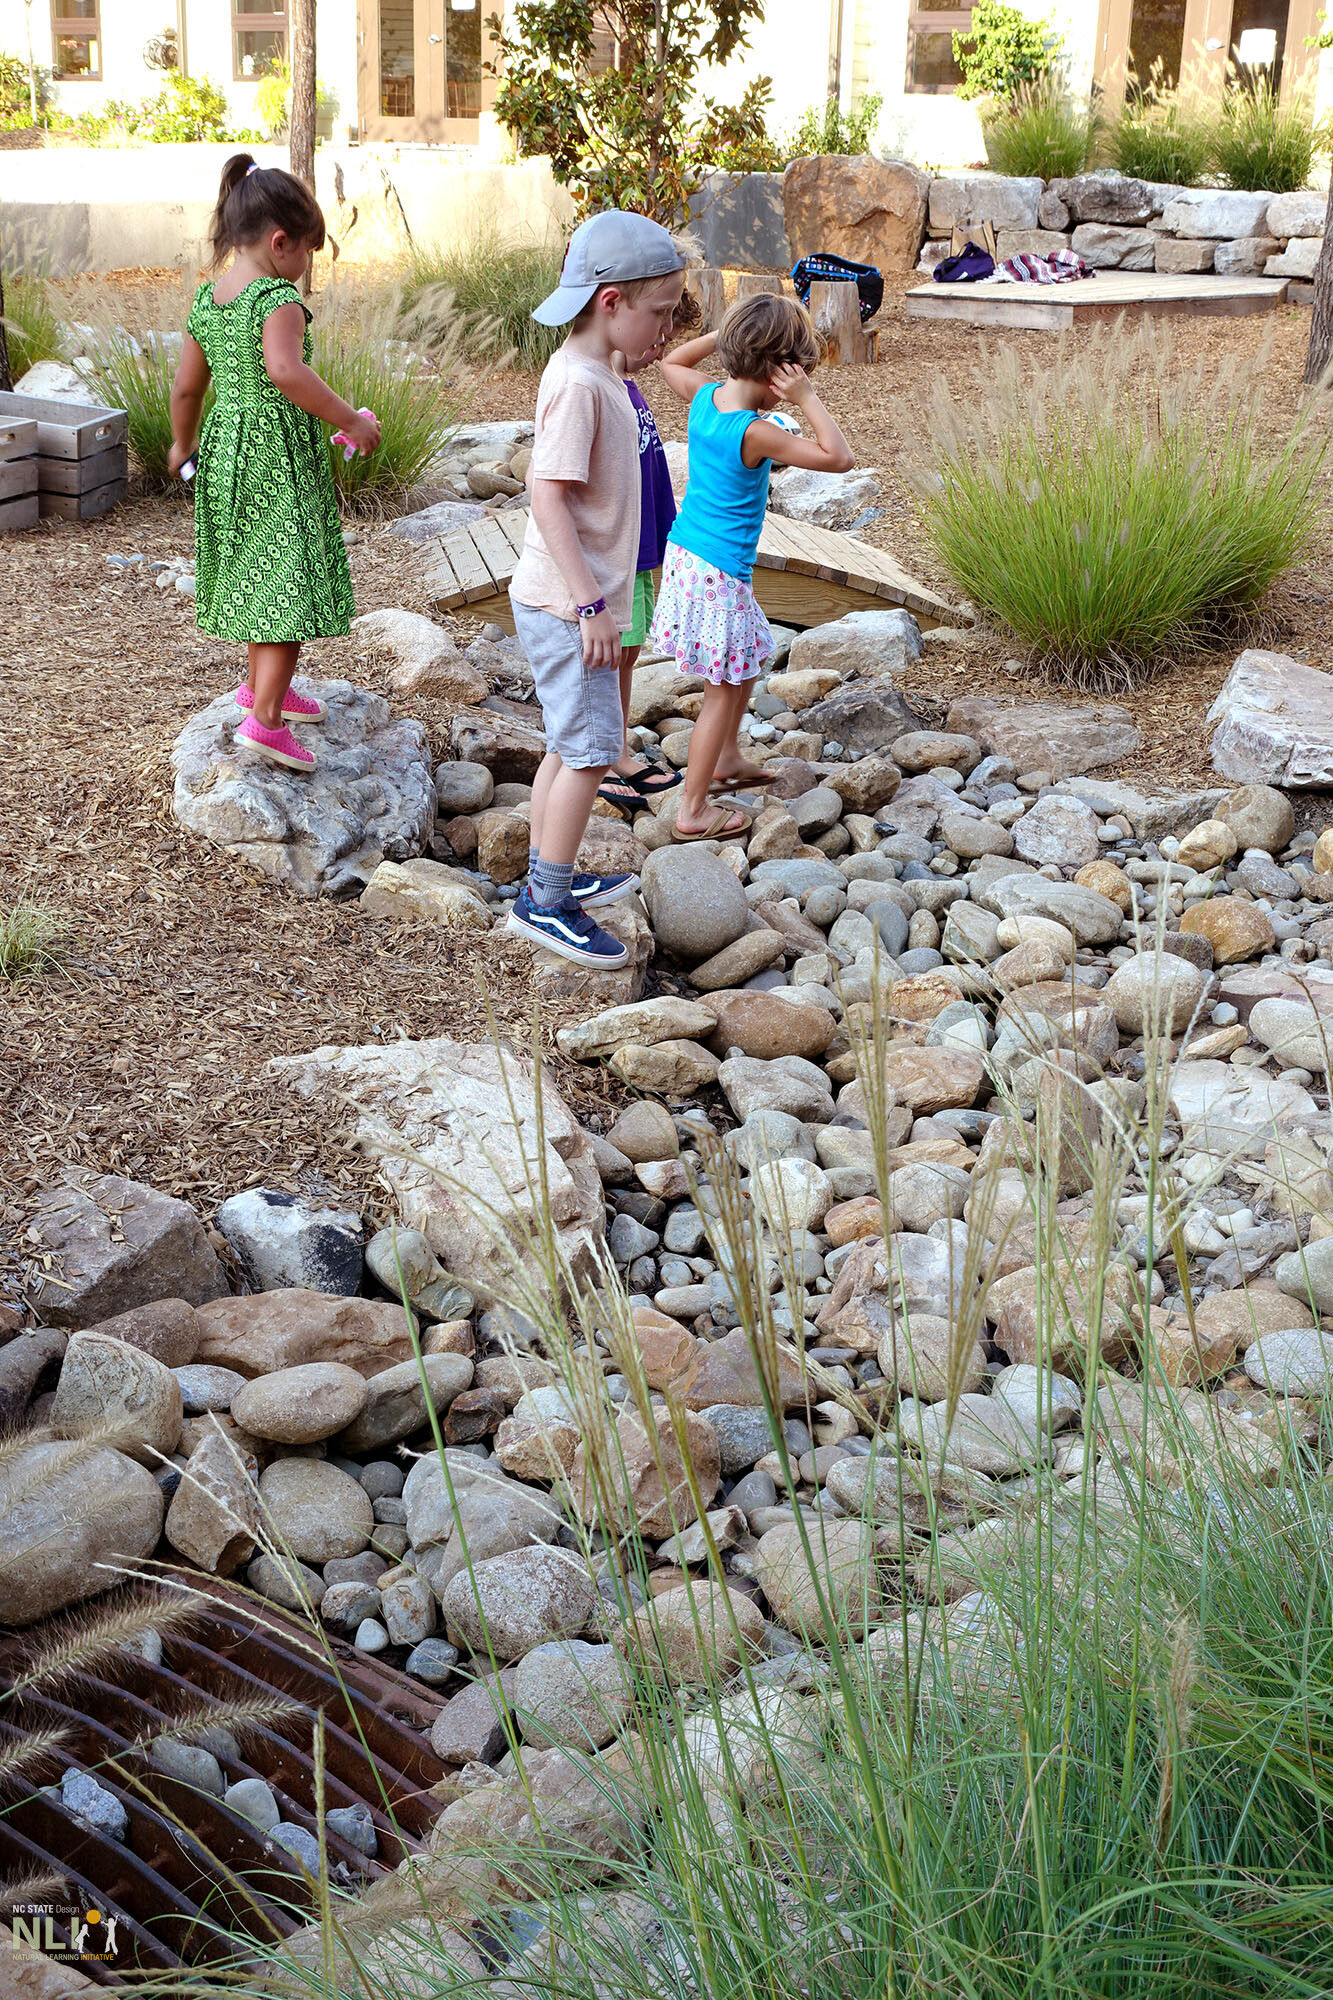
Dry stream beds offer endless opportunities to explore
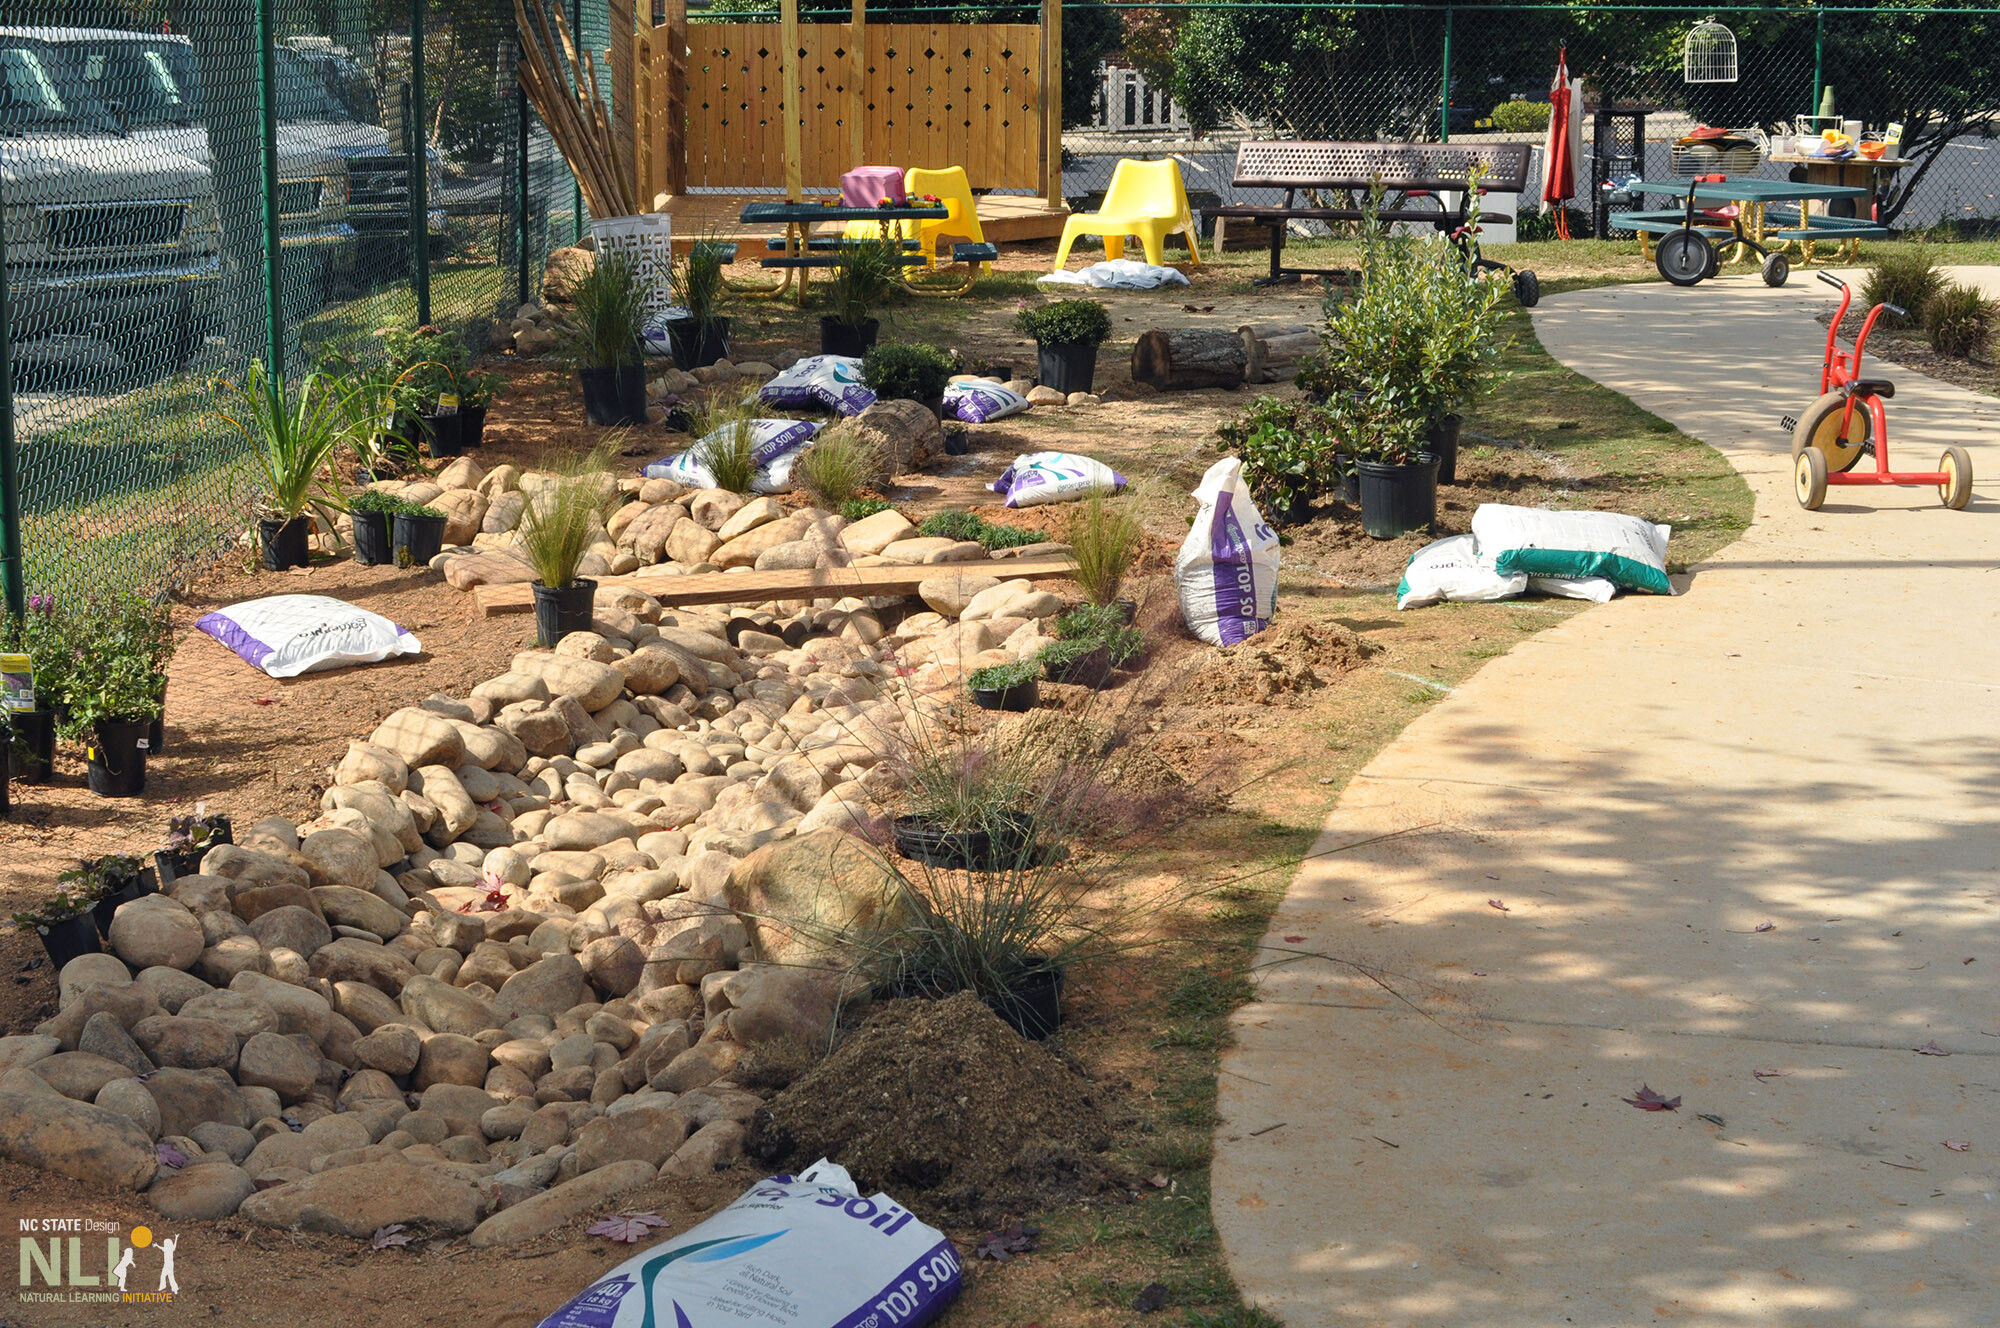
Installation of a dry creek bed prior to plant installation
Dry stream bed designed to catch run-off from potable water play