What options are there for providing shade on our outdoor learning environment?
Adequate protection from the sun is essential for the health and comfort of young children outdoors. In the northern hemisphere, the sun casts shadows in a northerly direction. Therefore, shade providing elements should be installed on the southern side of spaces that need additional shade.
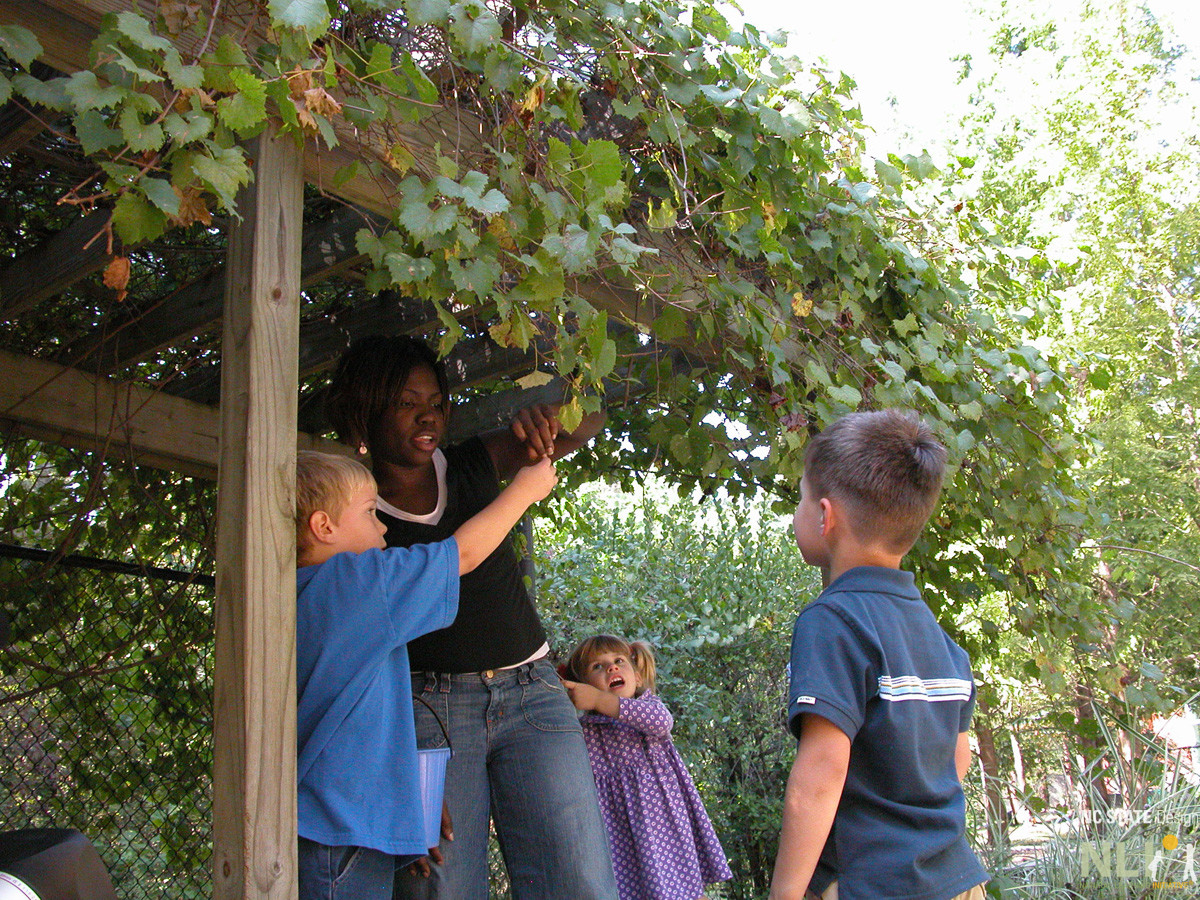
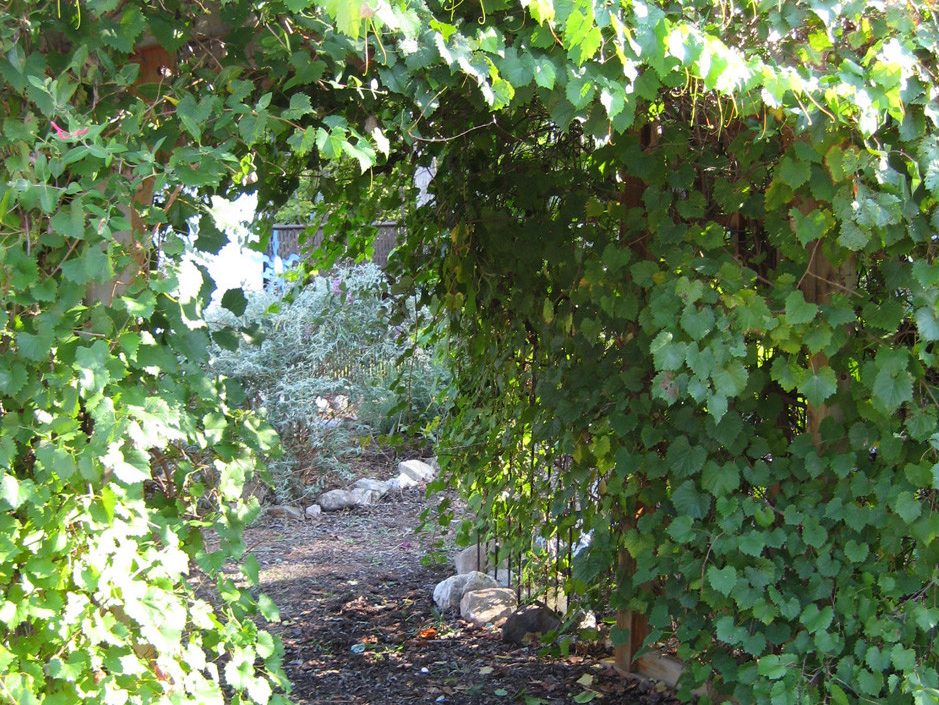
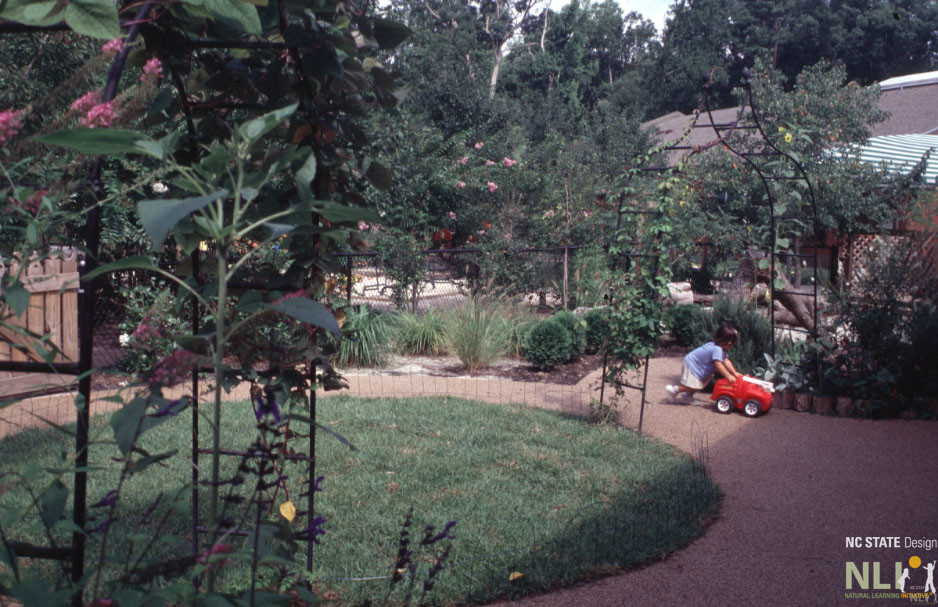
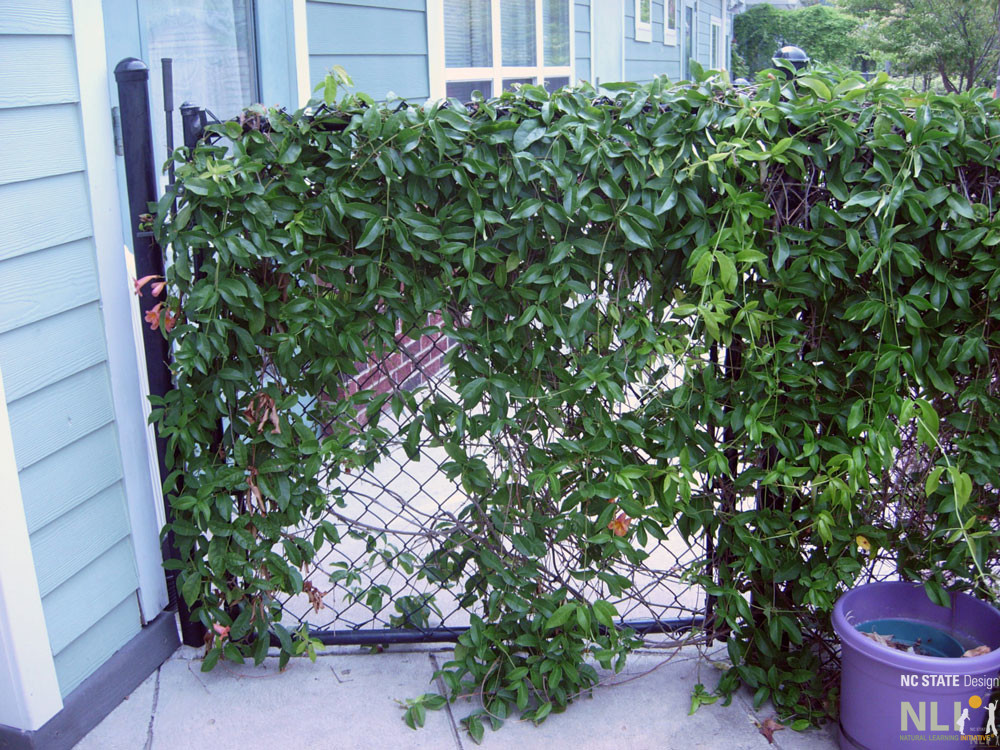
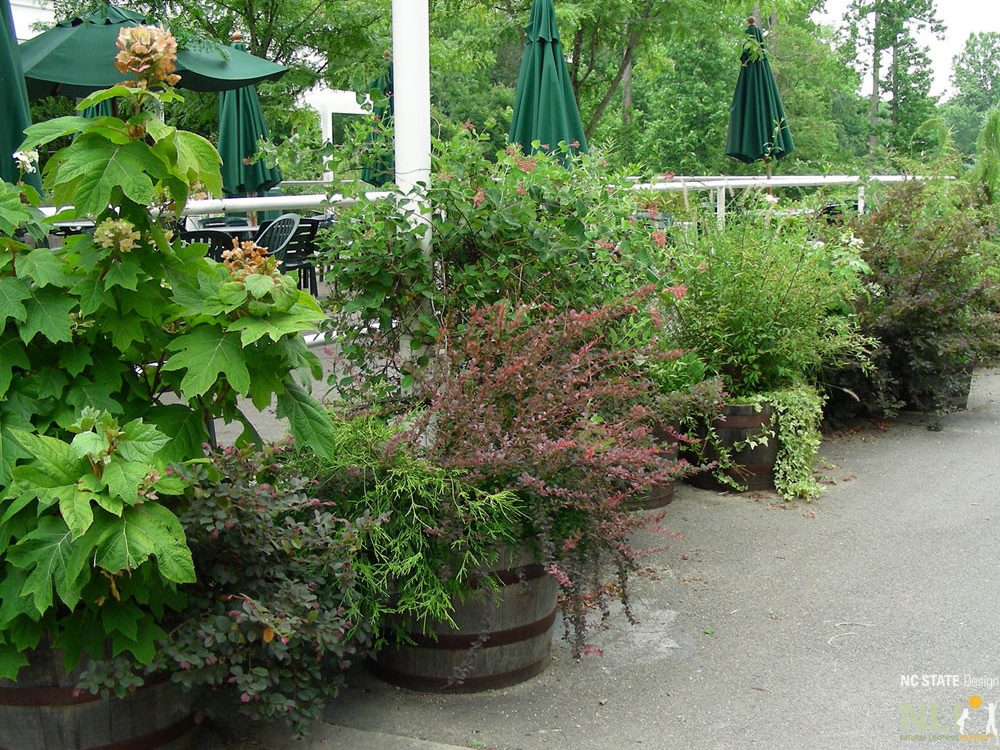
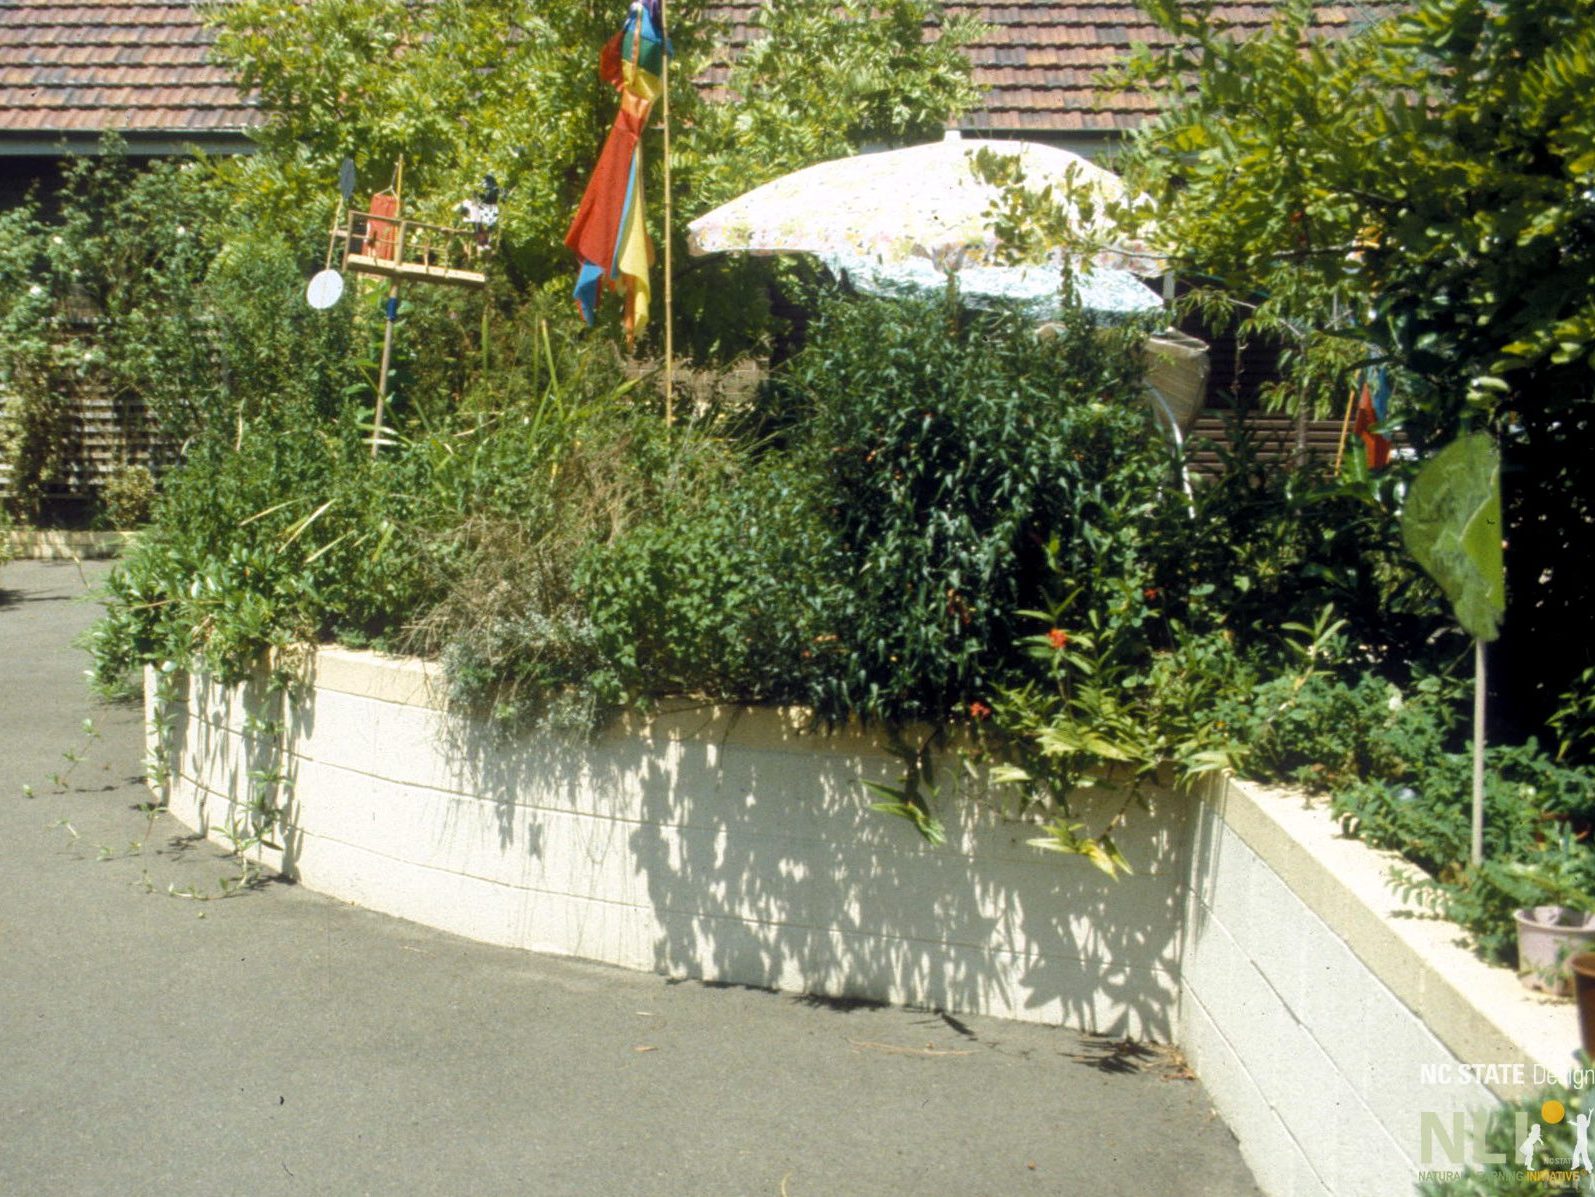
Structures. Arbors, pergolas, tunnels, and trellises scattered throughout the outdoor learning environment create patches of shade and comfortable, three-dimensional spaces scaled to young children. Structures can be custom built or purchased as kits. Incorporate materials into custom structures that are readily available at the local hardware store, such as light metal grids, lattice, and netting, to create armatures that support vine growth.
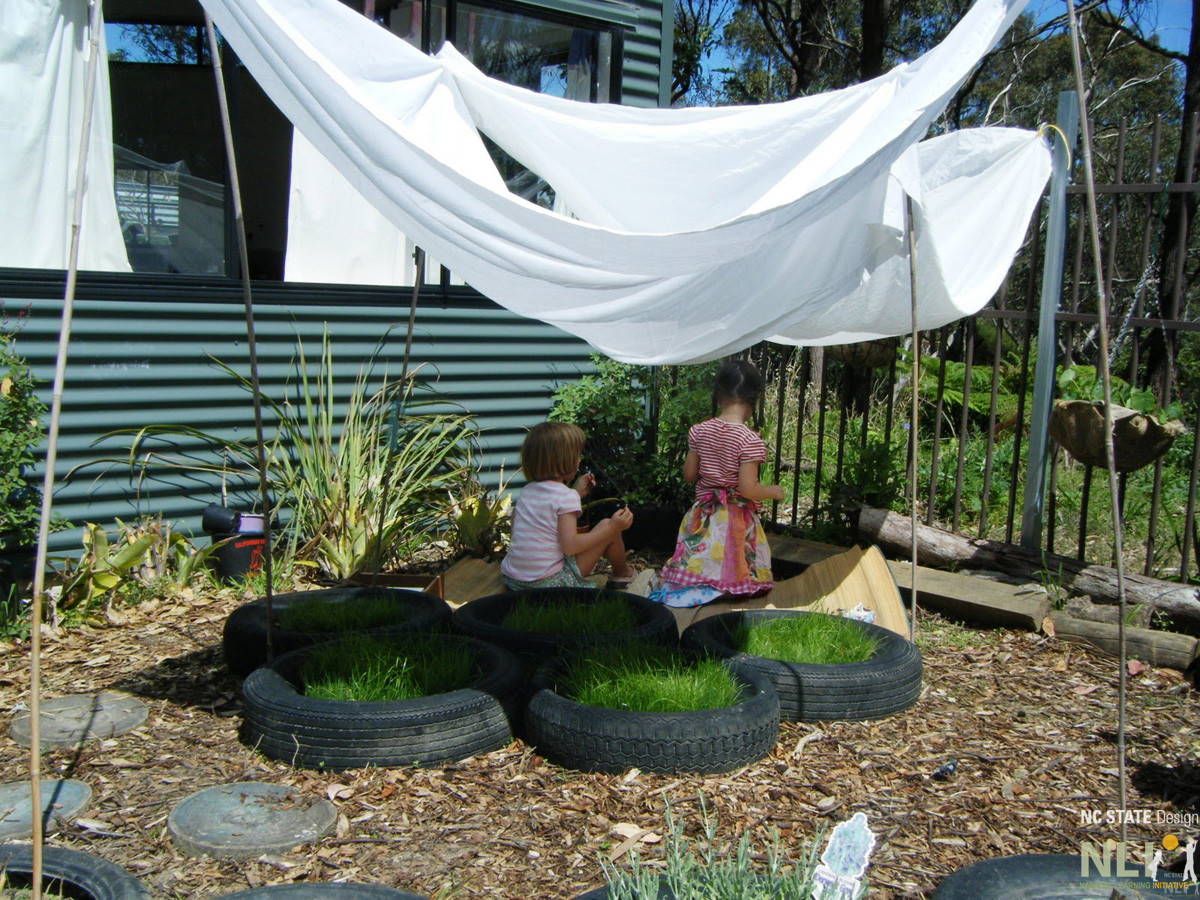
Temporary shade. Vegetation may take time to provide significant shade and permanent structures may be too costly. Here are some inexpensive ideas for instant, temporary shade:
Shade sails, parachutes, tarps, and bed sheets supported by a fence or tent poles.
How would you recommend installing an embankment slide?
Slide Installation: Follow the manufacturer’s recommendations for proper installation of the slide. NLI defers to the manufacturer’s recommendations on installation.
Slide Use Zone: Per the Consumer Product Safety Commission’s (CPSC) Public Playground Safety Handbook there is a 3′ use zone required for toddlers and a 6′ use zone required for preschoolers. This is a measurement from all points at the end of the slide and should contain a safety surface that complies with CPSC Public Playground Safety Handbook (See page 36).
Slide and Embankment Steepness: Per the Consumer Product Safety Commission’s (CPSC) Public Playground Safety Handbook toddler slide chutes should have an average slope no more than 24 degrees. No section of a toddler slide should be steeper than 30 degrees. Preschool and school age slide chutes should have an average slope no more than 30 degrees. No section of a preschool or school age slide should have a slope greater than 50 degrees. For embankment slides, these requirements would dictate the steepness of the embankment as well (See page 35 of the CPSC Public Playground Safety Handbook).
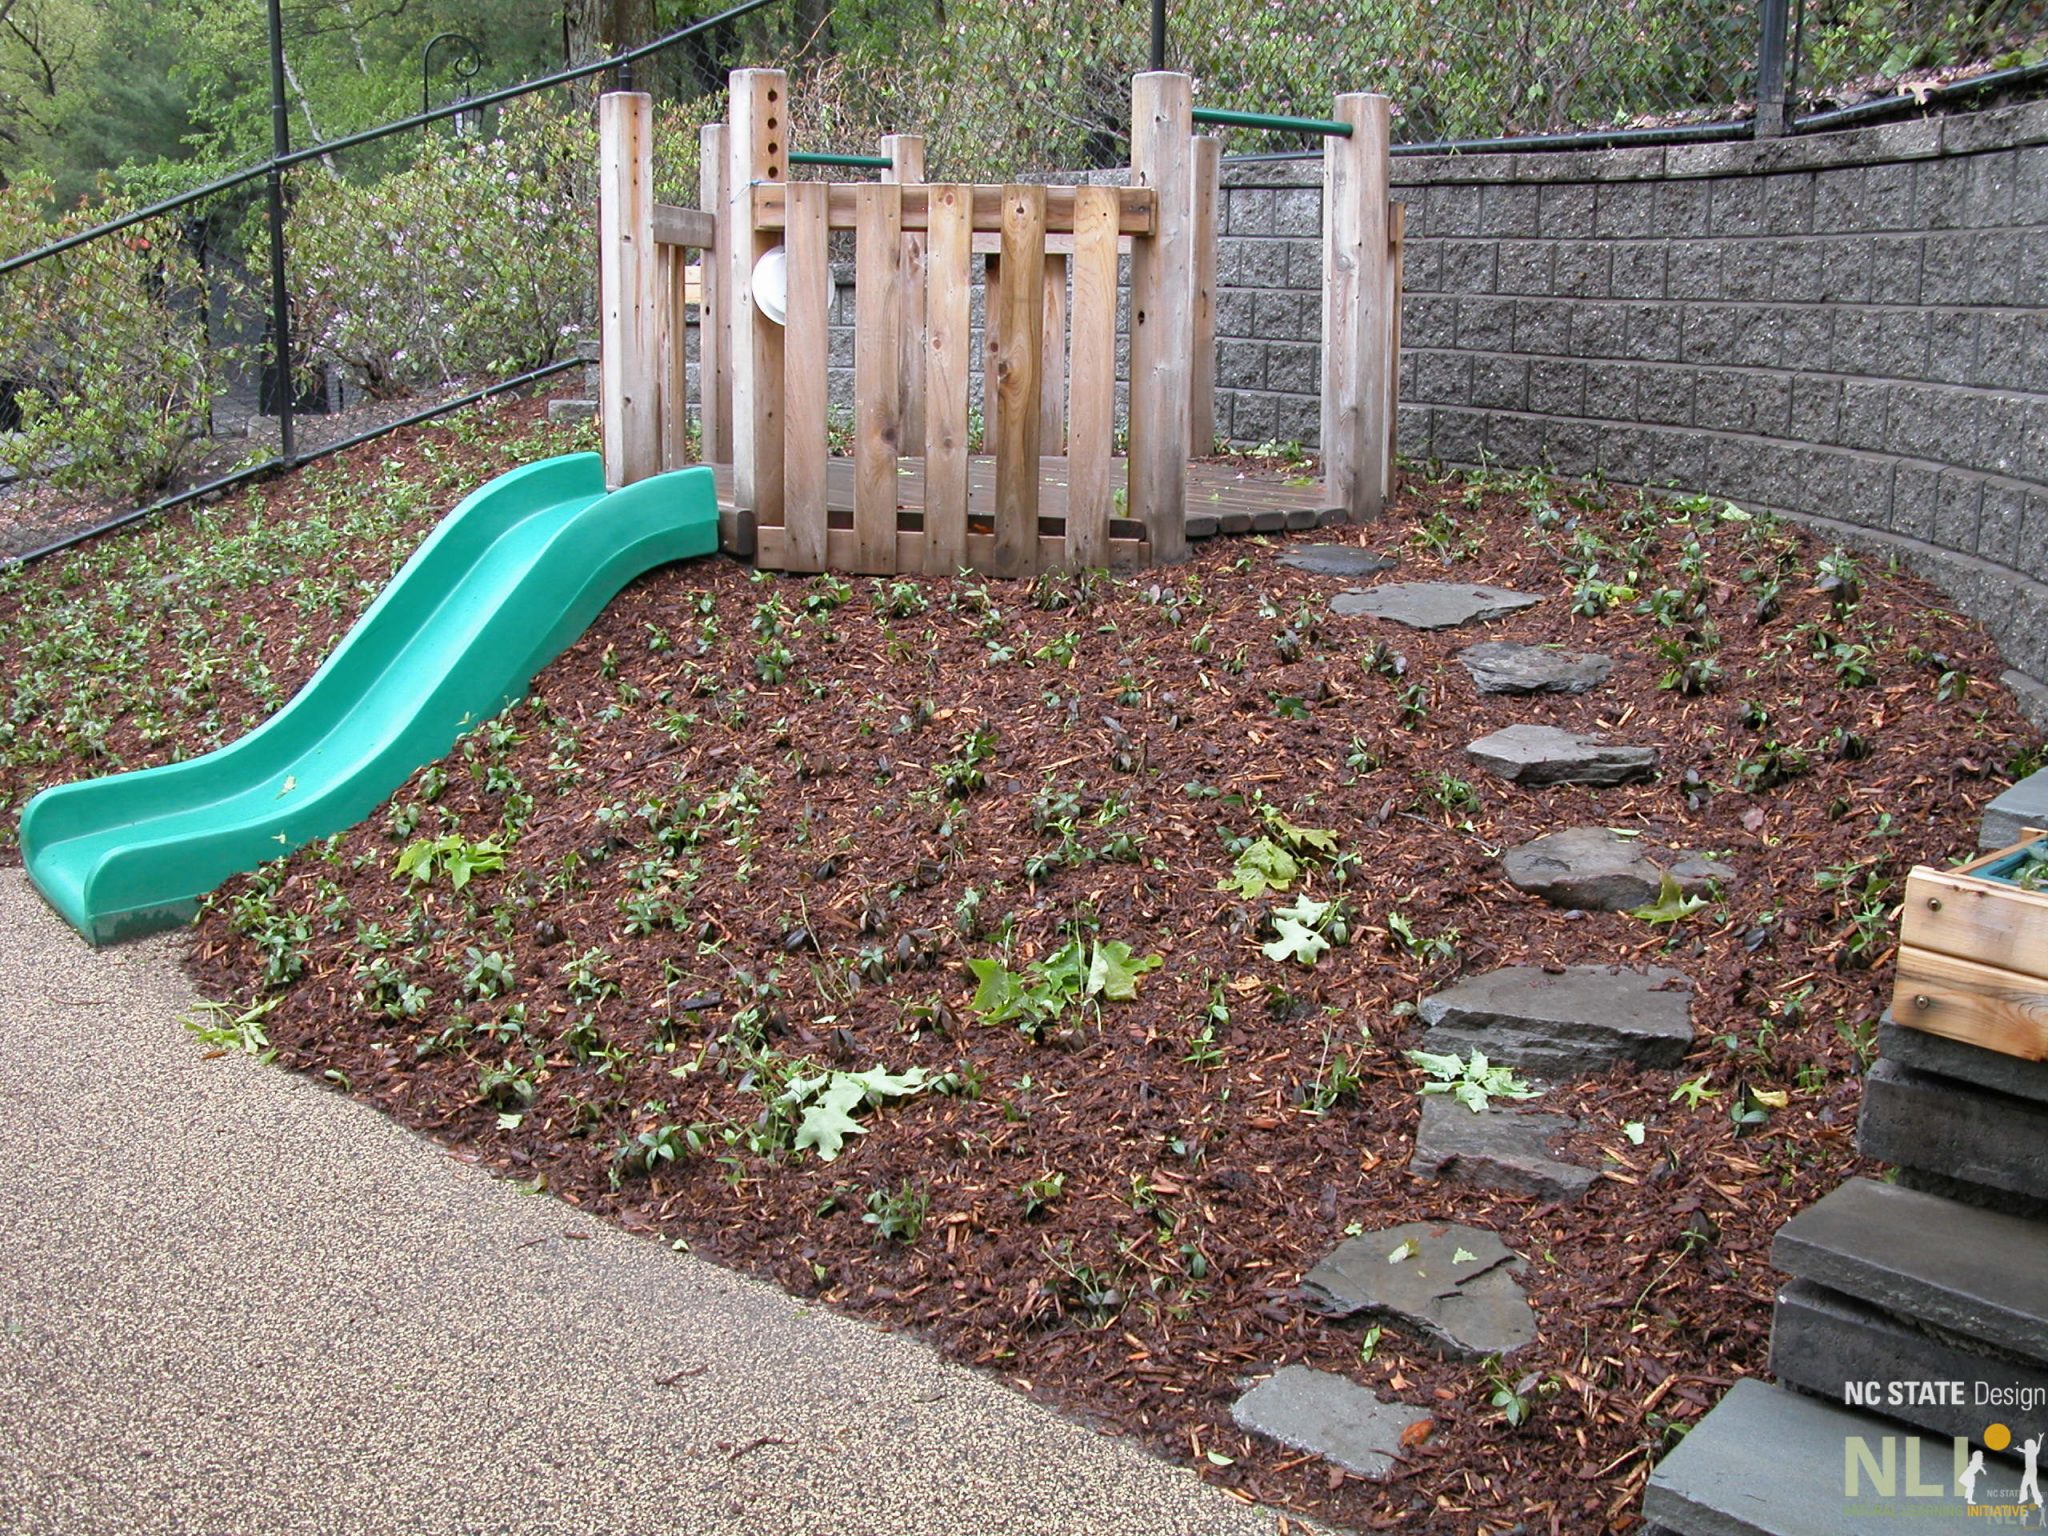
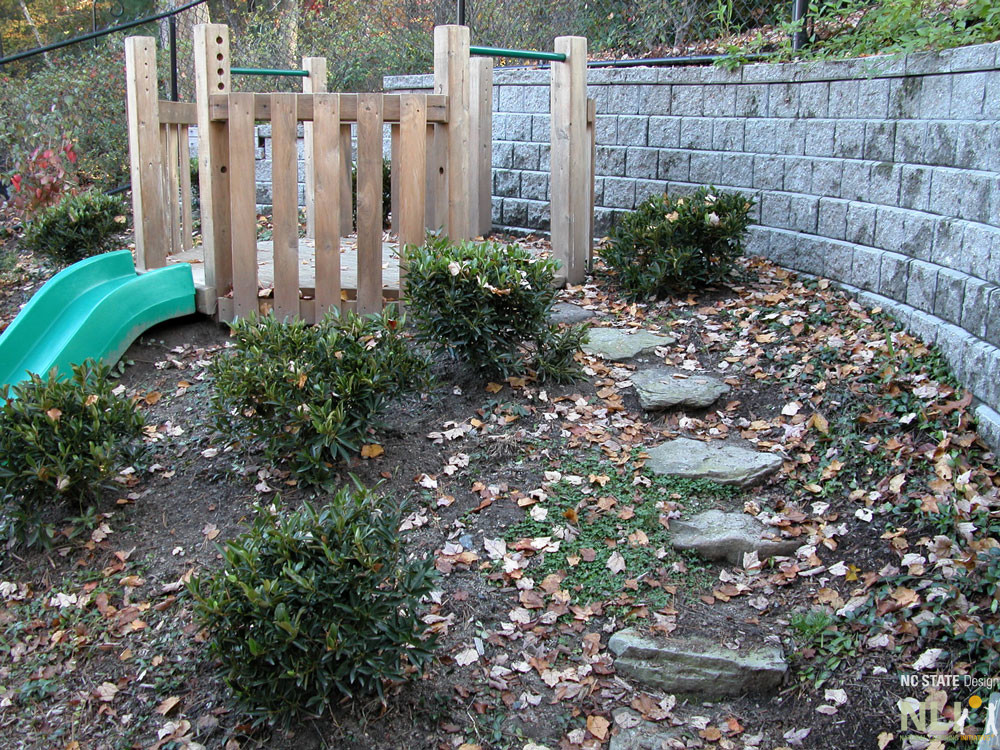
Earth Embankment and Plantings: The earth embankment surface needs to be stabilized with plant material that provides a root mat. Mulch alone will quickly be worn thin and be displaced by traffic. Stepping stones can be added along the side of the mound to create a “traffic” pattern that will assist in keeping the mulch and plant material from being worn out.
Plantings Suggestions: Low shrubs and/or ornamental evergreen grasses that do not have sharp or serrated leaves and that spread vigorously would be suitable plant material. Evergreen plants would be the best option for year-round erosion prevention. Shrub choices could include tough species such as Groundcovers could include Liriope muscari ‘Big Blue’, a clumping liriope. It is inexpensive, evergreen, and would withstand poor soil conditions and foot traffic. An alternative is Muhlenbergia capillaris (pink muhly grass), which has a soft texture and is a vigorous grower.
Full sun/ part shade: Liriope muscari ‘Big Blue’ or Muhlenbergia capillaris (pink muhly grass)
If sod is used: Bermuda grass (as long as it is cannot spread to other areas) or Zoysia grass.
Avoiding erosion: Embankment slides are often installed without adequate access “up” the embankment. Typically, this results in eroded soil on both sides of the slide. To avoid this, install steps away from the slide bed that make it easy to get up the embankment for the slide “down” and plant the embankment as suggested above.
What materials are appropriate for infant and toddler pathways?
Infant space
Infant spaces do not require a pathway for push toys. We suggest a small space with undulating lawn, pull up bars and glider or rocking chairs. An area of poured-in-place rubber surfacing over concrete or a deck provide useful alternative surfaces if the ground is wet. A stepping stone pathway or flagstone pathway with sensory ground cover planting can be provided for circulation.
Toddler space
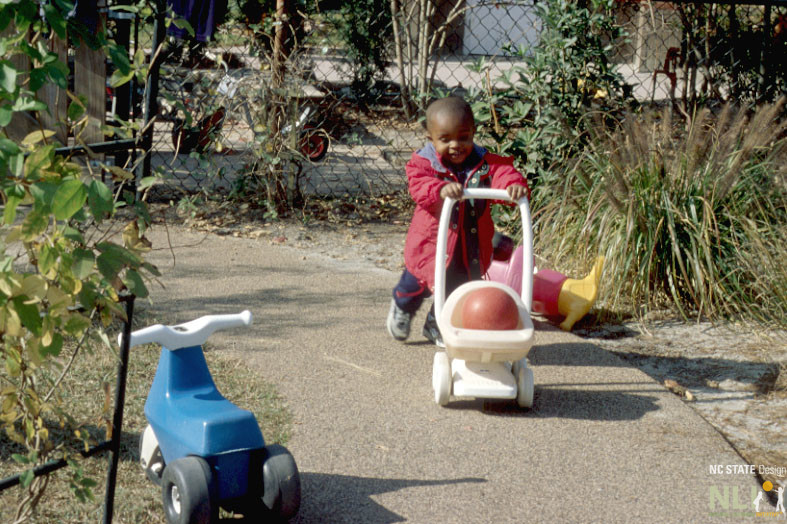
Poured-in-place rubber surfacing over concrete. Best practice recommendation for primary toddler pathways. The rubber surfacing protects children from injury. Typically this is used to cover all concrete surfaces where children will be learning to walk (12mo – 24mo). Some manufacturers also install poured-in-place on asphalt or compacted gravel surfaces. Costs differ based on the underlying surface. The life expectancy of poured-in-place is only as good as the underlying surface. Concrete lasts the longest, then asphalt, then compacted gravel. Since poured in place rubber surfacing is costly, considerations for the life cycle material costs need to be made.
Aggregate/stone/decomposed granite. Can be used for primary or secondary pathways. If installed properly this can be considered an accessible surface. There are many varieties of aggregate pathways since the aggregate is generally mined from a local source. In order to provide a smooth, flat surface a fine material must be used in conjunction with a course layer of gravel underneath. This surface is not as hard as concrete, but will gradually become harder as it is used.
Triple-shredded hardwood mulch. Can be used for primary or secondary pathways. Mulch is not accessible and requires more maintenance since it is lightweight and not fixed in place. It is the cheapest up front, but not recommended for wheeled toy tracks or pathways that will receive much traffic.
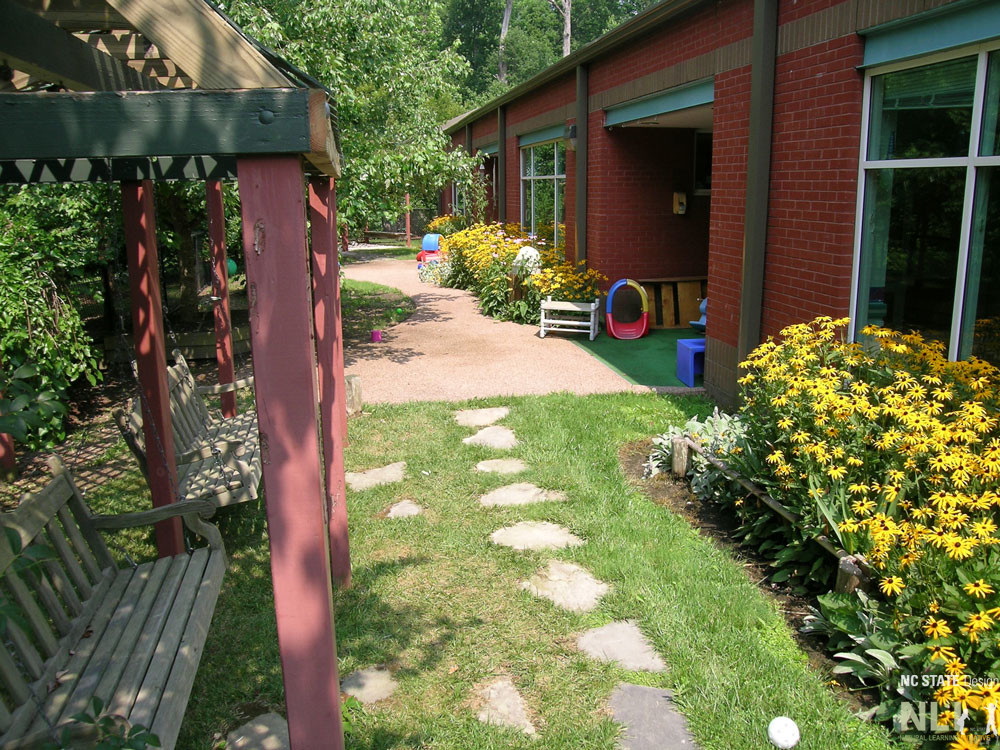
Stepping stones/flagstones. Can be used for secondary or tertiary pathways. Using natural stone provides a richness and special quality that supports the idea of discovering the natural world.
What are some ways to improve an outdoor learning environment without breaking the bank?
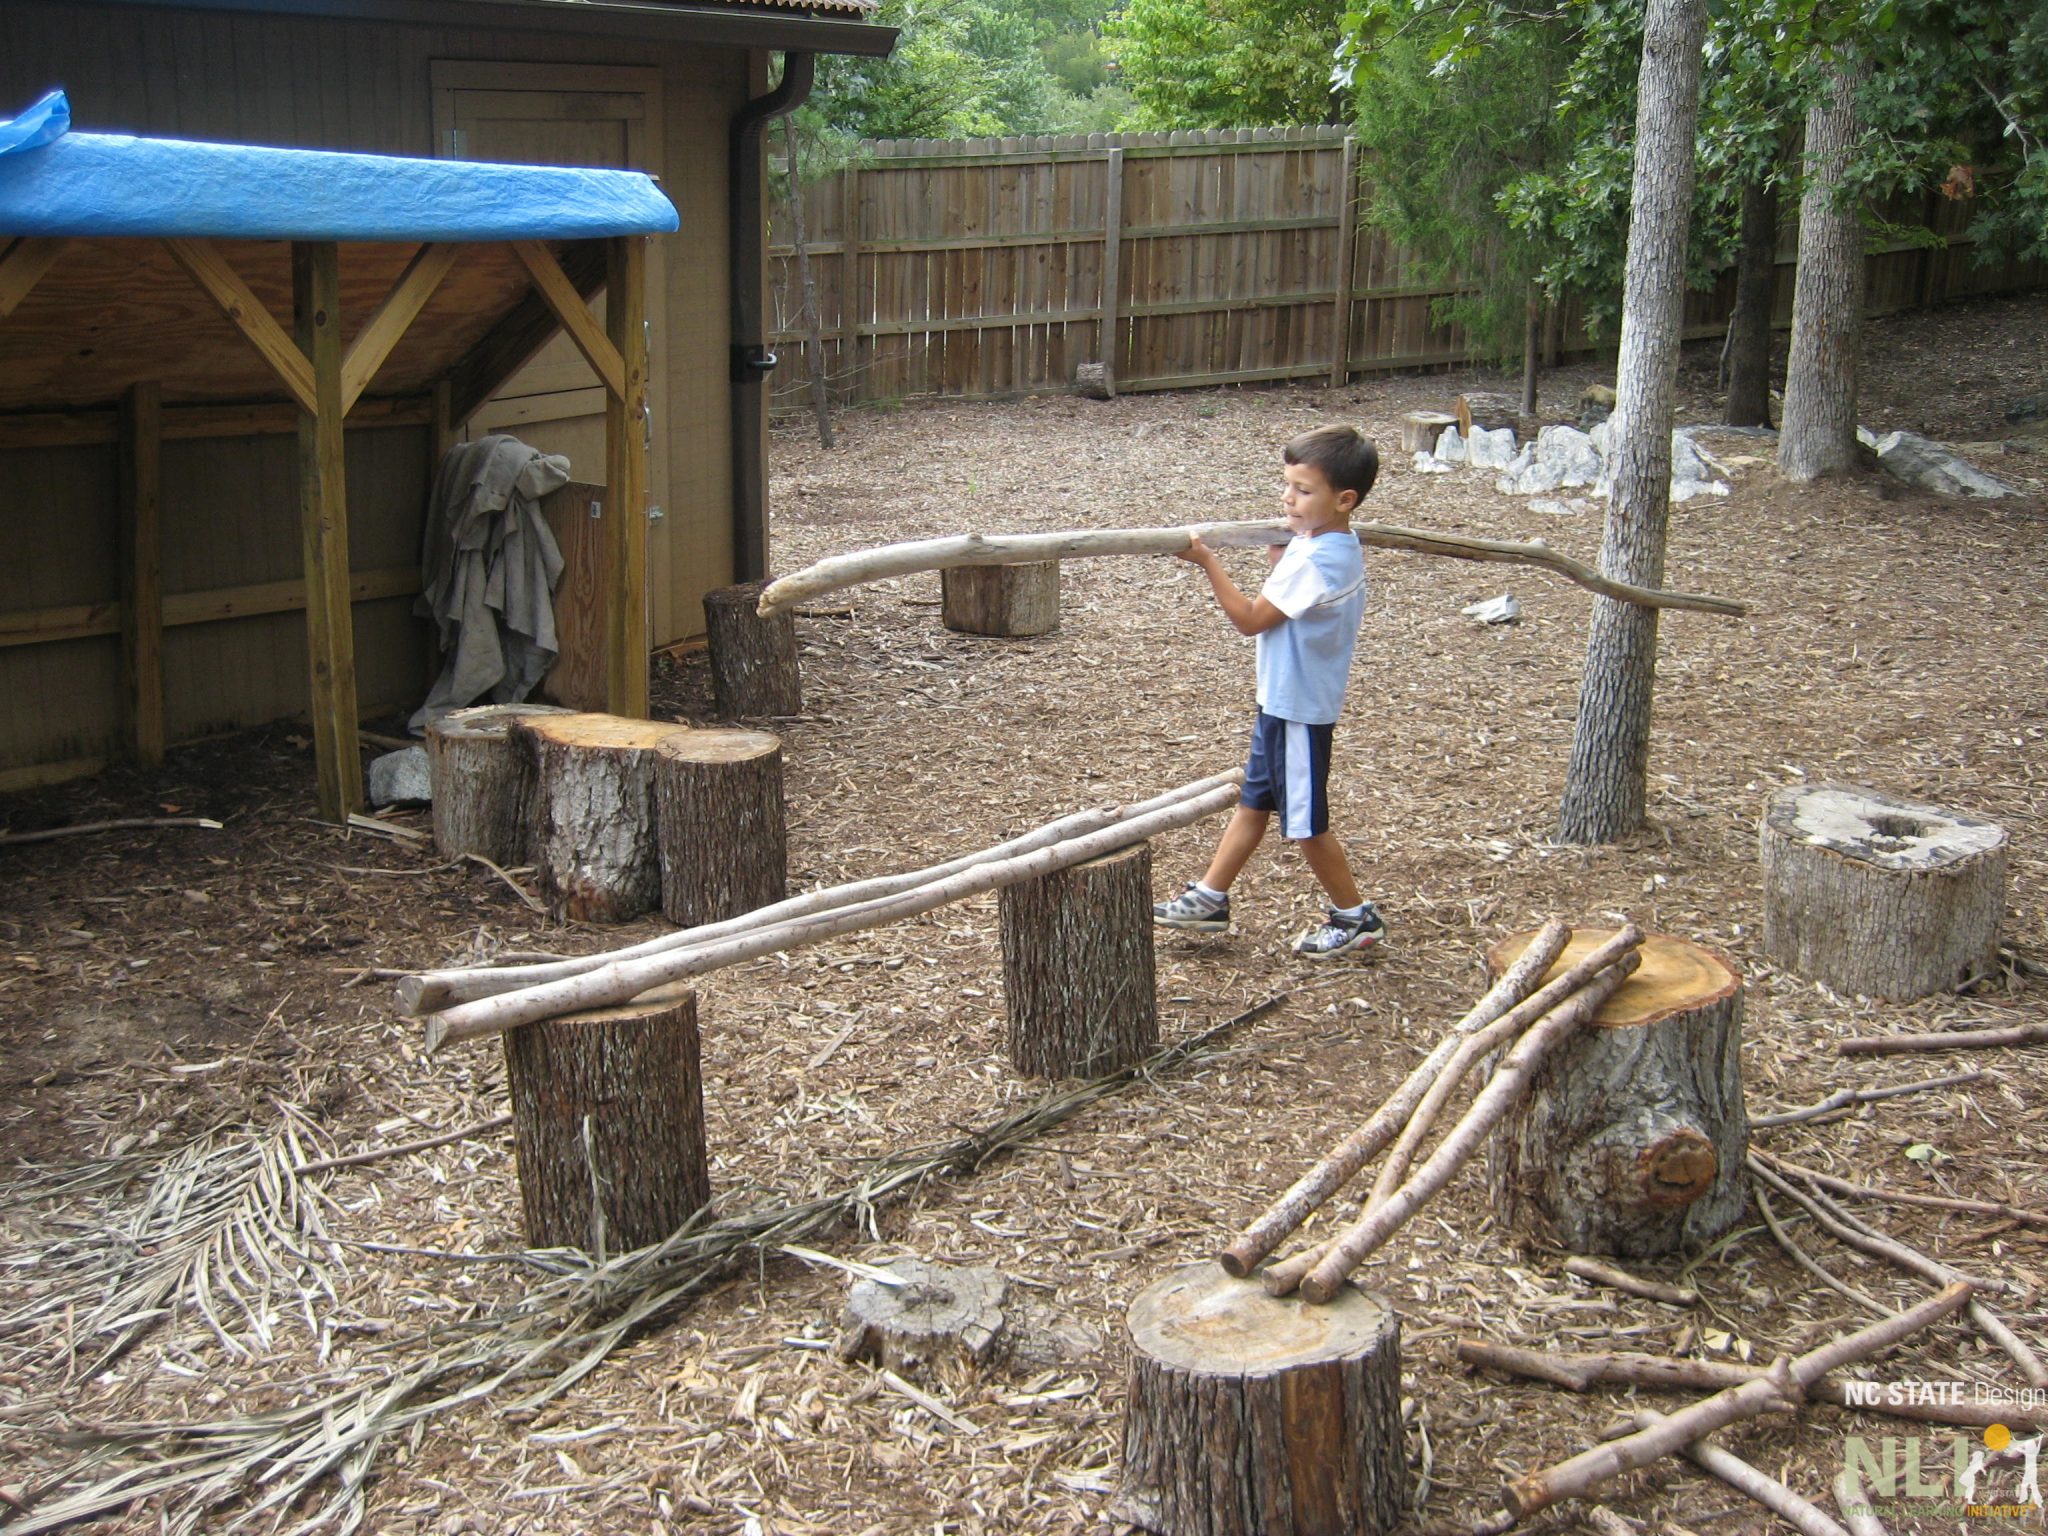
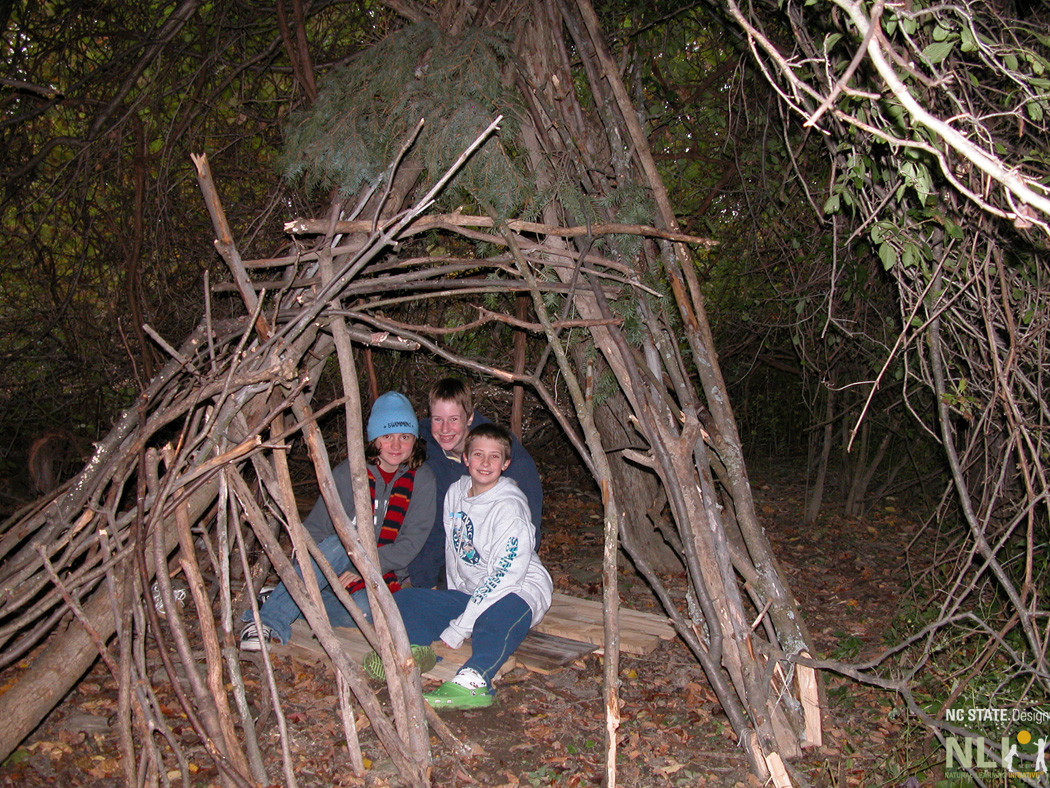
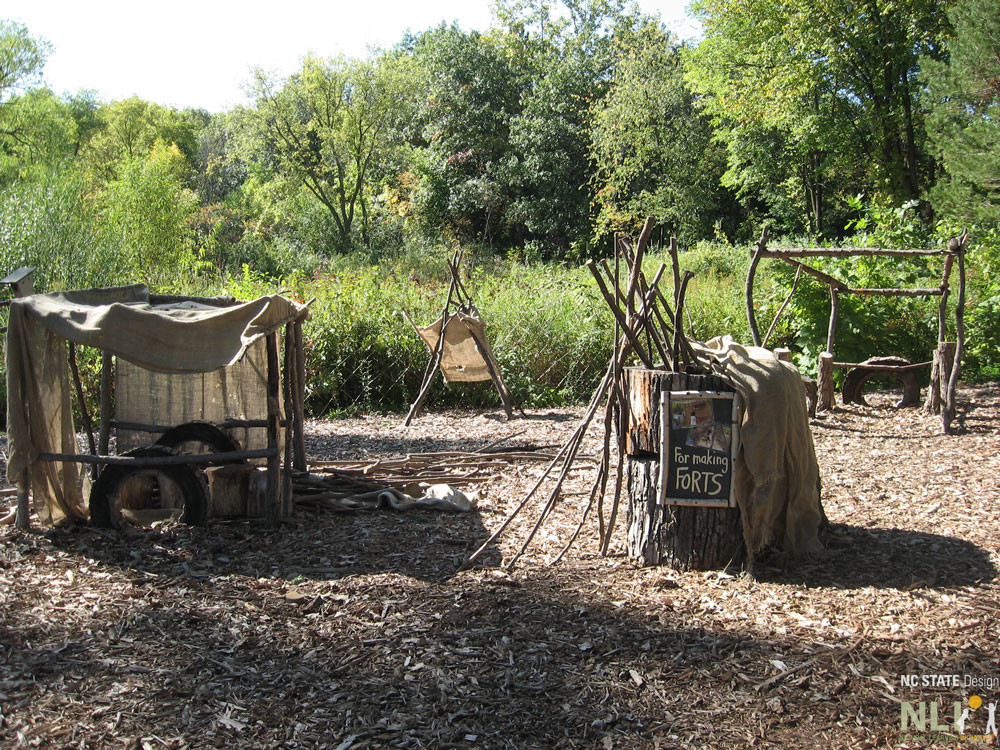
Adding a natural building play area to an outdoor learning environment is an easy and inexpensive way to diversify free play.
Any assortment of safe natural materials = instant imaginative build-your-own play area.
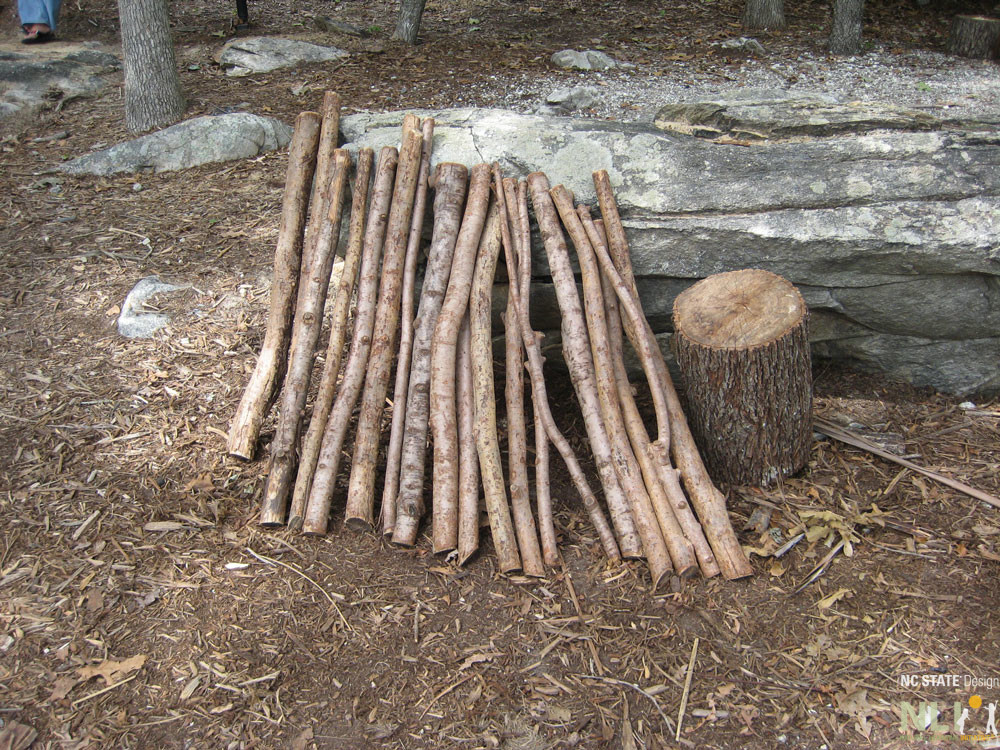
All you need are the materials, the kids do the rest! Possibilities include: bamboo poles, bark wedges, straw bales, small stones, log stumps, tree cookies, trimmed branches, pine cones, large leaves, ropes or cord, burlap, cardboard boxes, and anything else you can think of. It’s good to have this area near some structures to build against, like a wall, fence, a grove of trees, etc. All materials should be frequently inspected to ensure no sharp edges or pointed ends. Disintegrating objects should be removed.
What are some ways to improve an outdoor learning environment without breaking the bank?
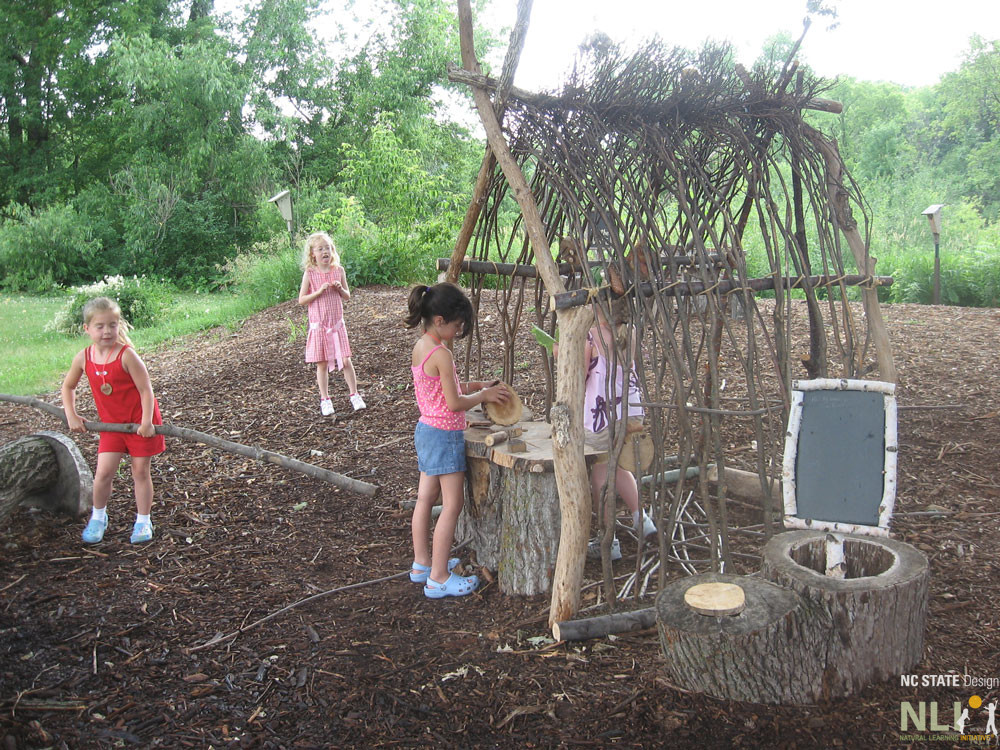
Built from locally sourced logs, branches, and sticks, Natural Playhouses are an affordable and creative alternative to the playhouses one normally purchases from catalogs.
Sturdy logs + branches + zip ties/rope/cording + a little ingenuity and skill = instant playhouse, puppet theater, or dramatic play.
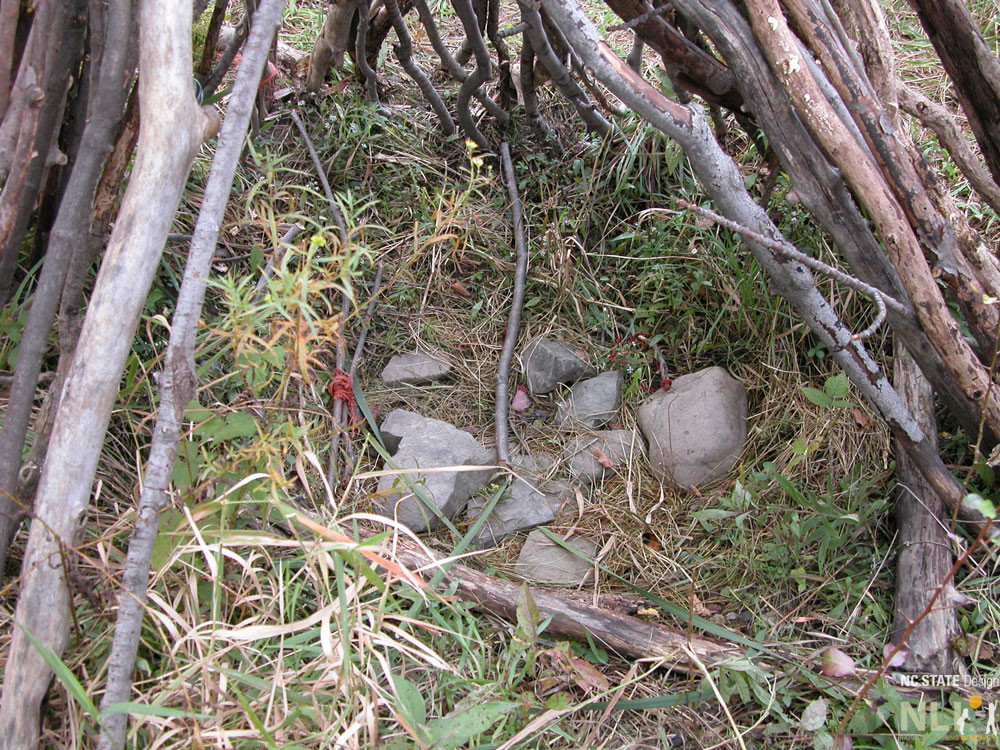
Collaborate with tree removal companies to conserve tree branches before they grind them. Alternatively, work with the landscape crew of a local college campus or botanical garden to get tree donations and plant prunings. The playhouse illustrated here requires a moderate amount of skill and a few hand tools to assemble. The lifespan of a natural playhouse is probably four to five years, unless a sturdy timber frame is used to support the natural materials attached to it. Otherwise, consider rebuilding the playhouse each year as a fun, active learning project. Use fresh cut branches, not ones partially broken down from the forest floor.
Is it safe to grow edible plants in a raised planter installed directly on asphalt?
If soil is in direct contact with the asphalt, toxins may leach into the soil and be absorbed by the roots, so it would not be advisable to eat these vegetables. Ornamental plants could be grown in these raised planters with no modifications.
Several options are possible for modifying the existing raised planters for safely growing edibles. With each of these options, soil from the existing raised planters should be removed before making modifications.
Option 1. Drill drainage holes through the sides of the planter 2” from the bottom and 12-18” apart. Place a thick plastic liner in the bottom and 6 inches up the inside of the raised planter. Poke holes through the plastic where the drainage holes have been drilled through the planter. The plastic liner creates a barrier between the soil and the asphalt.
Option 2. Drill drainage holes through the sides of the planter 1-1.5” from the bottom and 12-18” apart. Cover the asphalt and 6 inches up the inside of the planter with permeable landscape fabric. Add 2-3” of washed gravel on top of the fabric. The gravel will create a barrier between the soil and the asphalt.
Option 3. Raise the planter up off of the pavement and create a bottom that would hold the soil, but allow water to pass through. The planter could be placed on bricks or have 2″ legs built on the bottom.
If removing the asphalt is an option:
Option 4. Mark the dimensions of the planter on the asphalt. Move the planter. Remove the asphalt within the footprint of the planter. Cover the newly exposed soil and 6 inches up the inside of the planter with permeable landscape fabric. Add 2-3” of washed gravel on top of the fabric. The gravel will create a barrier between the planting soil and the existing soil that was beneath the asphalt.
In each case, after modifying the planter, refill the planter with new soil and replant.
Will Allen of Growing Power (an Urban farming advocate in Milwaukee, WI) has some ideas for growing vegetables where there is literally no soil, such as on an asphalt parking lot. One solution for the center would be to use large plastic tubs, containers, or plastic children’s wading pools rather than a raised bed. Instead of drilling drainage holes in the bottom of the container (which could allow contaminants to leach up into the soil), drill holes just off the ground on the sides of the containers.
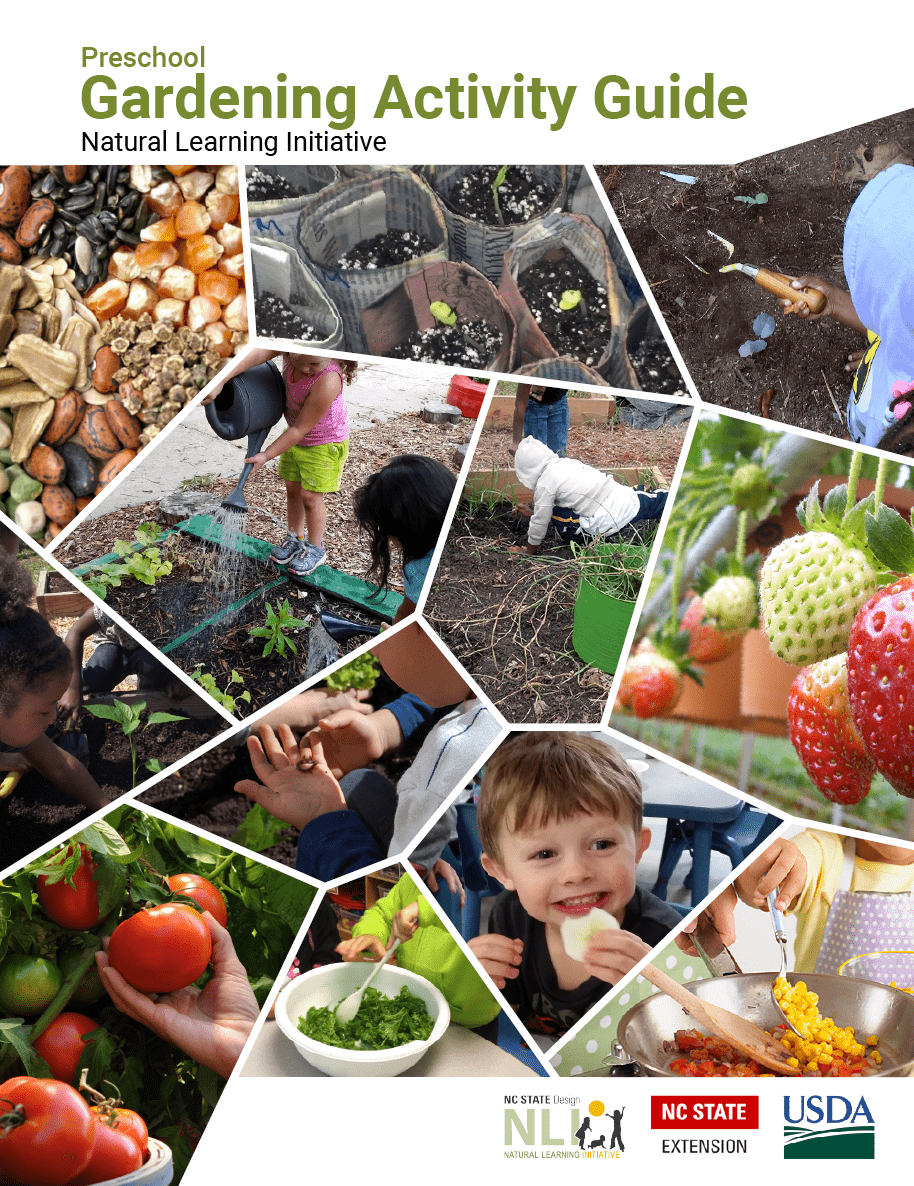
Hands-on gardening with young children tunes their taste buds to fresh fruit and vegetables and the enjoyment of healthy eating early in life. The sensory impact of gardening creates a positive understanding of how seeds turn into plants helped by soil, sun, water—and human care. Young children learn essential gardening skills for healthy living: planting, caring, harvesting, and ultimately preparing tasty eating experiences. Designated production gardens in childcare center outdoor learning environments can inspire lifelong healthy eating habits and provide replicable models for the families they serve.
NLI Gardening-Related InfoSheets
NLI InfoSheets are two-to-four page documents about implementing and maintaining nature-based play settings.
See below a collection of 6 gardening-related InfoSheets for gardening with young children:
This series of 3-min videos on YouTube illustrates children’s interactions with early childhood outdoor play and learning spaces (ECOPALS). Watch out for shorts that follow warm-season gardening, beginning with examining seeds and ending with preparing and eating the produce! The two initial series focus on physical activity and healthy eating and a third series will focus on social-emotional development. A fourth will include all kinds of other serendipitous, unpredictable outdoor happenings. Please stay tuned!
Bambino’s Playschool, a current POD site, is committed to making a shift in the way children and their families view healthy eating. The owner/director, Adria Boyd, takes great pride in only serving children fresh produce. The school’s chef, affectionately known as Mama Jenkins, makes eating healthy meals fun and inviting for children. Her passion for healthy eating is inspiring. Bambino’s is licensed for 164 children birth-K.
The guide introduces garden educators and volunteers to a 12-step, hands-on learning process with young children to engage them in seasonal fruit and vegetable gardening. Each step includes suggestions for related children’s literature. Prior gardening experience is not assumed. The underlying goal is to counteract the early onset of health challenges associated with sedentary lifestyles, poor eating habits, and lack of contact with nature. To download the guide, please use the form below.
LOCAL FOODS: Childcare Center Fruit & Vegetable Gardening Series
Created for early childhood educators, the series is an outcome of NLI’s many years of experience with childcare garden design, installation, and professional development, via centers participating in the NLI Preventing Obesity by Design (POD) program. Topics include creating garden infrastructure, growing and preparing fruits and vegetables in warm and cool seasons, and composting techniques.
1. Growing and Cooking Fruits and Vegetables at Childcare Centers
This publication summarizes the benefits of fruit and vegetable gardening with children. It includes age-appropriate activities for childcare providers to engage young children in using fresh produce from a production garden for cooking and eating. This is the first of eight publications about childcare center production gardens.
Mitchell, C., Moore, R., Cosco, N. (2015). Growing and Cooking Fruits and Vegetables at Childcare Centers. LF-007-01. Raleigh: NC State Extension.
This publication focuses on developing fruit and vegetable production gardens in the Outdoor Learning Environment (OLE) of childcare centers. Included are basic garden design and layout to help childcare centers get started in year-round gardening activities. This is the second of eight publications about childcare center production gardens.
Moore, R., Cosco, N., Konradi, S., Archer, M. (2015). Creating Childcare Center Production Gardens. LF-007-02. Raleigh: NC State Extension.
3. Growing Warm-Season Fruits and Vegetables in Childcare Production Gardens
This publication focuses on easy-to-grow, child-friendly, warm-season fruits and vegetables suitable for childcare center gardening. This is the third of eight publications about childcare center production gardens.
Archer, M., Konradi, S., Lelekacs, J., Driscoll, E. (2015). Growing Warm- Season Fruits and Vegetables in Childcare Production Gardens. LF-007-03. Raleigh: NC State Extension.
4. Growing Cool-Season Vegetables in Childcare Production Gardens
This publication focuses on easy-to-grow, child-friendly, cool-season vegetables suitable for childcare center gardening. This is the fourth of eight publications about childcare center production gardens.
Archer, M., Konradi, S., Lelekacs, J., Driscoll, E. (2015). Growing Cool-Season Vegetables in Childcare Production Gardens. LF-007-04. Raleigh: NC State Extension.
5. Snacking and Cooking with Warm-Season Produce from Childcare Production Gardens
This publication includes simple recipes that childcare center cooks and educators can use to engage children in snacking and cooking with fresh warm-season fruits and vegetables from on-site production gardens and elsewhere. This is the fifth of eight publications about childcare center production gardens.
Mitchell, C. (2015). Snacking and Cooking With Warm-Season Produce. LF-007-05. Raleigh: NC State Extension.
6. Snacking and Cooking with Cool-Season Produce from Childcare Production Gardens
This publication includes simple recipes that childcare center cooks and educators can use to engage children in snacking and cooking with fresh cool-season vegetables from on-site production gardens and elsewhere. This is the sixth of eight publications about childcare center production gardens.
Mitchell, C. (2015). Snacking and Cooking With Cool-Season Produce. LF-007-06. Raleigh: NC State Extension.
This publication is a how-to guide for starting a garden-related standard compost bin in a childcare center Outdoor Learning Environment (OLE). Included is guidance on design, construction, and management of compost bins as well as curriculum connections. This is the seventh of eight publications about childcare center production gardens.
Sherman, R. (2015). Composting in Childcare Center Gardens. LF-007-07. Raleigh: NC State Extension.
8. Vermicomposting in Childcare Production Gardens
This publication is a how-to guide for starting a garden-related vermicomposting bin in a childcare center Outdoor Learning Environment (OLE) or indoors. Included is guidance on design, construction, and management of vermicomposting bins as well as curriculum connections. This is the eighth of eight publications about childcare center production gardens.
Sherman, R. (2020). Vermicomposting in Childcare Center Gardens. LF-007-08. Raleigh: NC State Extension.
When should I start seeds indoors so they are ready to transplant outdoors in the spring?
The best time to start seeds is based on the last spring frost date for your area minus the length of time required for seeds to germinate and be ready for planting. For most seeds, germination time is listed on the seed packet. Here is an estimate of lead time for popular seeds:
Onions: 8 to 12 weeks before the set out date, which is 4 to 6 weeks before last frost (in total, 12 to 18 weeks before last frost).
Lettuce: 5 to 6 weeks before the safe planting-out date, which is 4 to 5 weeks before the last frost (in total, 9 to 11 weeks before last frost).
Beets, Cabbage, broccoli, collards: 4 to 6 weeks, which is 2 weeks before last frost date (in total 6 to 8 weeks before last frost).
Peppers: start 8 to 12 weeks before the last frost, and plant 2 weeks before last frost date.
Eggplant and Tomatoes: start, 6 to 8 weeks before the last frost, and two weeks before last frost date
Cucumbers and melons: start 8 to 10 weeks, and set out 2 to 4 weeks after the last frost.
Successful sprouting
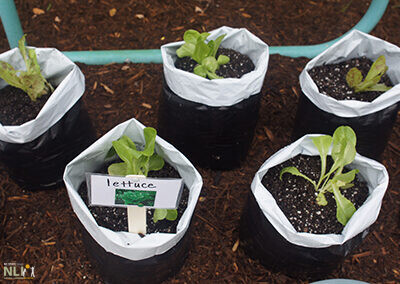
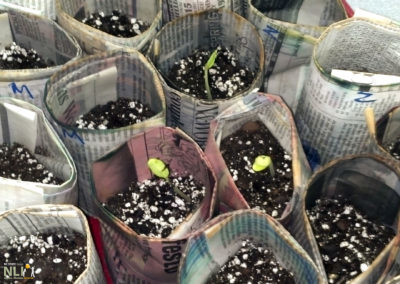
Fill your container with 3-4 inches of starting mix. Moisten thoroughly with warm water.
Place three seeds end to end, the length of this line is how deep you should plant the seed. For example, plant peas about 1 in. deep; spinach seeds, 1⁄4 in. deep.
Tiny seeds like lettuce and parsley should be broadcast (sprinkled) across the top of the soil or planting medium and then covered ever so lightly with your planting mix. When broadcasting, be sure not to sow too many seeds.
Once you have planted seeds, you must keep the planting medium moist and warm. Check seed packet for further information.
Check the soil daily to ensure it is not dry.
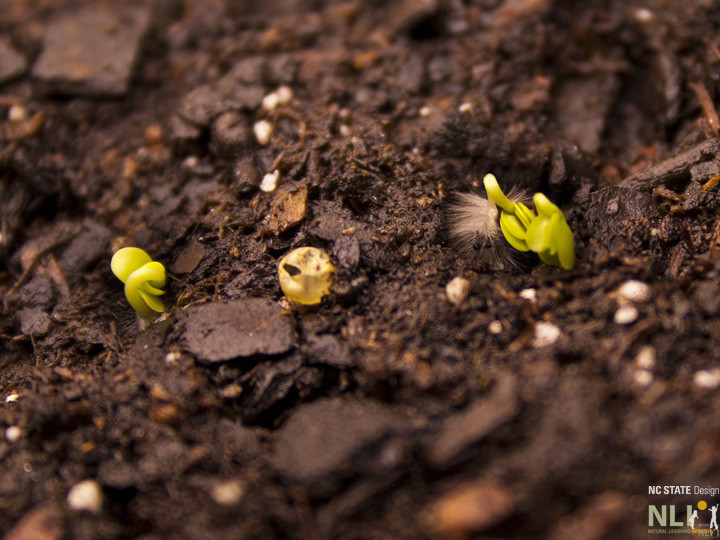
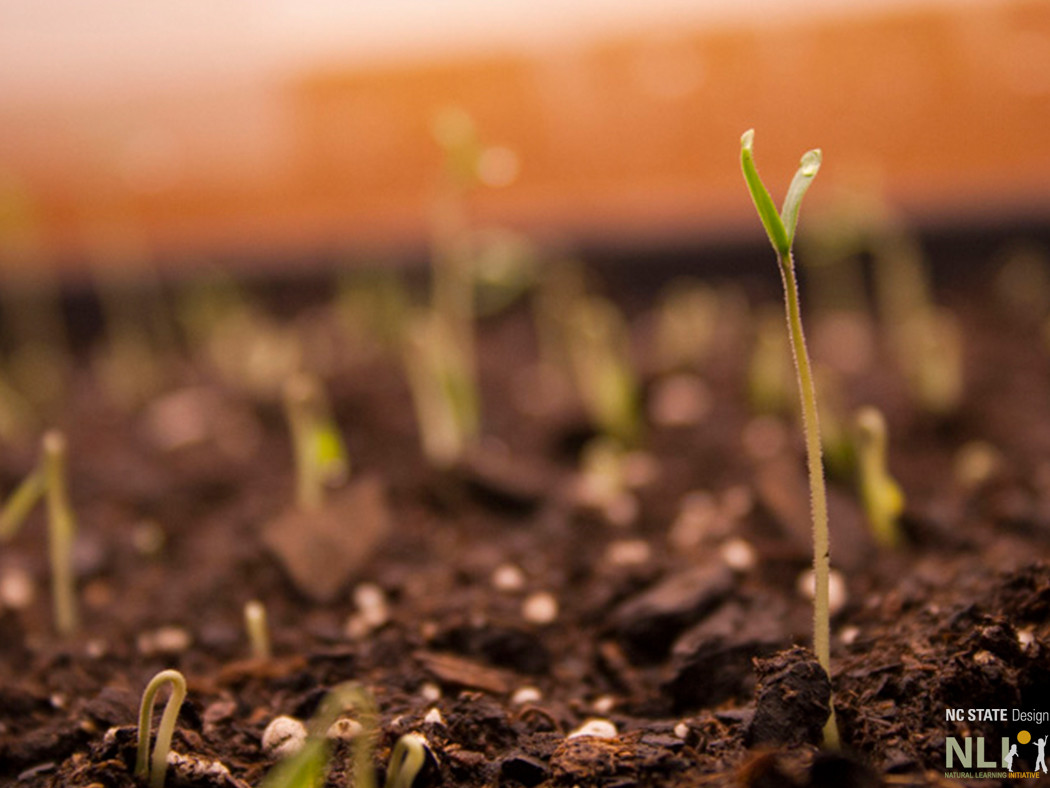
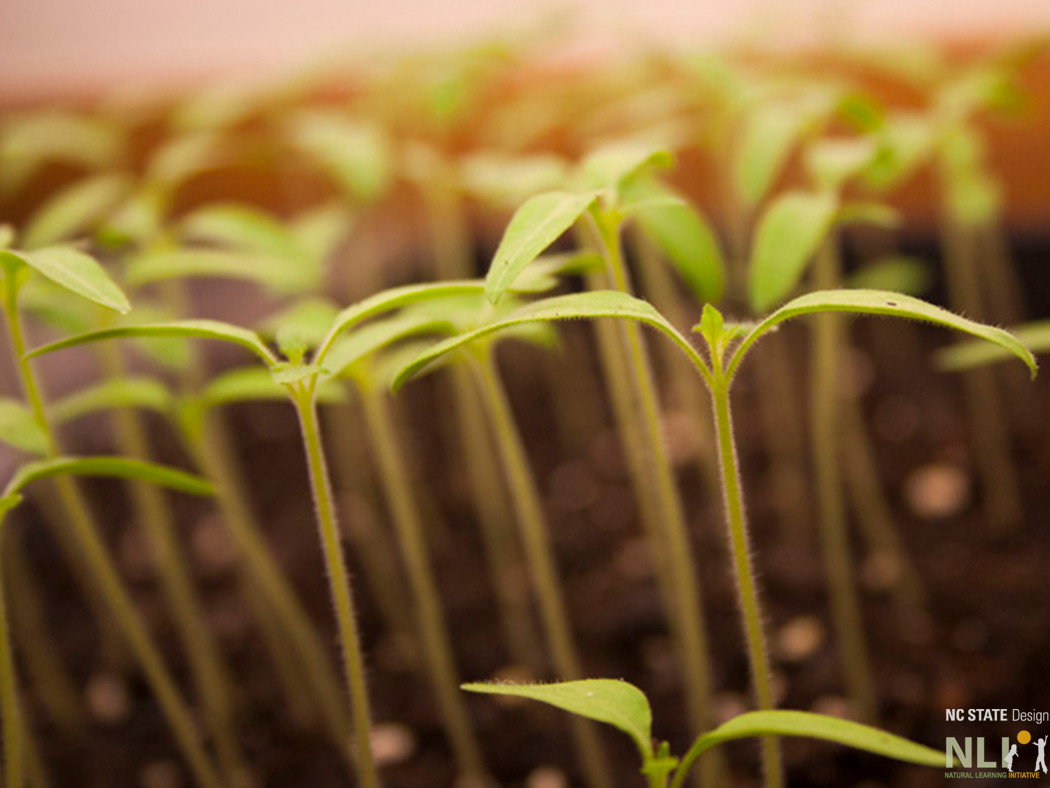
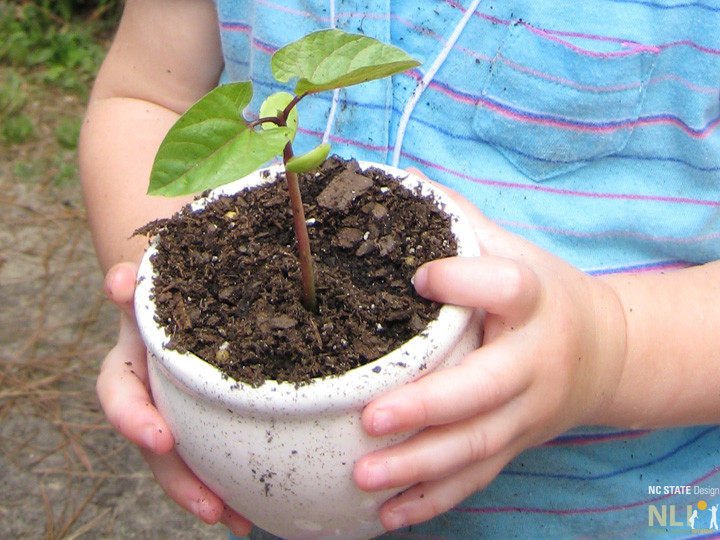
A seedling emerges
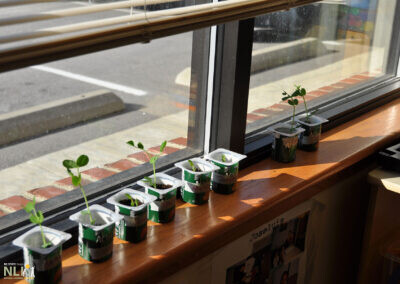
Light is necessary once the seedlings emerge. Seedlings need 12 to 16 hours of light from the sun, grow lights or fluorescent lights.
As seedlings emerge, you may need to thin them to ensure they have enough space to grow.
Dr. Nilda Cosco presents poster at the Society for Nutrition Education and Behavior annual conference, Minneapolis, July 2018
USDA COLEAFS is a five-year investigation (RCT) of gardening by 3-4 year olds attending childcare centers to assess its impact on physical activity and fruit and vegetable liking and consumption. PI Nilda Cosco, PhD, Director of Programs, NLI, presented a poster highlighting different aspects. The poster was well-received and drew lots of attention and enthusiasm.