How do I select, arrange, purchase, and manage plants for my outdoor learning environment?
For a comprehensive guide to selecting, installing, and managing plants in landscapes designed for children and families, visit the plants section of our website (links below).
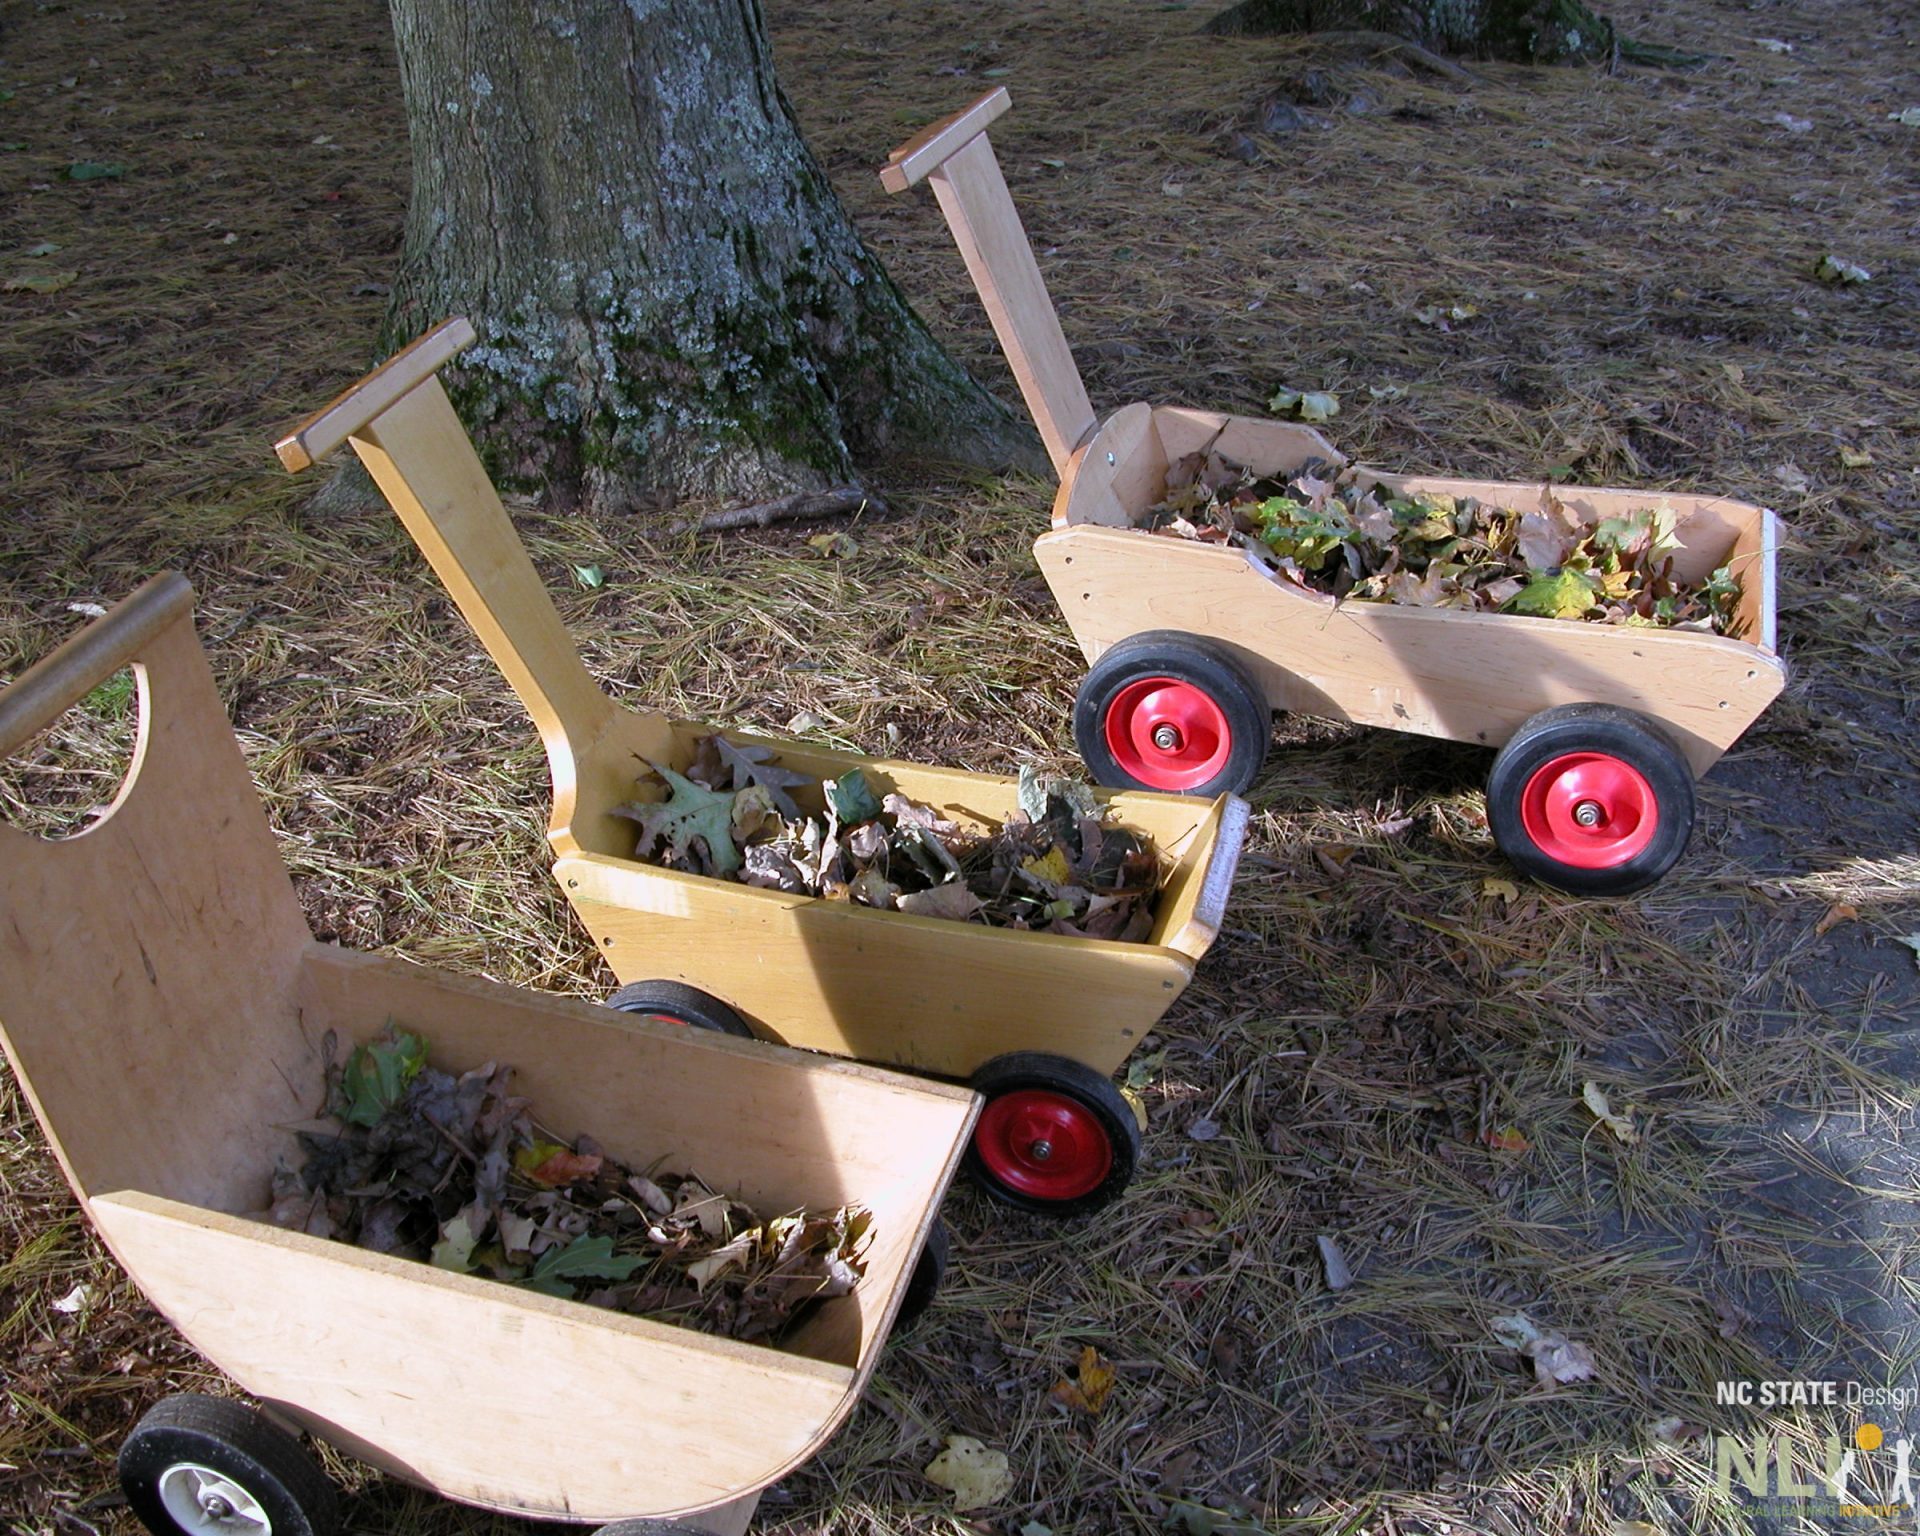
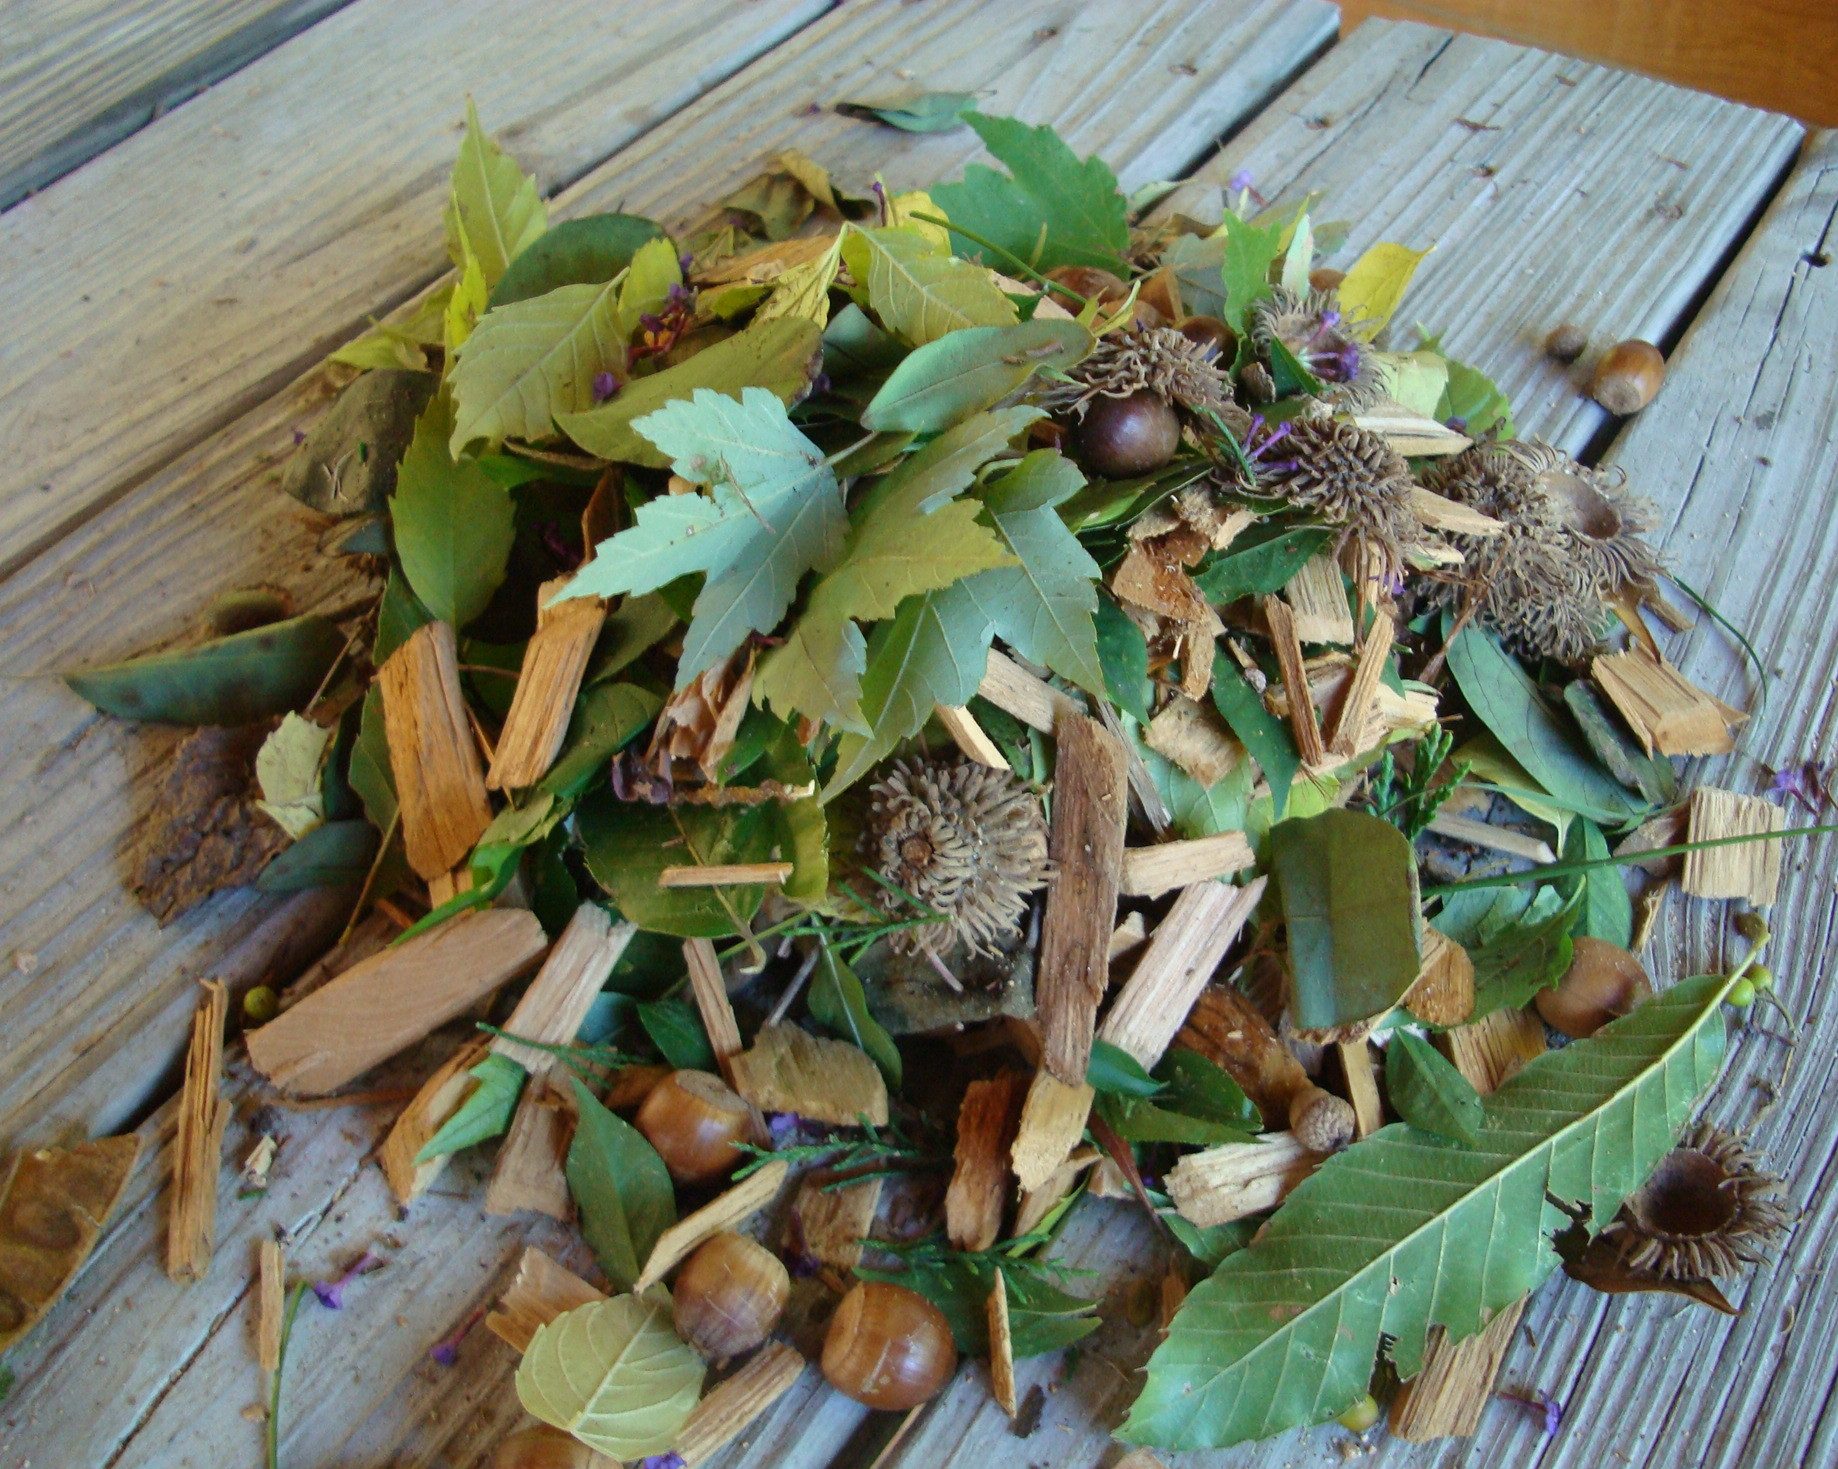
Natural materials, or natural loose parts, afford an array of open-ended play and learning opportunities, such as building, sorting, counting, and dramatic play. The availability of some natural loose parts, such as acorns and flowers, change with the seasons, while others, such as stones and branches, are available year round. Some outdoor learning environments are rich with natural loose parts, while others may require teachers and children to gather and bring in natural loose parts to supplement their outdoor learning environments.
How can I protect newly installed plants as they get established?
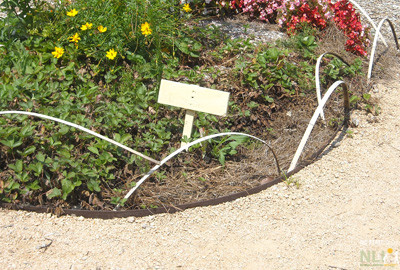
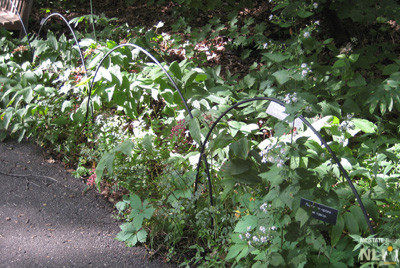
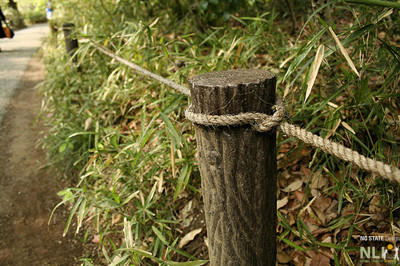
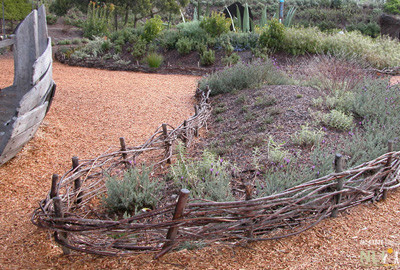
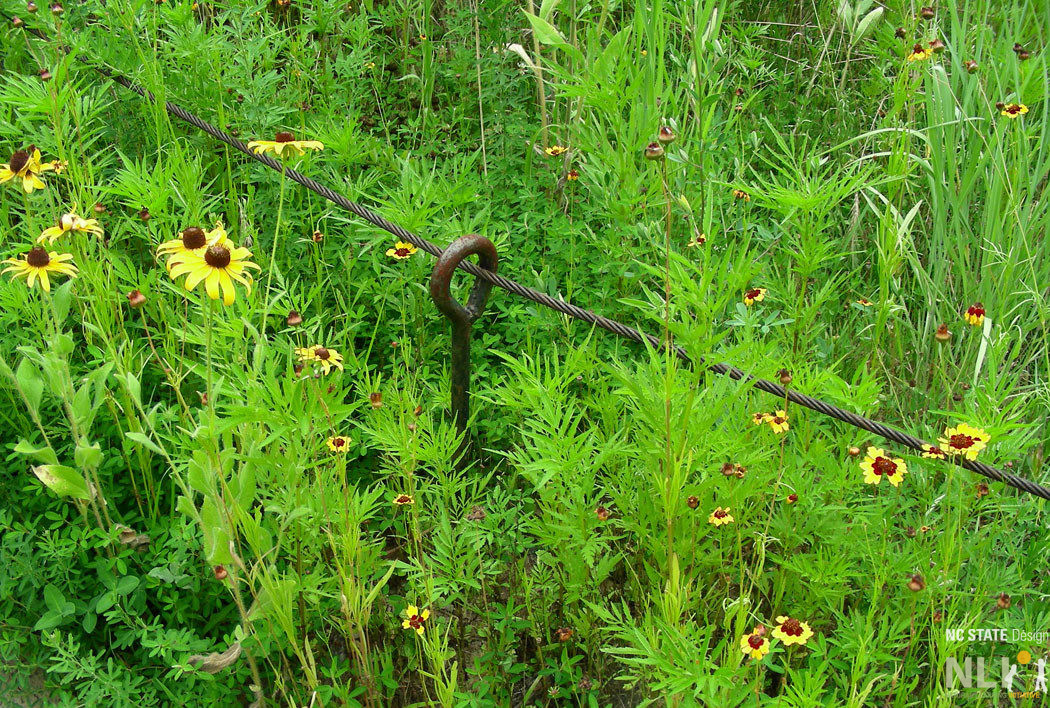
Plant protection railing is a simple way to protect newly installed plants. By guiding feet away from new planting beds, the railing guards plants from being uprooted or trampled, delicate tree branches from being hung on, and roots from being compacted. The simplest variations of plant protection railing can be installed inexpensively with minimal skill, and it is a key method to ensure new plants will thrive in the outdoor learning environment.
Basic guidance
Install plant protection railing immediately after plants are installed.
Install plant protection railing just beyond the planting hole (ideally three times the width of the root ball) to protect the newly amended soil from compaction.
Select materials that are readily available, easy to work with and durable.
Use plant protection railing to define edges of pathways, lawns, and settings and direct circulation.
Plant protection railing should be in place for a minimum of two years as plants get established. In high traffic areas, such as primary pathways, permanent railing may be necessary. Temporary railing may be sufficient in areas with minimal foot traffic.
Free-standing trees can be protected singly or entire planting beds can be edged with plant protection railing.
Create exploratory pathways with stepping stones or tree cookies to define routes through and provide access to new planting beds.
During installation, avoid sharp ends and potential entrapments.
Possible Materials
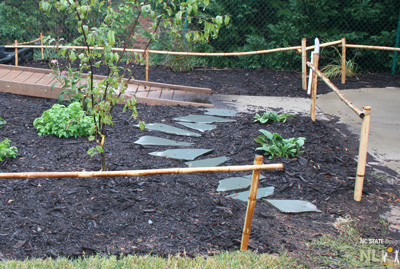
Bamboo rails with cedar posts double as pull-up rails in this toddler OLE.
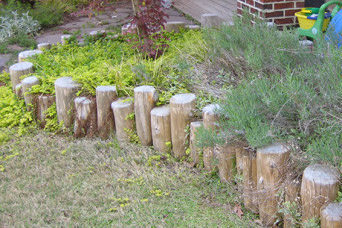
Cedar logs protect plants and define the edge of the lawn.
Bamboo posts and rails. Stepping stones create an exploratory pathway that provides access to new plants.
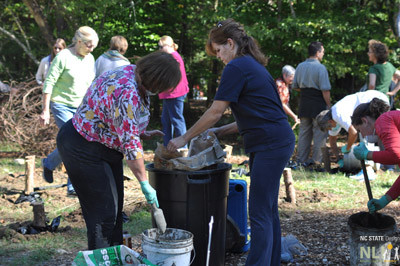
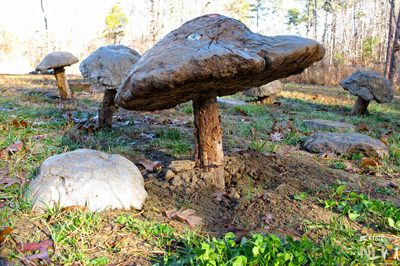
Creating concrete toadstools to enrich a child’s environment is fun and easy to do with basic tools and materials. Toadstools can be placed in groups to create mini-environments or installed throughout a space creating moments of discovery. Items such as these exemplify one of many ways to enrich a child’s environment with art and imagination.
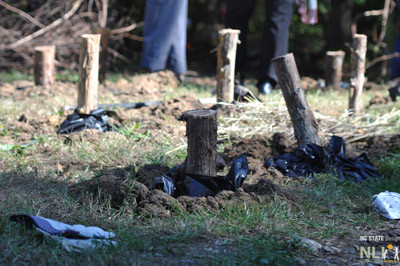
After digging a hole in the ground roughly the shape of the toadstool cap, line the hole with heavy-duty plastic.
Mix concrete in buckets, and pour into prepared holes.
Pouring the concrete into the holes for the toadstool caps.
Smoothing out what will be the bottom of the toadstool caps.
Place the toadstool stems into the wet concrete. Use stout logs/branches from a wood with high decay resistance, such as Eastern Redcedar.
After curing for at least 24 hours, remove the concrete toadstools from their holes and remove plastic lining. Toadstool caps can be embeded with objects for added texture and variation.
In this document you will find the following information, which addresses the chemical safety concerns over the use of pressure treated wood:
(e) Decks, fences, playground equipment, and other products constructed or installed after September 1, 2006 shall not be made from chromated copper arsenate (CCA) pressure-treated wood unless the use of CCA-treated wood is for an approved use listed on the CCA product label and allowed under the US EPA Supplemental Guidance on Interpretation of Revised Chromated Copper Arsenate (CCA) Wood Preservative Label, as amended.
(f) In areas accessible to children, CCA-treated wood decks, playground and recreational equipment, and structures installed or constructed:
prior to January 1, 2005; or where EPA allows the use of CCA-treated wood, shall be sealed using an oil-based, semi-transparent sealant; oil-based clear stain; or a water-based clear stain applied at least once every two years.
(g) At the time of the initial sealant or stain application and whenever more than two years has passed since the previous sealant application, soil under such wood shall be:
removed and replaced with similar material;
covered with at least four inches of soil, gravel, sand, sod, or other vegetation; or
On December 31, 2003, the U.S. Environmental Protection Agency issued a restriction on the use of Chromated Copper Arsenate (CCA) in the treatment of wood. Since that time, Alkaline Copper Quarternary (ACQ), has been the chemical used in preparation of pressure treated wood. Prior to the restriction of CCA the danger was in the leaching of arsenic into the soil and potential poisoning of plants or animals. The chemical that has been used since 2003, ACQ, is water based and does not contain the poisons that were present when CCA was used for treatment.
Pressure treated wood should not be used where it is in direct contact with soil that will be used for growing vegetables or other edibles, as chemicals do still leach out into the soil. As a general rule, raised beds made from pressure treated wood should contain a plastic liner or other barrier between the wood and the soil. This will not only maintain peace of mind by eliminating the risk of chemical contamination in edible gardens, but also extend the life of the wood by reducing the amount of moisture around it.
Other safety concerns over the use of pressure treated wood may be potential splintering, which can be eliminated with the use of quality materials and application of good craftsmanship.
Plant habit: Clumping, will spread by bulb offsets and self-seeding
Water requirement: Low
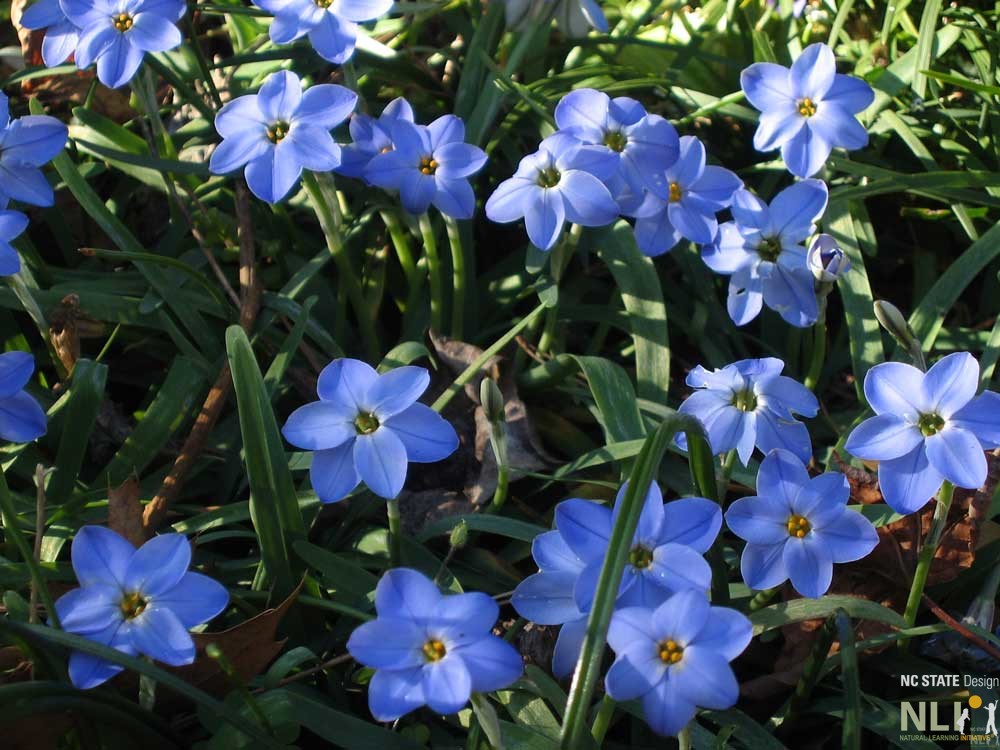
Spring starflower is a small (6-12 inch tall) perennial, that grows from a bulb, with flat, grasslike leaves and fragrant, star-shaped blue or white flowers. Starflower is a non-edible relative of the onion, and its leaves give off an onion-like aroma when they are picked or crushed. This plant is easy to grow and widely adaptable to many soil types and it can also be grown in pots or containers. Note: Depending on where you live, this plant may spread aggressively in a garden setting. Contact a local nursery professional or Cooperative Extension for more information about growing Spring starflower in your region. Plant the bulbs in fall for a beautiful spring show; they look great in a large mass, or group, in a planting bed. They bloom all spring long, year after year, and go dormant just when summer perennials are beginning to pop.
Flowering bulbs are a beautiful and magical way to introduce gardening to kids. One of the clearest heralds of spring is when bulbs like spring starflower, daffodils, and crocuses push out of the cold wintry ground just as the days are starting to get longer. The life cycle of bulbs are well suited to school calendars. Planted in the fall and emerging to bloom in spring, they need only minor tending and bring attention to the garden when little else is happening.
Other plants that look great in the month of March:
Rabbiteye Blueberry (Vaccinium virgatum) (Syn. V. ashei) ‘Climax’ and ‘Premier’
Native range: Southeastern U.S.
Hardiness Zone: US 7a-8b
Sun: Full sun to partial shade
Plant habit: Shrub
Water requirement: Low
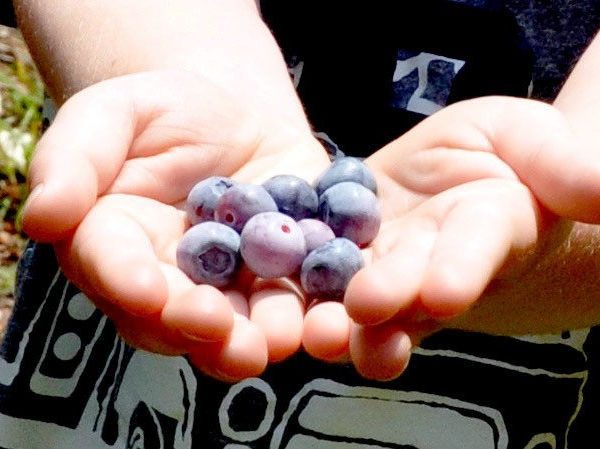
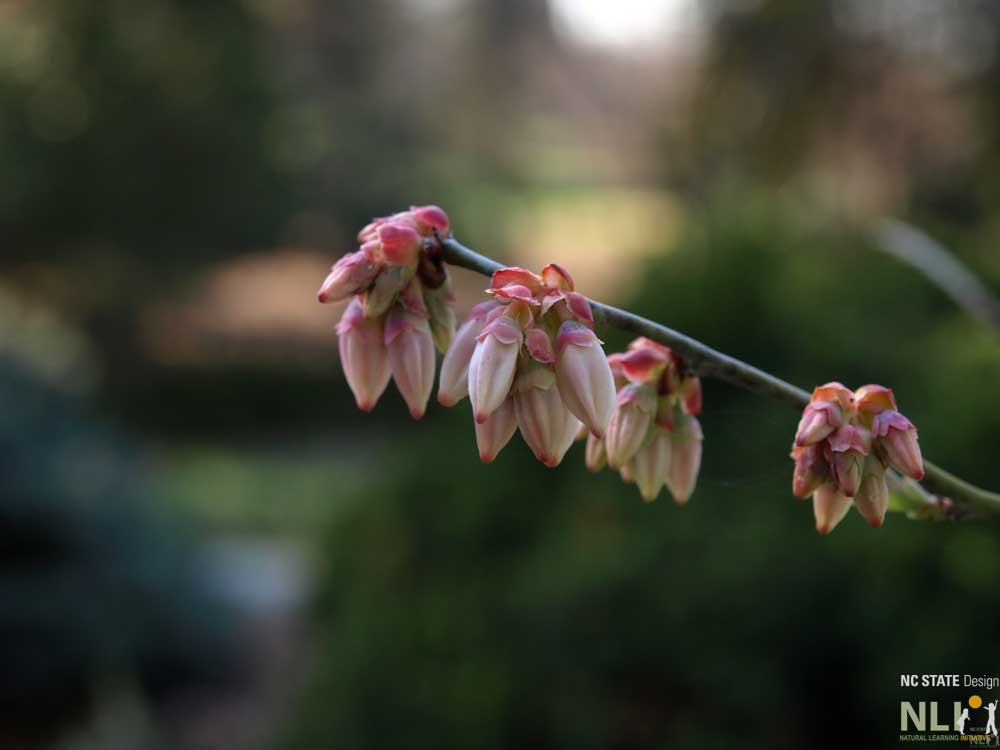
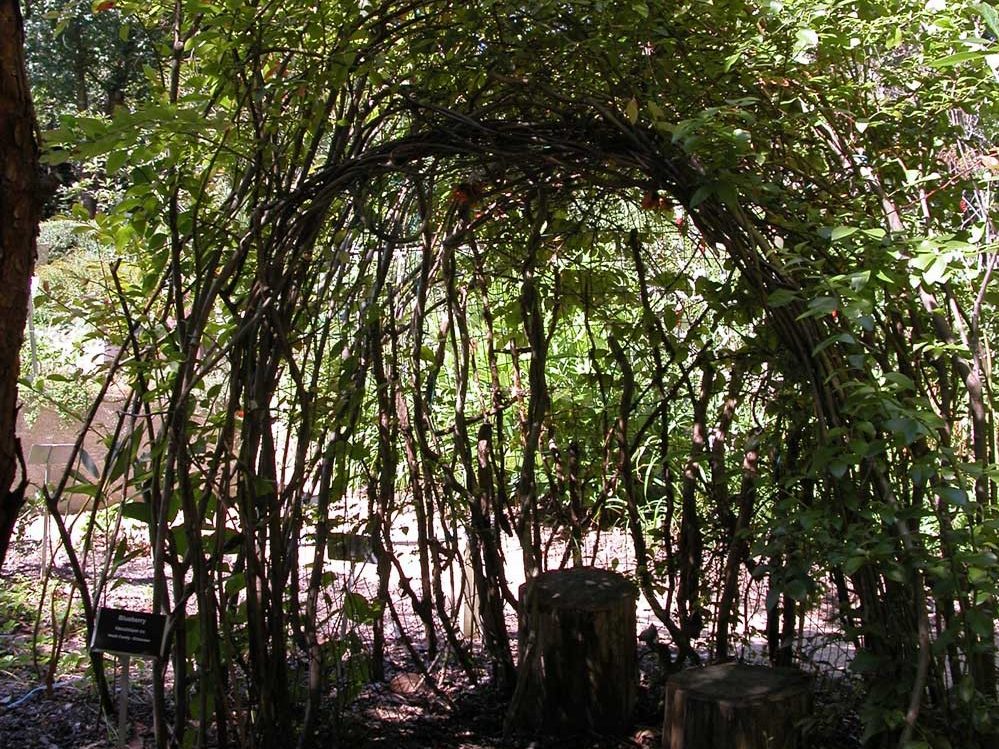
The joys of this plant begin in early spring with delicate, bell shaped flowers that attract important pollinators. These nonaggressive insects tirelessly hum between shrubs carrying pollen to and from open flowers and are responsible for the majority of blueberries that ripen two months later, starting in June and lasting until early August. There are a number of ways to have fun with this plant, from searching for the largest blueberry in July to pruning them to be a fort in the fall. You may also want to try blueberry counting games with the children or use them to make frozen treats together.
There are many species of wild blueberries, 13 of which are native to North Carolina, including rabbiteye blueberry, Vaccinium virgatum, formally known as Vaccinium ashei. This species is known for it’s superior fruiting characteristics and is mother to a number of varieties, including some of our summertime favorites ‘Climax’ and ‘Premier’. In order to maintain a successful harvest, two varieties of rabbiteye blueberry should be planted within 100’ of one another.
Rabbiteye blueberry is an excellent landscaping shrub, that is relatively easy to grow, though does require some site prep for best results. Growing as tall as 8’ to 10’ and with a spread of up to 6’, blueberries can serve as a hedge or border when planted 4’ apart. They can also be pruned to stay smaller, which makes harvesting easier. Like many trees and shrubs, blueberries should be planted in the dormant season, November to March, in an area that receives full sun to part (50%) shade (for best yield plant in full sun). The soil should be porous, not clay and may require the addition of some sand to improve drainage. Blueberries are in the heath family and like their Mountain Laurel and Rhododendron cousins, need acidic soil with a pH of 4.0 to 5.3. The acidity levels can be increased by adding organic matter like peat moss, pine bark or aged sawdust to the soil.
Contact your local Extension office for recommendations on varieties suitable to your conditions and needs. You may want to have your soil tested in order to best determine what amendments to add; many extension offices offer soil tests as a free service.
Recipe
Blueberry Pancakes
by Jean Warren
Let’s make pancakes, yum, yum, yum. And drop on blueberries, one by one. Turn the pancakes, now they’re done. Blueberry pancakes, let’s have some!
Toxic Free NC, a non-profit organization advocating for human and environmental health since 1986, offers many resources for child-care providers and parents of young children. One of their major program initiatives, Toxic Free Kids, brings awareness to child care providers, families, public school teachers and administrators, and others regarding the risks surrounding the use of toxic pesticides.
Integrated Pest Management (IPM) planning is a good strategy for avoiding risks from toxic chemicals found in many pesticides while at the same time controlling insects and other pests in childcare and school-age settings. Use the links below to access Toxic Free NC resources. All of the pages below have downloadable resources in PDF format for printing and sharing.
American Sweetgum(Liquidambar Styraciflua Rotundiloba)
Native range: Southeastern U.S.
Hardiness Zone: US 6-9
Sun: Full Sun
Plant habit: Deciduous Tree
Water requirement: Medium
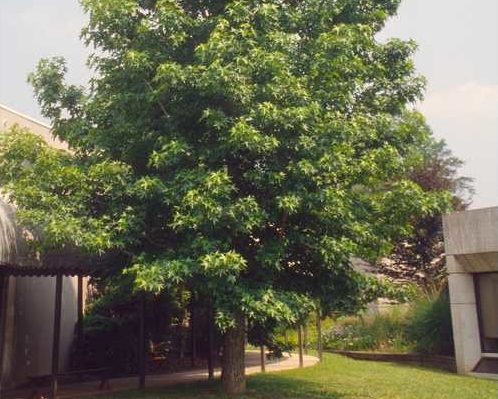
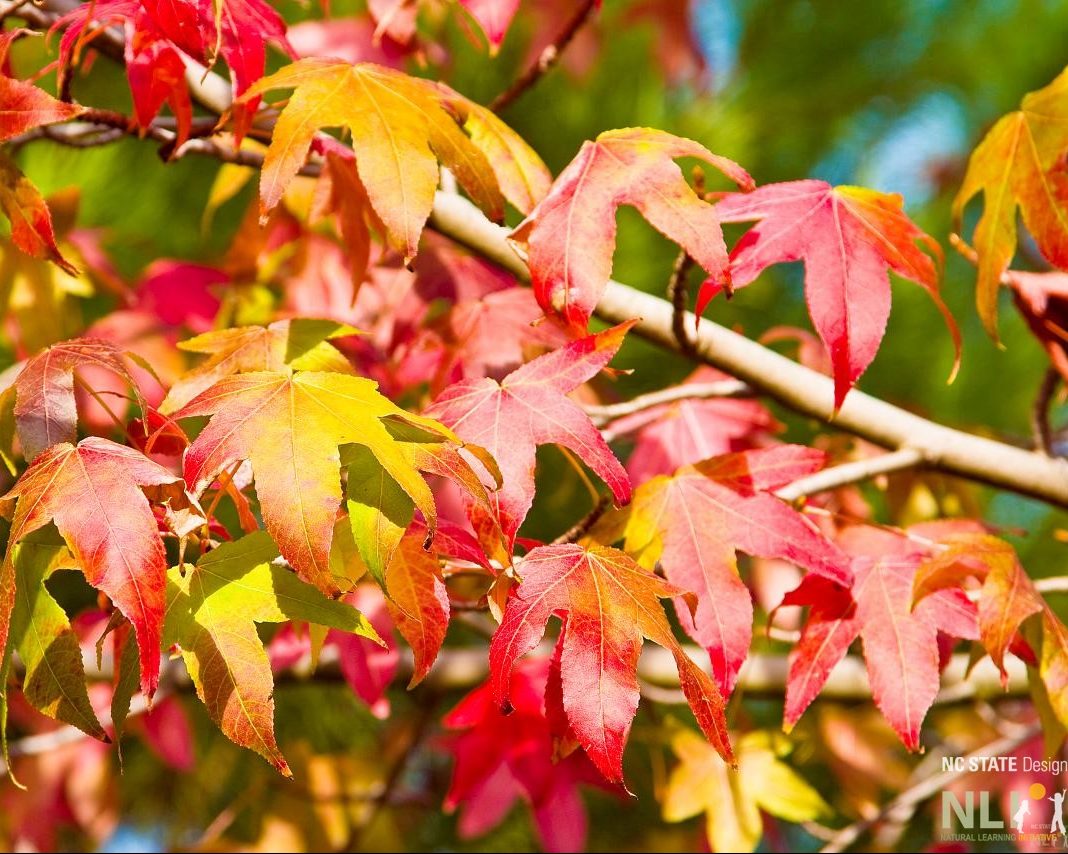
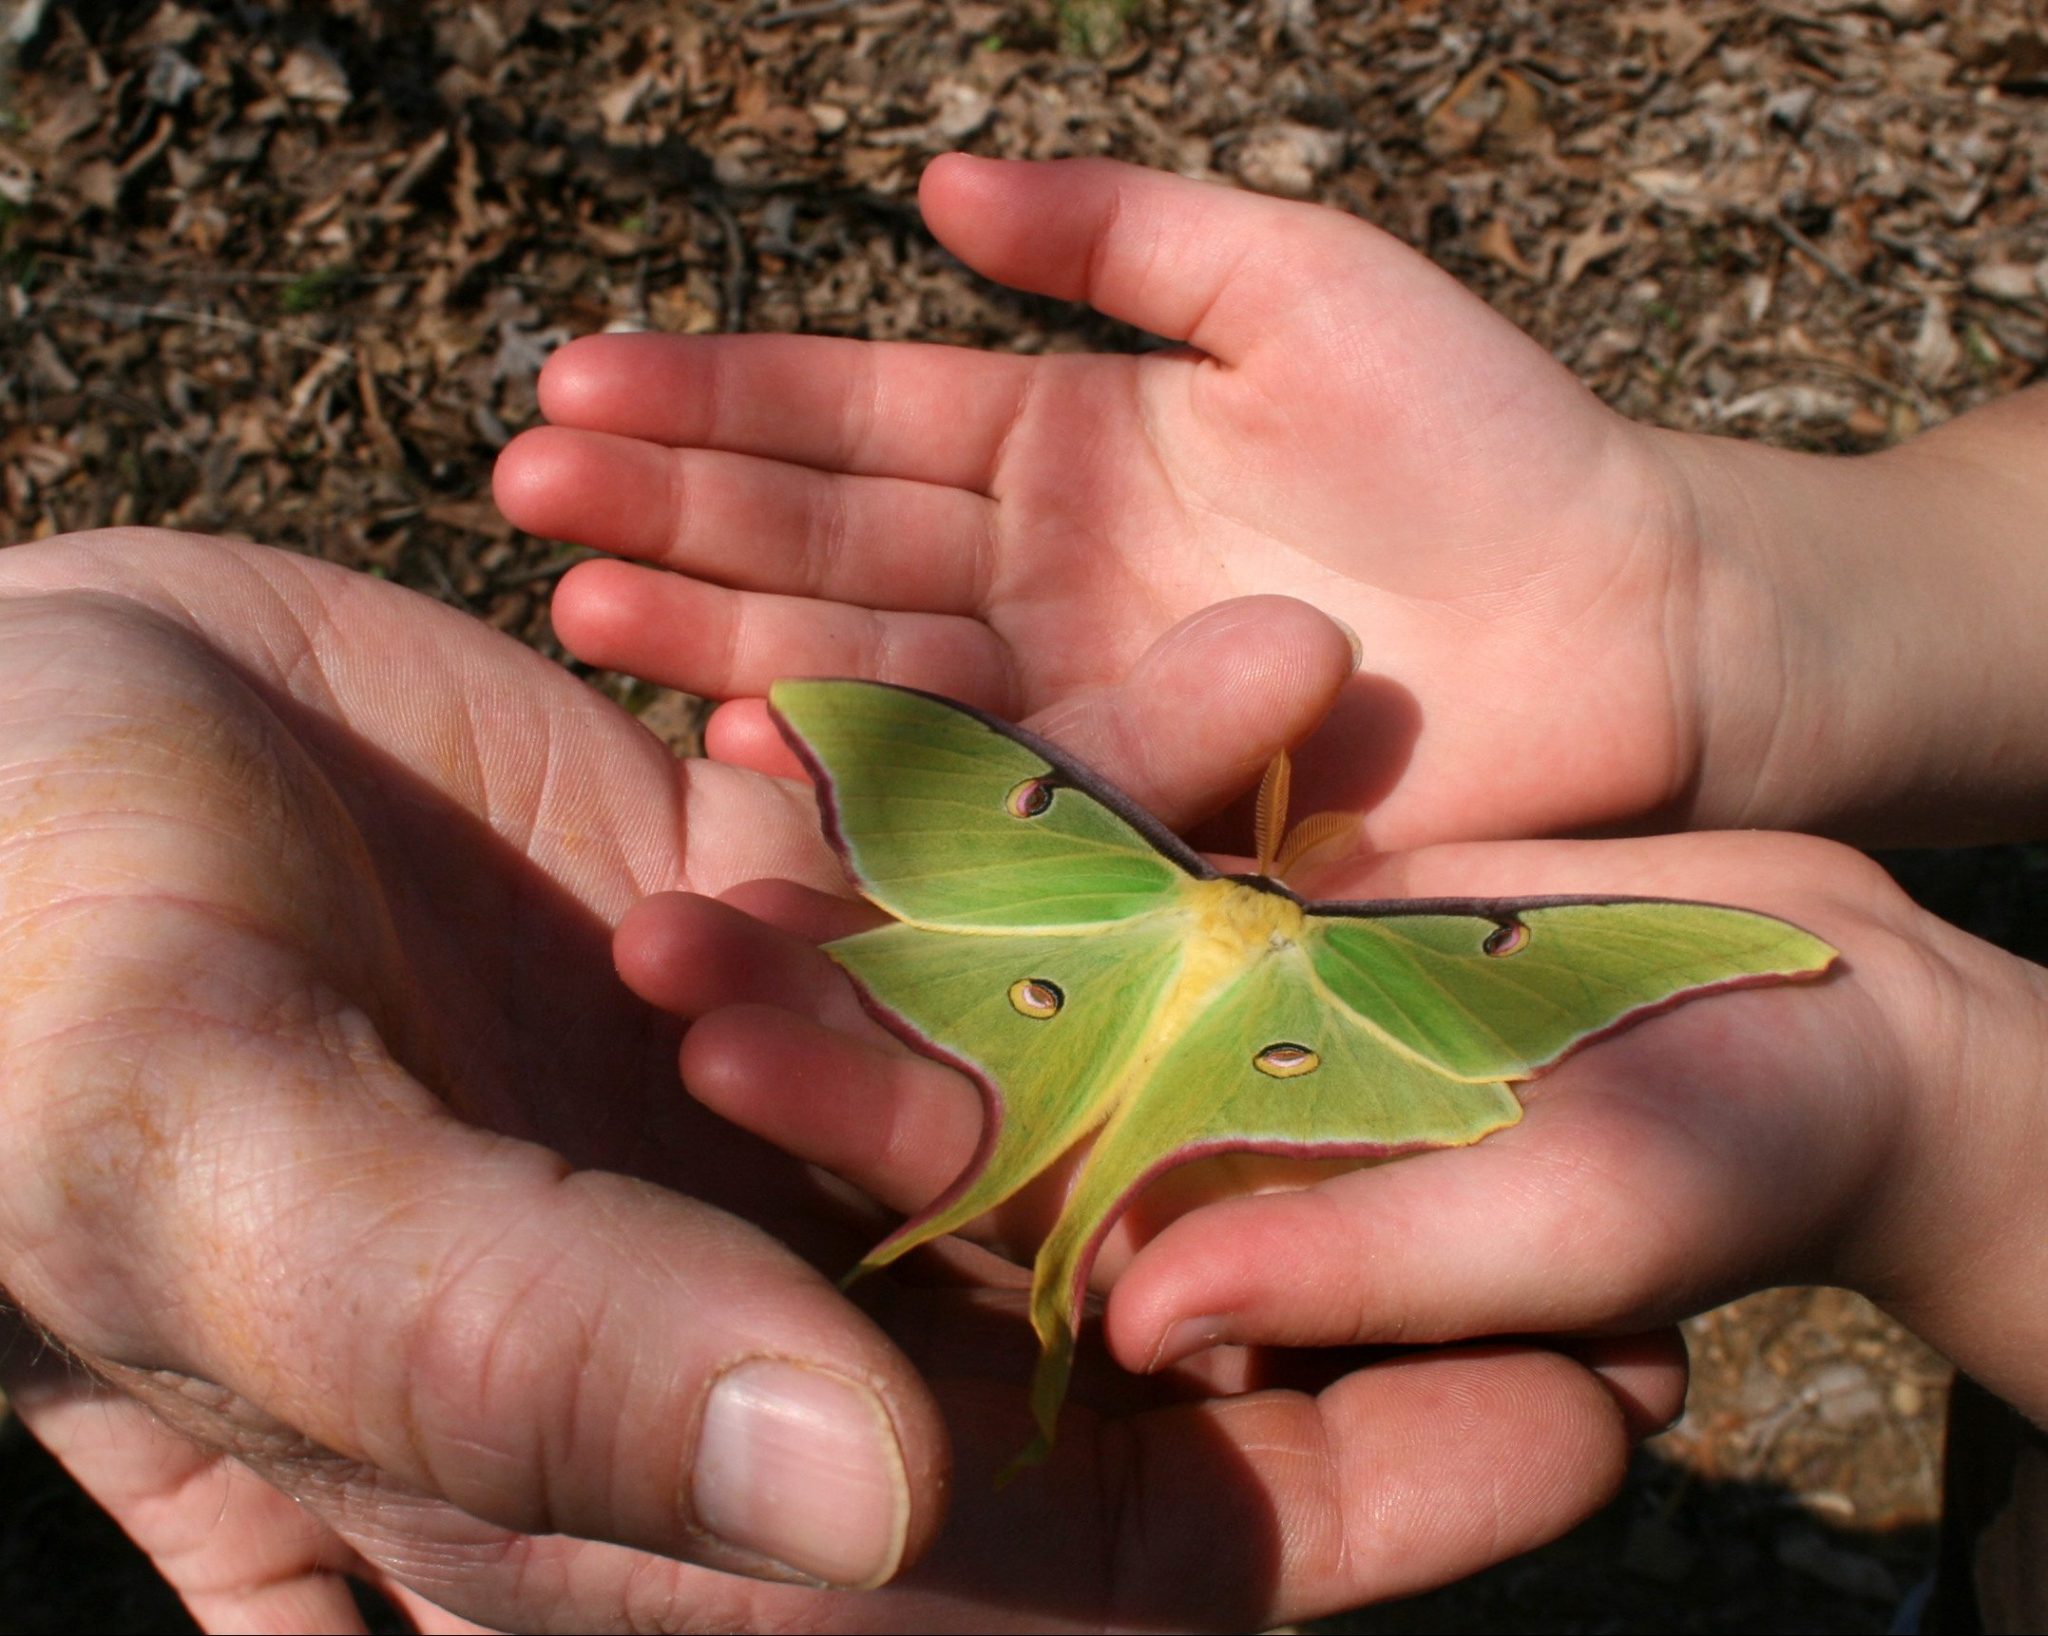
The American sweetgum is a native tree of the Eastern US well known for its fall color. Often found in parks and along roadsides, it is also an excellent choice for outdoor learning environments, providing shade in the hot summer months, color in the fall and habitat for the lovely luna moth.
The name sweetgum came from the sweet, sticky sap that the tree produces which was also the inspiration for an old American idiom, “up a gum tree”, which means to be in a sticky situation.
Sweetgum is an easy tree to grow and can be found at many plant nurseries. It prefers full sun and although it can tolerate a wide range of soils, it grows best in moist and slightly acidic soil. Under the right soil and light conditions, this tree grows quickly at a rate of 2-3 feet per year, creating quick shade for outdoor learning environments. There are many varieties of sweetgum available, and a popular one is a cultivar called ‘Rotundiloba’. The most striking features of ‘Rotundiloba’ are its rounded leaves and brilliant fall color. Also this particular cultivar does not produce fruit or “gumballs” that are sometimes viewed as a nuisance. We do see the fruit as an attractive natural loose part for children to play with, but know that there are situations in which you might prefer not to have all the fruit scattered on the ground.
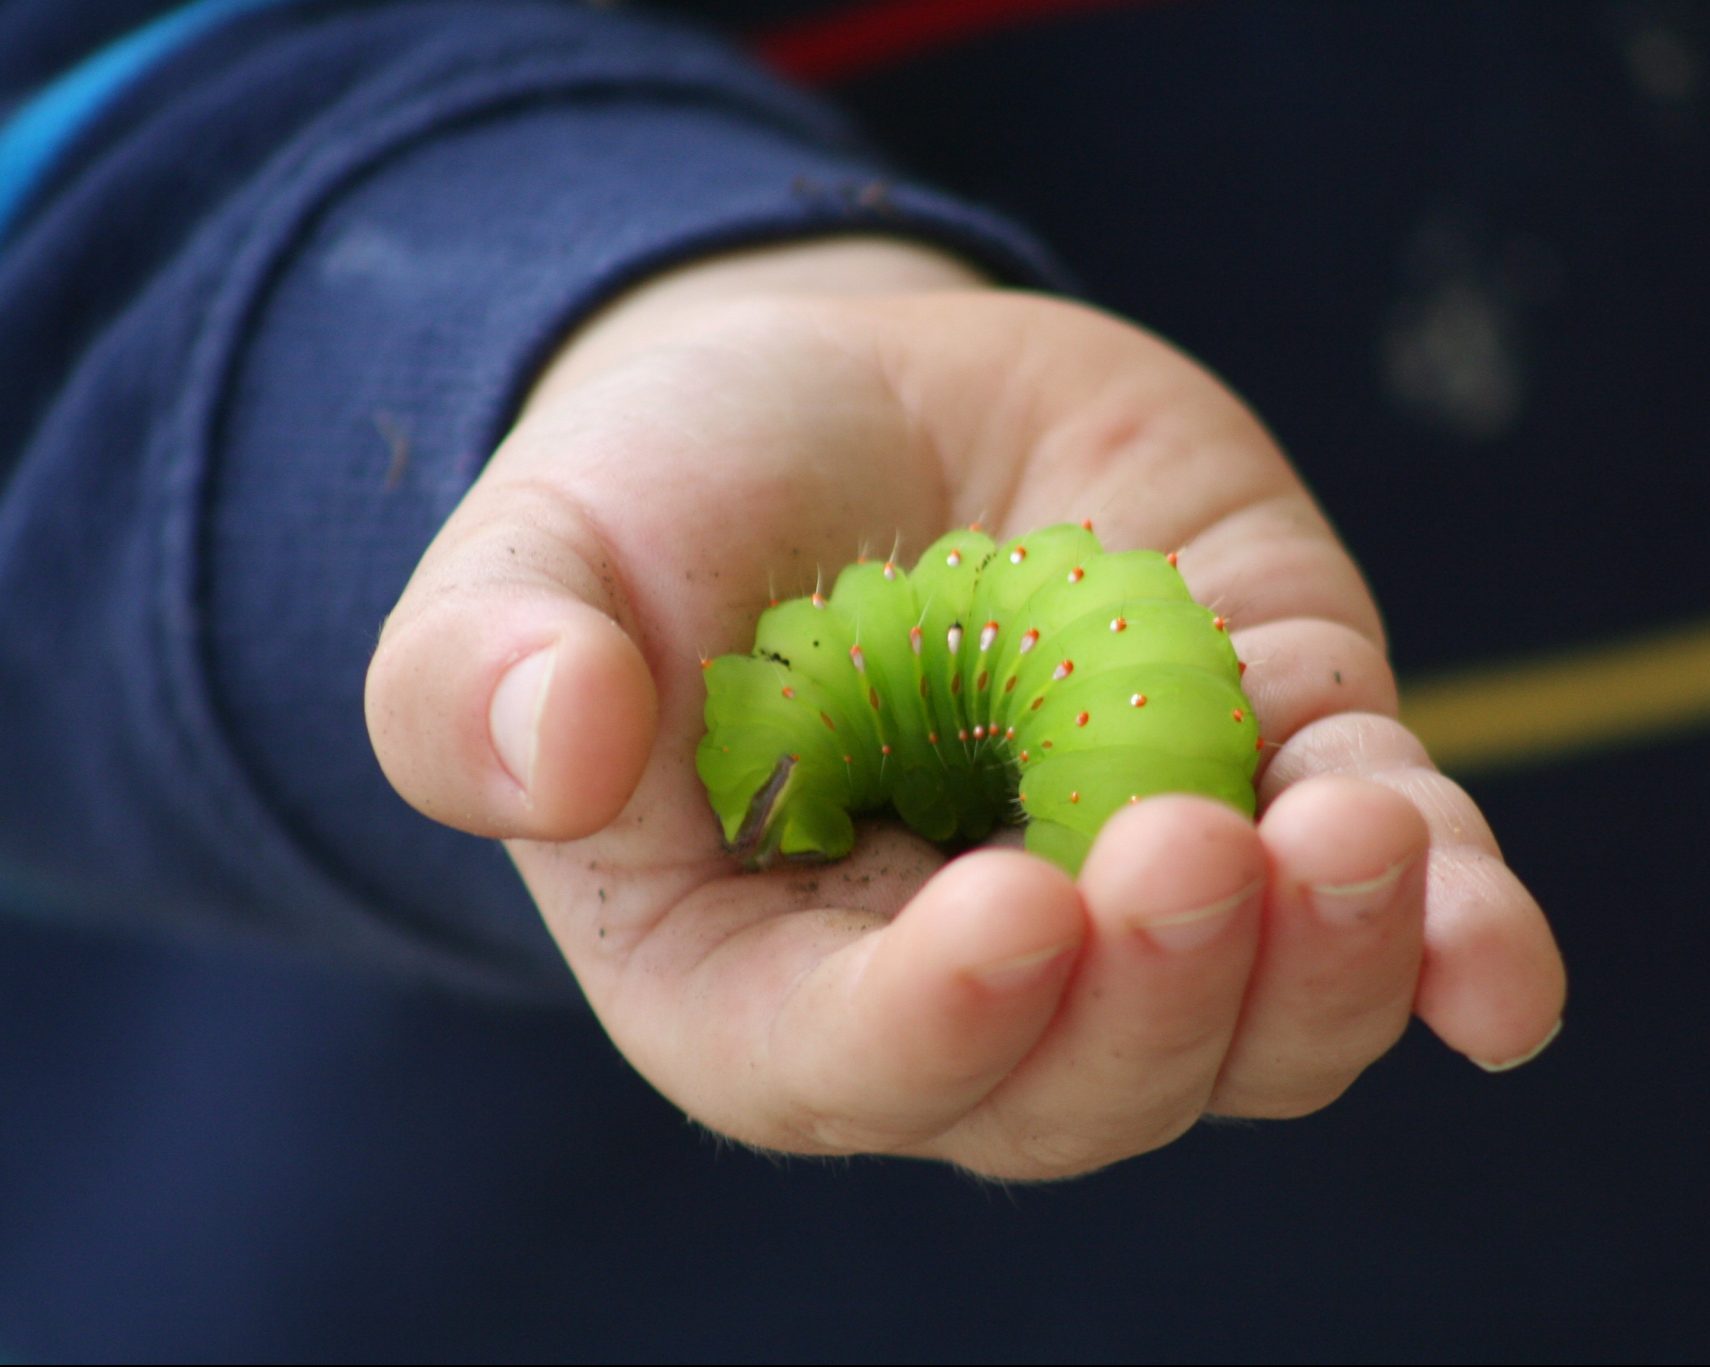
Most insects have relationships with specific plants and the sweetgum is a favorite for the luna moth, though the moth can also be found in hickories, birches and willow trees. From quietly munching on leaves to spinning a silken cocoon, this gentle night creature will spend most of its life in the sweetgum tree. With some careful preparations and plenty of sweetgum leaves on hand, you can witness the magic of luna moth metamorphosis in your own classroom.
Resources
Try this:
use “up a gum tree” in a sentence.
Other plants that look great in the month of September:
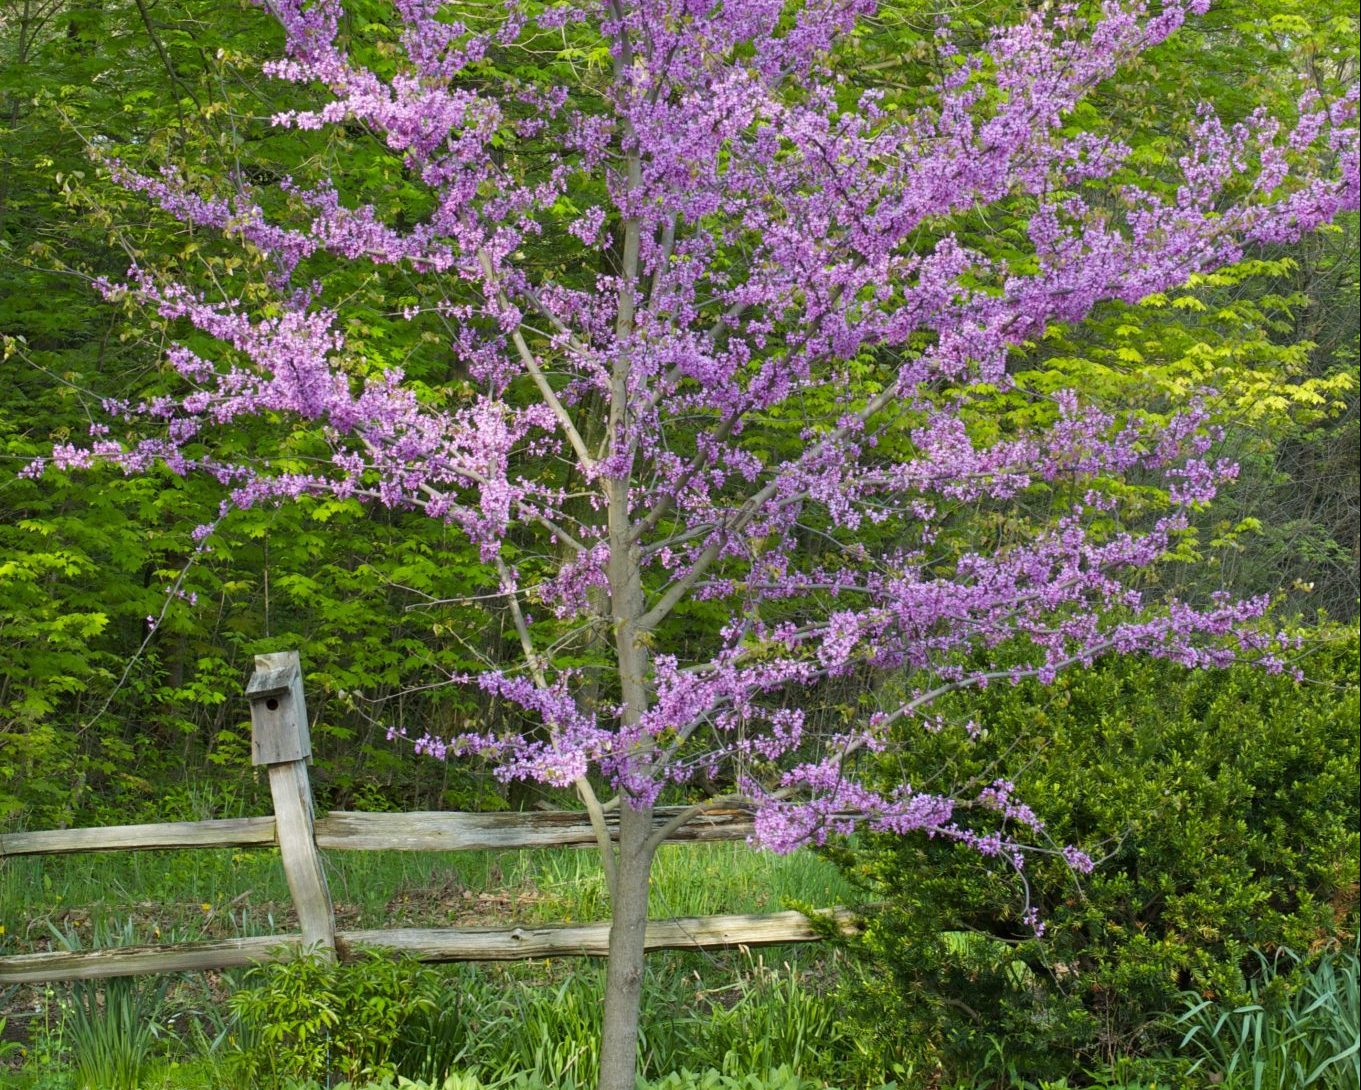
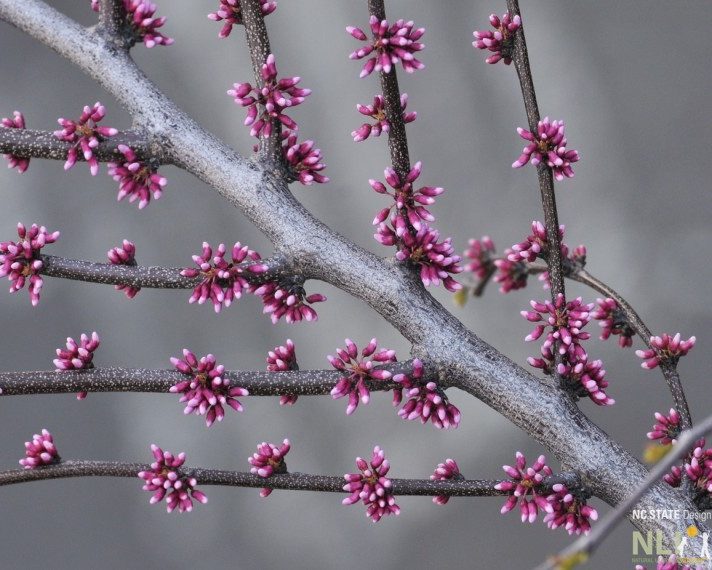
Amidst the many hues of spring, redbuds add another layer of vibrancy to the electric greens and sunny yellows of this time of year. With its lavender-pink mist of flowers sprouting from the branches, redbud makes an excellent addition to the Outdoor Learning Environment. As an adaptable tree, native to the eastern U.S., redbud can be found growing on the edge of forests, but also thrives along highways and in tough urban settings, making it a hardy choice for an OLE.
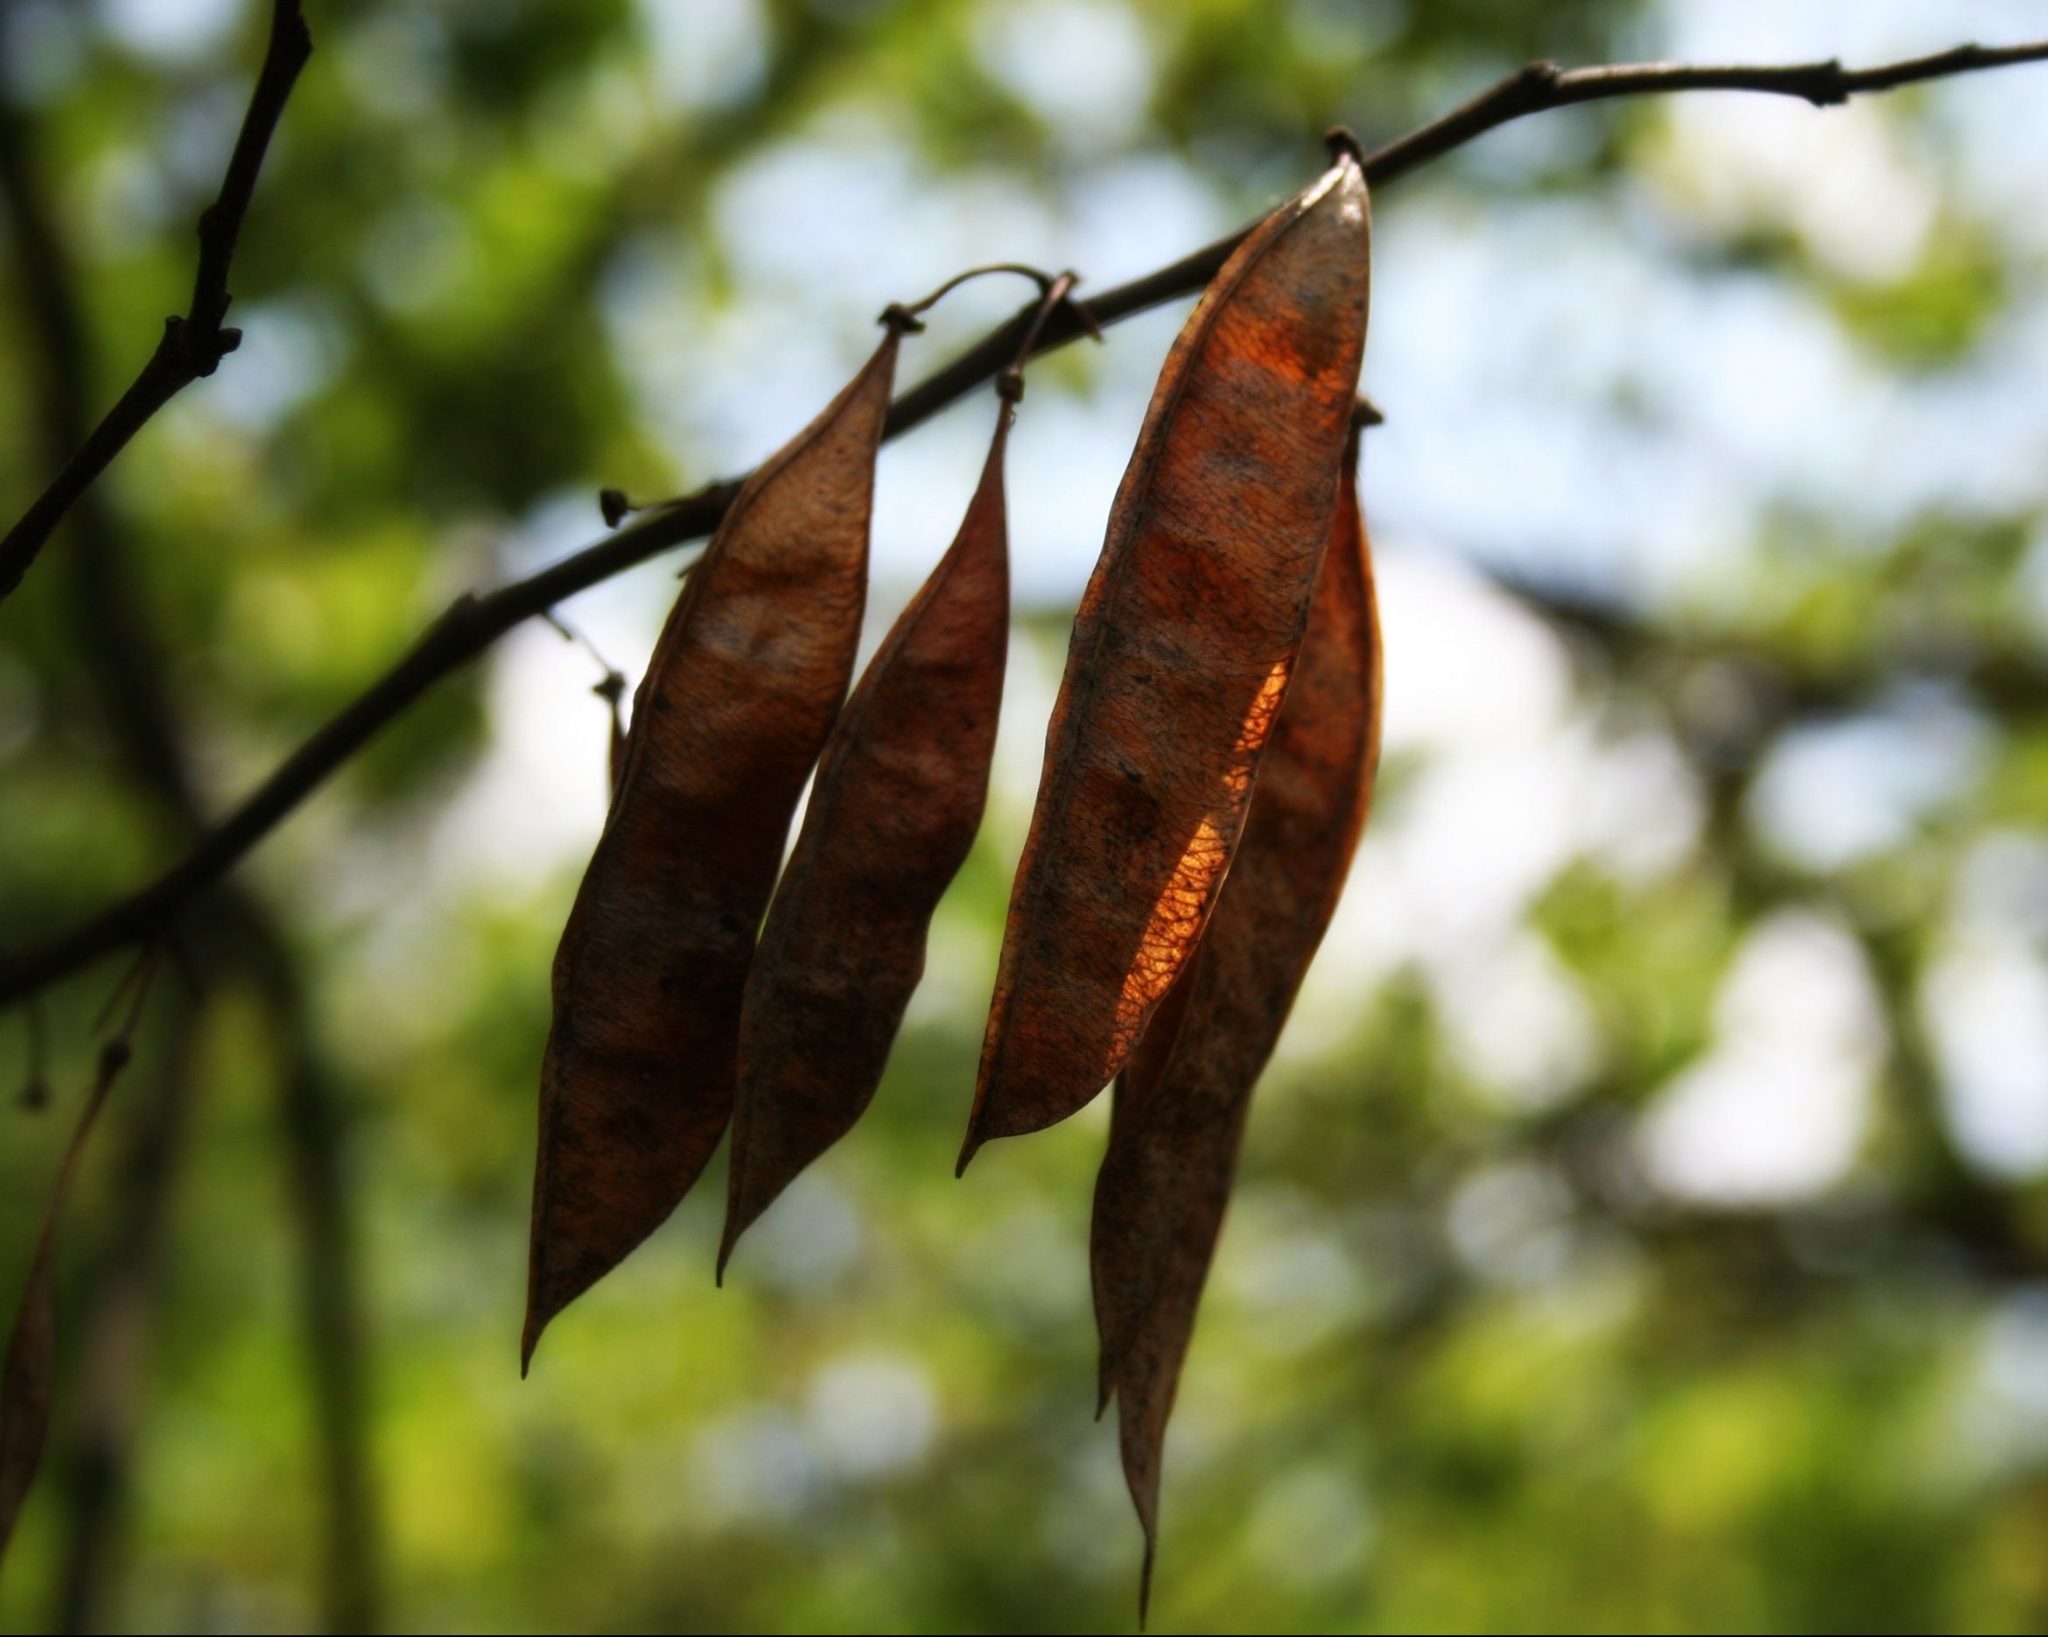
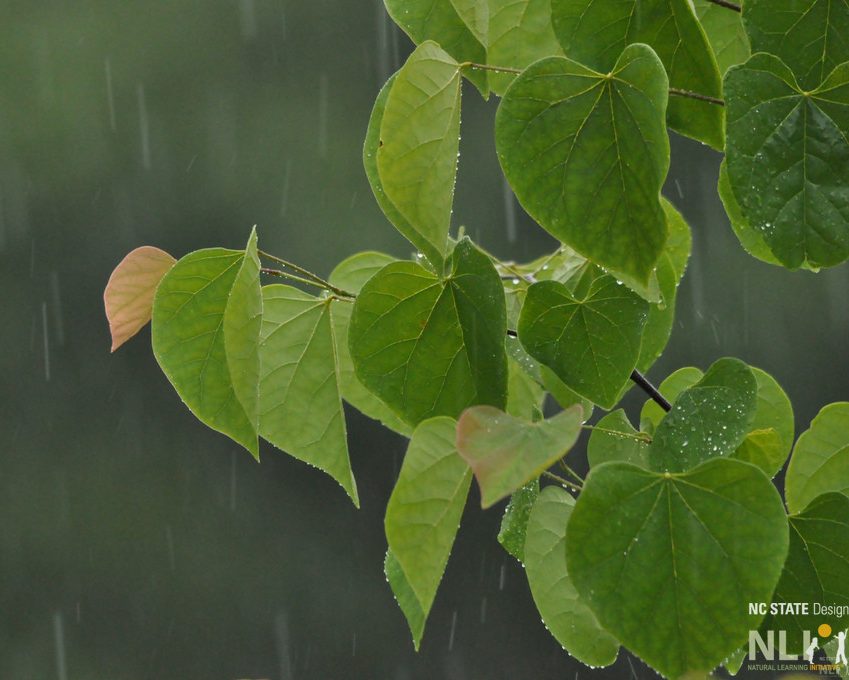
Redbud is a small tree that grows at a moderate rate, roughly 1 to 2 feet per year maturing to a height between 20 and 30 feet tall, an ideal scale for trees in children’s environments. It can be planted in shade or full sun, but will bloom more densely in full sun. The branching pattern naturally takes on an umbrella-like shape as wide as 30 feet. With some pruning redbud can be trained to suit a more narrow location. Heart-shaped leaves form a dense canopy. Some varieties, such as ‘Hearts of Gold’ and ‘Forest Pansy’, have striking colors. The spring blossoms are followed by clusters of bean pods that persist through the summer and winter, making redbuds an excellent source of OLE loose parts.
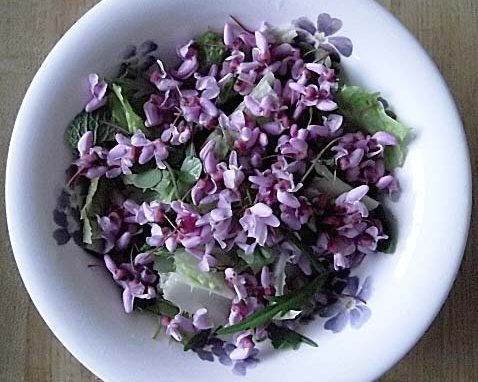
With arching branches and a rounded crown, redbud offers a number of amenities to the OLE including shade, climb-ability and activities that involve gathering the prolific flowers, bean pods, or heart-shaped leaves. The delicate pea-like flowers are edible and make an exciting addition to a garden salad. Weeping varieties, including ‘Lavender Twist’, create a curtain-like effect giving a sense of privacy, great for quieter play activities or for creating a “living playhouse.”
Consider This…
Plant a redbud near your OLE path for shade and color.
Create a gathering area by planting a mini-grove of 3-5 redbuds.





 Toxic Free NC, a non-profit organization advocating for human and environmental health since 1986, offers many resources for child-care providers and parents of young children. One of their major program initiatives, Toxic Free Kids, brings awareness to child care providers, families, public school teachers and administrators, and others regarding the risks surrounding the use of toxic pesticides.